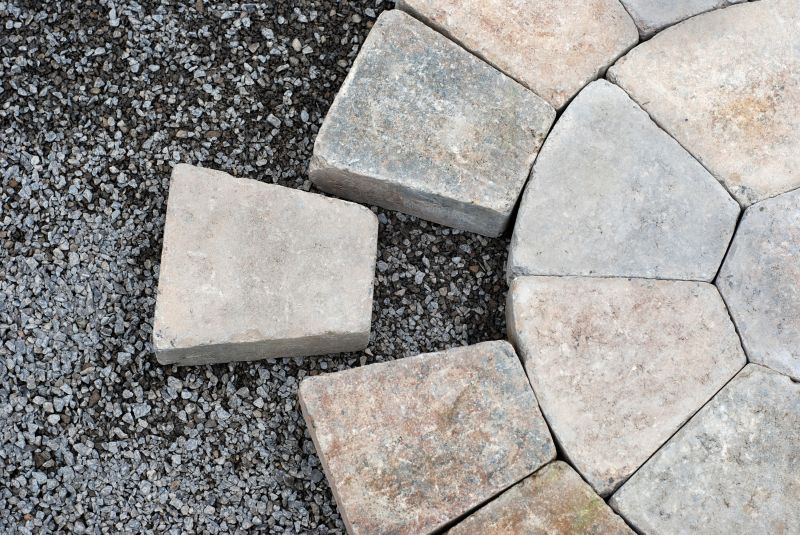
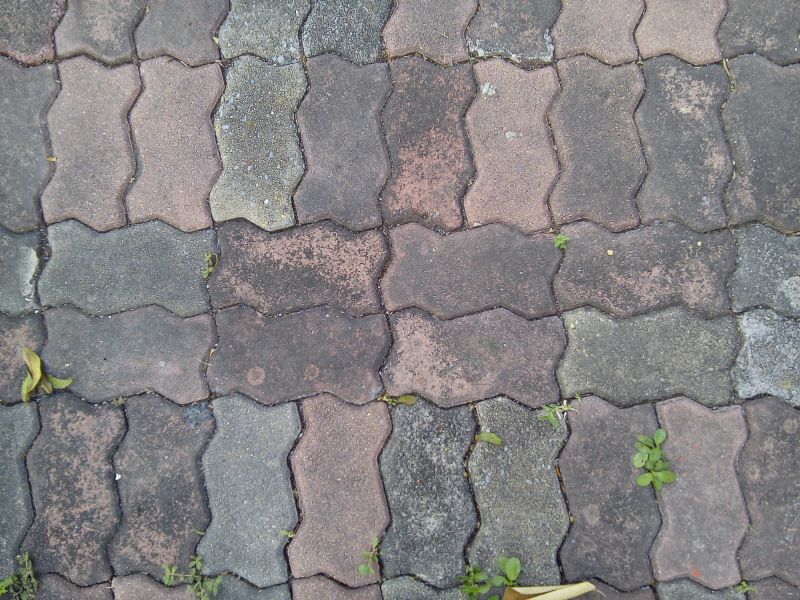
Step 1: Assess the Damage
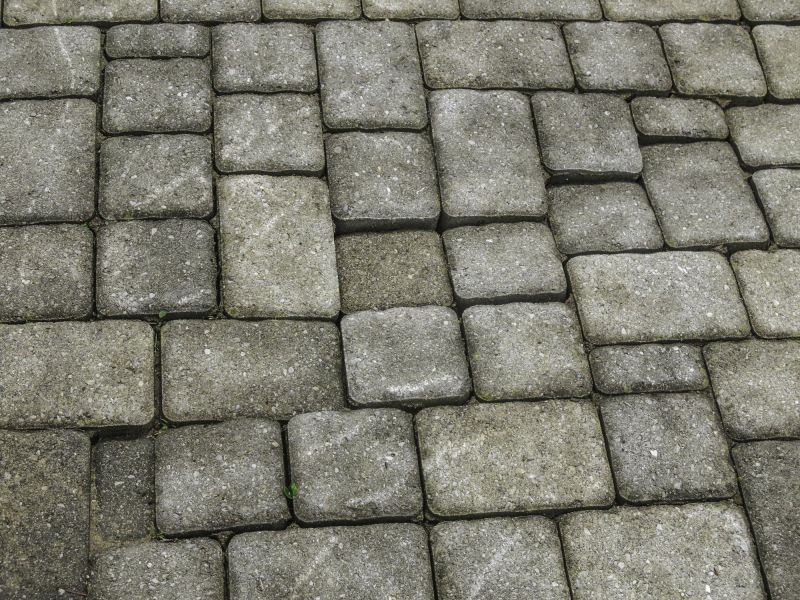
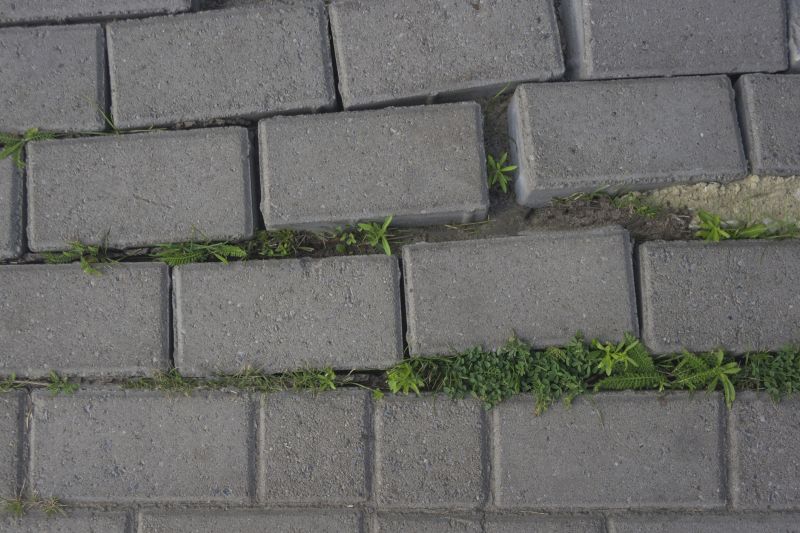
Examine the pavers to identify the extent of the weed infestation. Determine whether the weeds have caused any structural damage or if they are simply growing between the paver joints.
Step 2: Gather the Necessary Tools
Collect the following tools and materials:
- Gloves
- Garden trowel
- Weed killer or vinegar
- Wire brush
- Paver sand
- Paver sealer (optional)
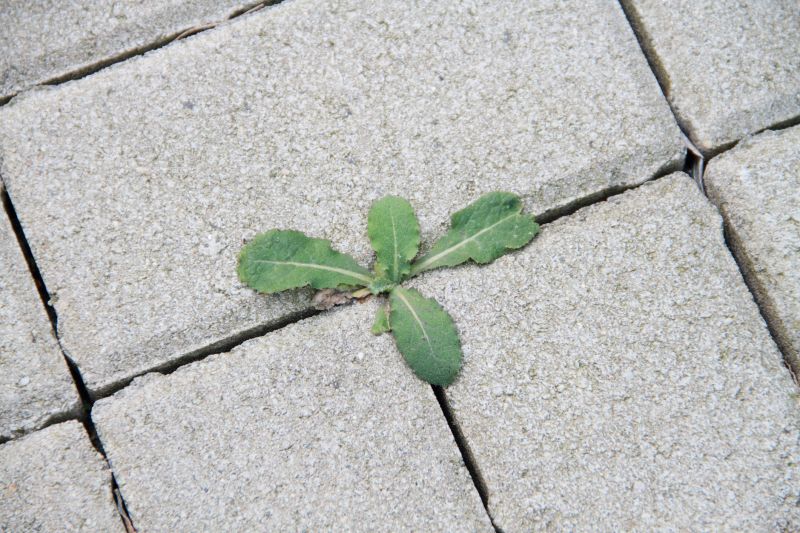
Step 3: Remove the Weeds
Put on gloves to protect your hands. Use a garden trowel to carefully remove the weeds, ensuring you remove the entire root system. For stubborn weeds, apply a weed killer or vinegar directly to the weeds and allow it to penetrate before removing them.
Step 4: Clean the Pavers
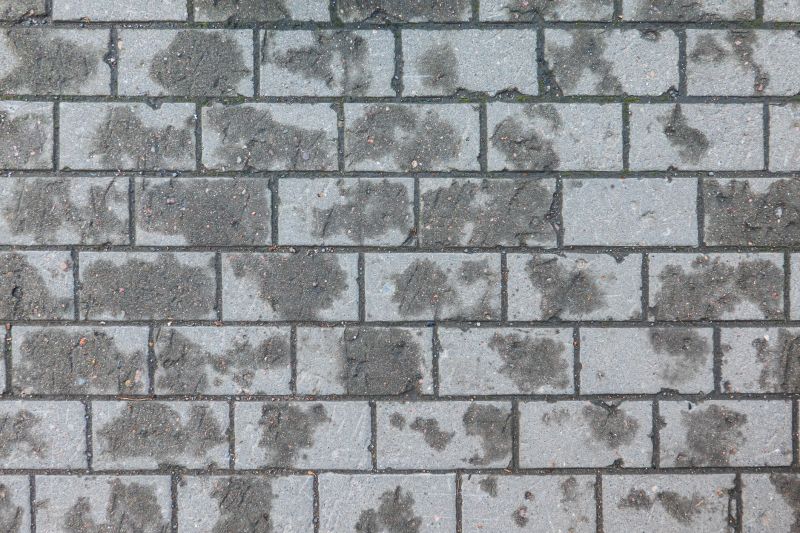
Use a wire brush to clean the pavers and remove any remaining debris or weed fragments. This will help create a clean surface for the next steps.
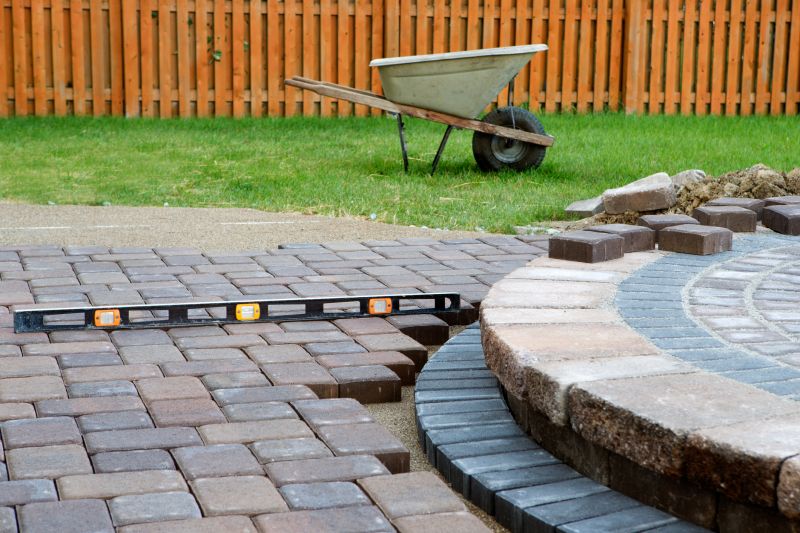
Step 5: Fill the Joints with Paver Sand
Pour paver sand onto the surface and use a broom to sweep it into the joints between the pavers. Ensure the sand fills the gaps completely and is evenly distributed.
Step 6: Compact the Sand
Use a tamper or a hand compactor to firmly compact the sand into the joints. This will stabilize the pavers and prevent future weed growth.
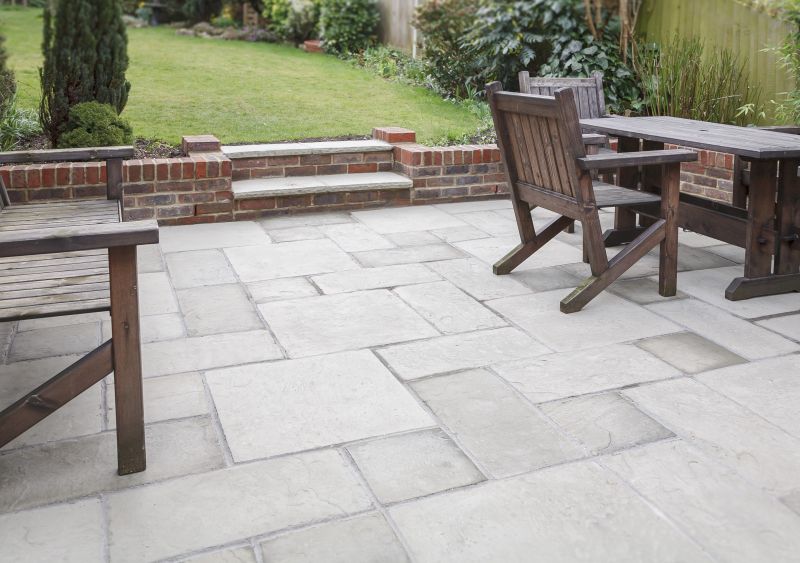
Step 7: Apply Paver Sealer (Optional)
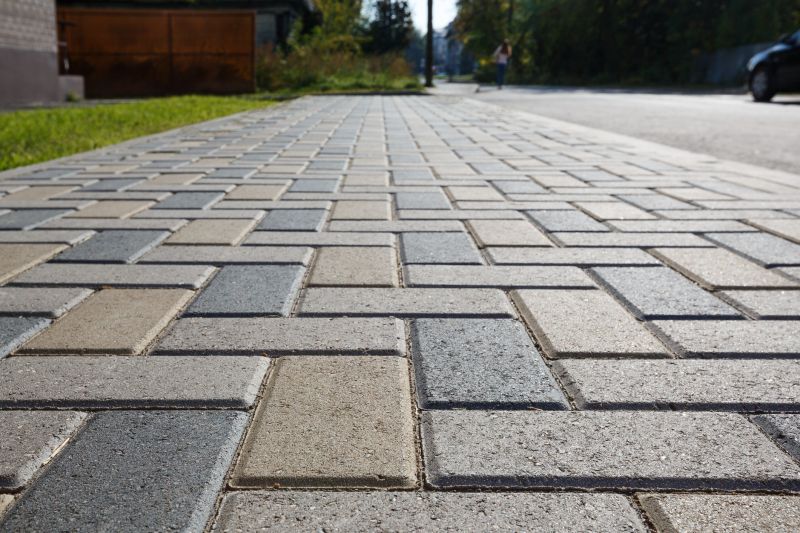
If desired, apply a paver sealer to protect the pavers and enhance their appearance. Follow the manufacturer's instructions for application and drying time.
Step 8: Maintain Regularly
To prevent weed growth in the future, regularly inspect the pavers and remove any weeds as soon as they appear. Additionally, consider applying a weed inhibitor or using a weed barrier beneath the pavers.