Pavers Joint Repair | How To
How to Do Pavers Joint Repair
Introduction
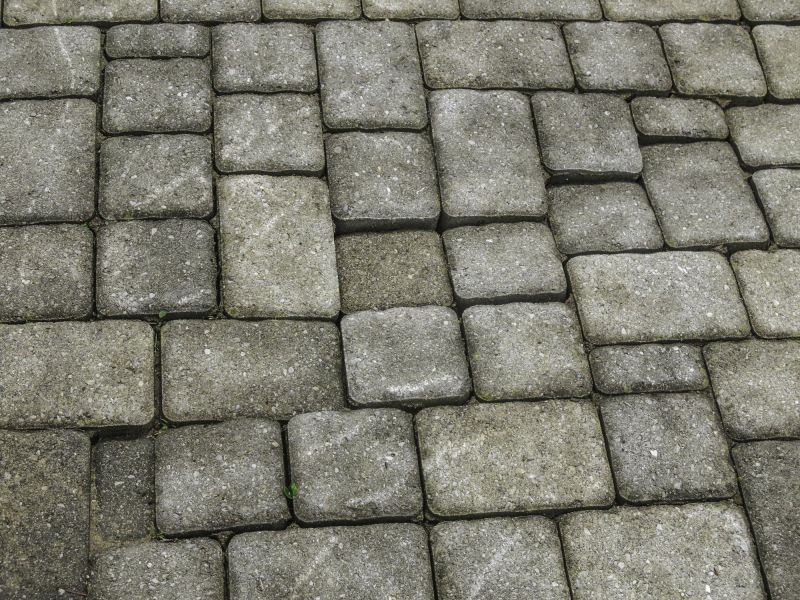
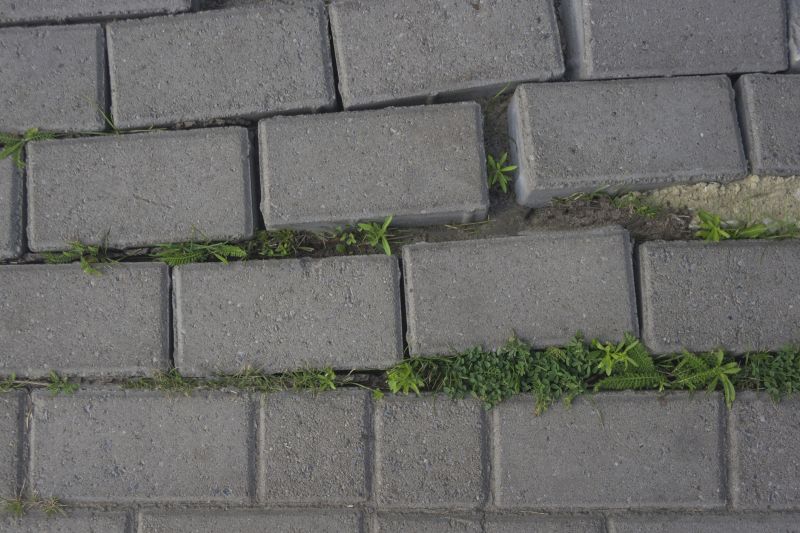
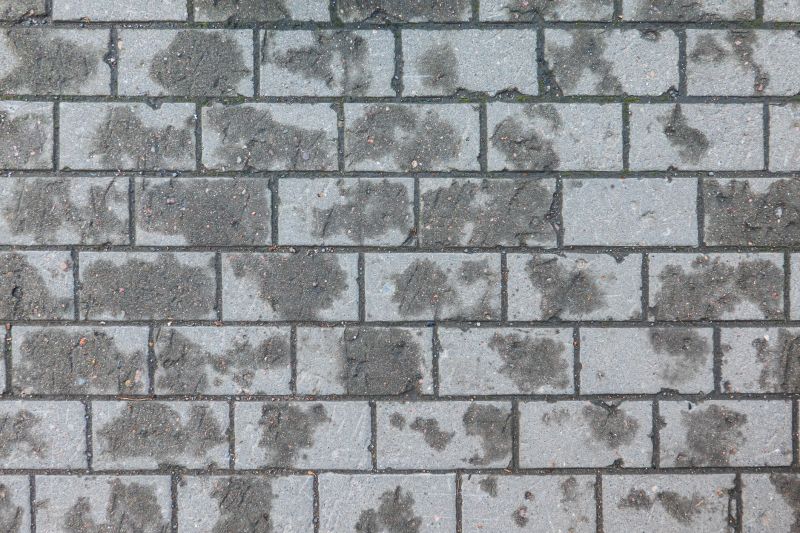
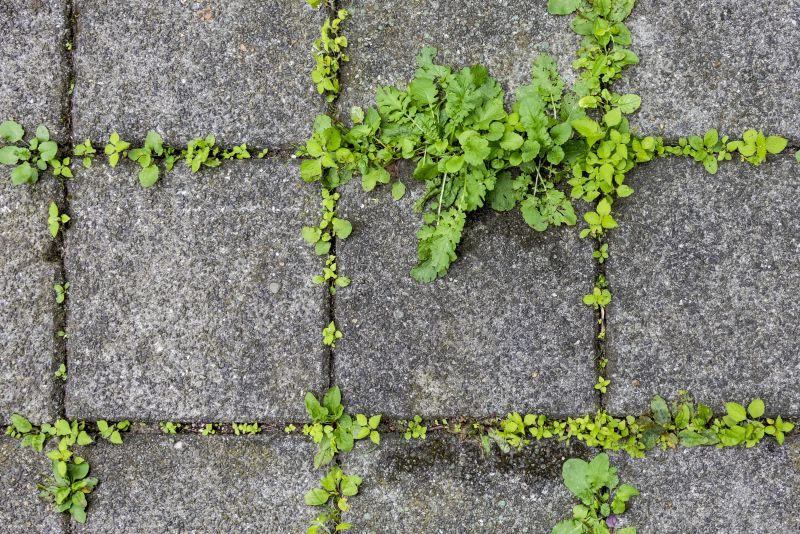
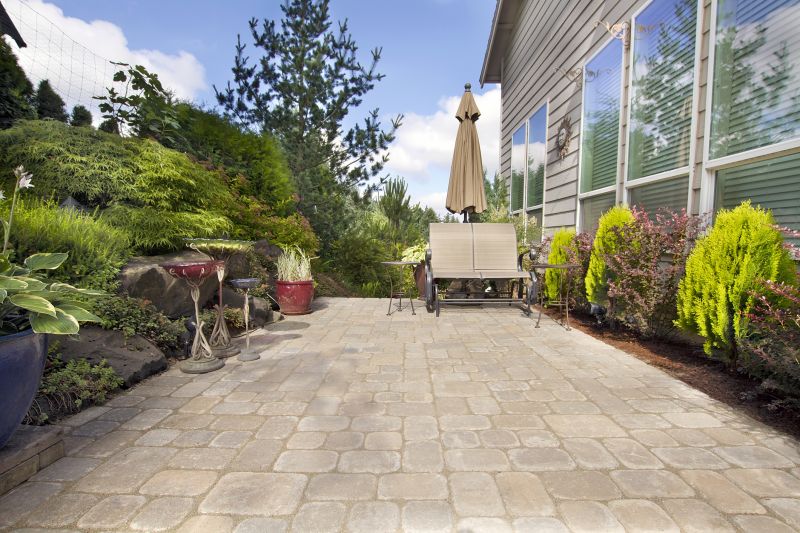
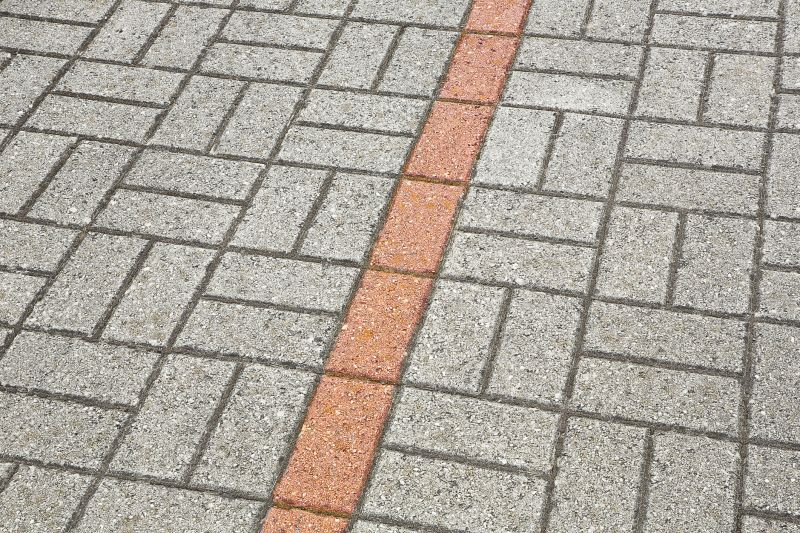
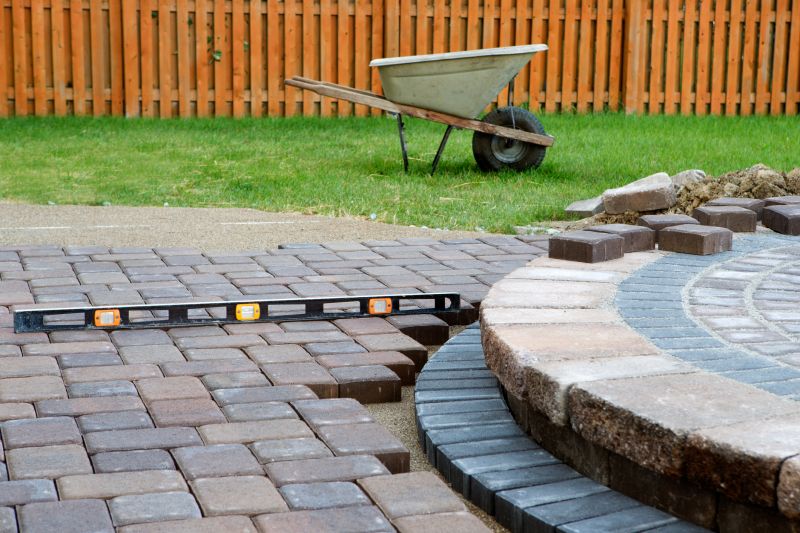
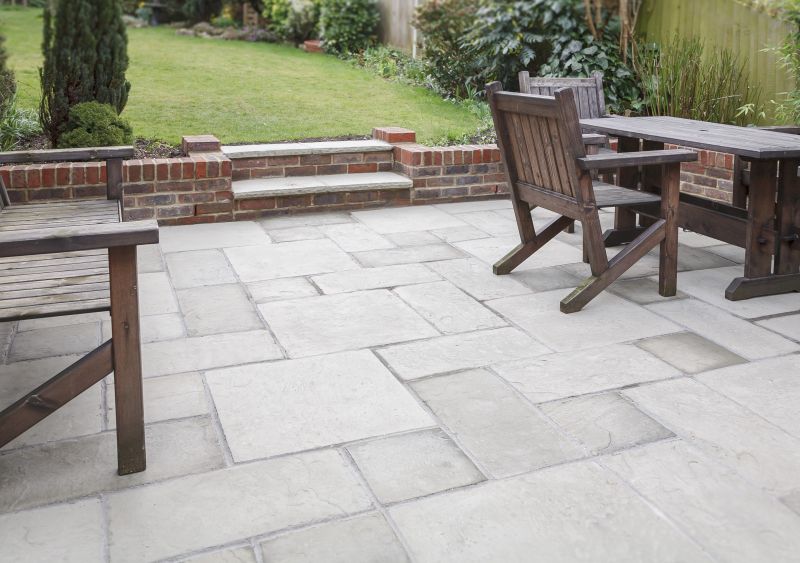
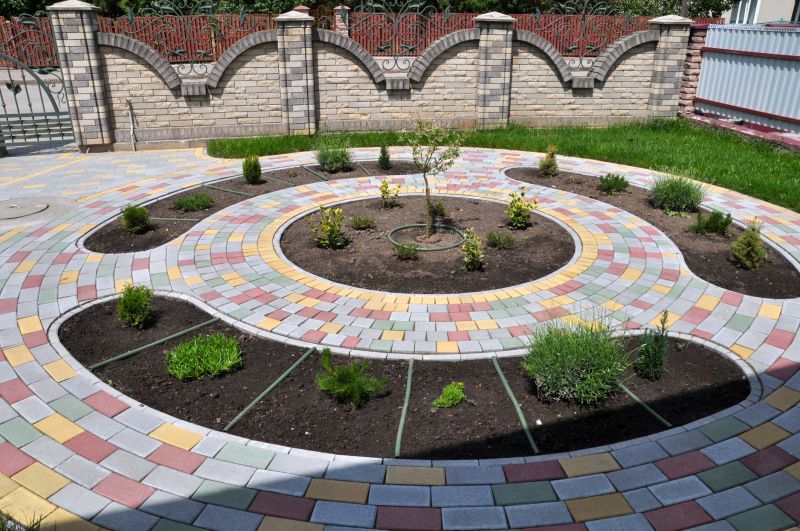
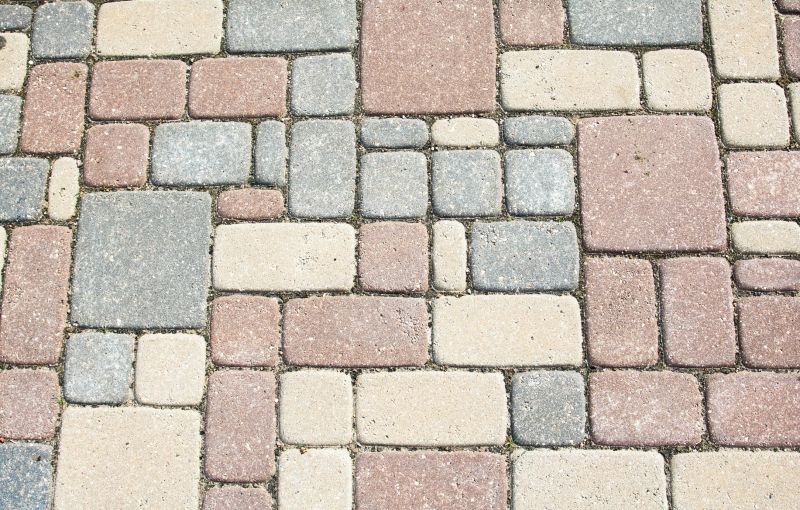
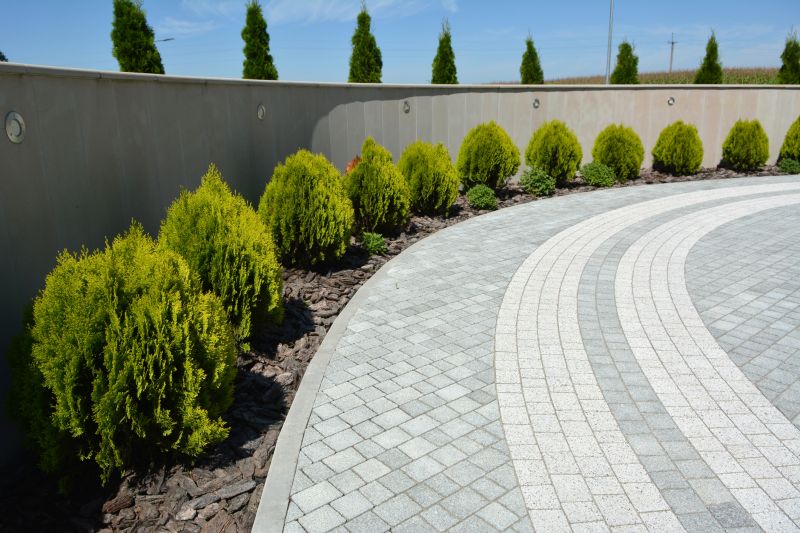
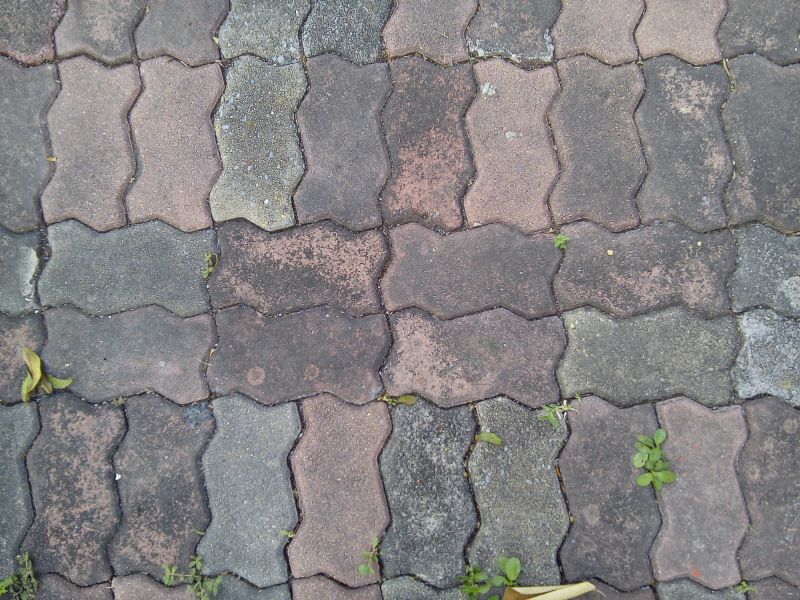
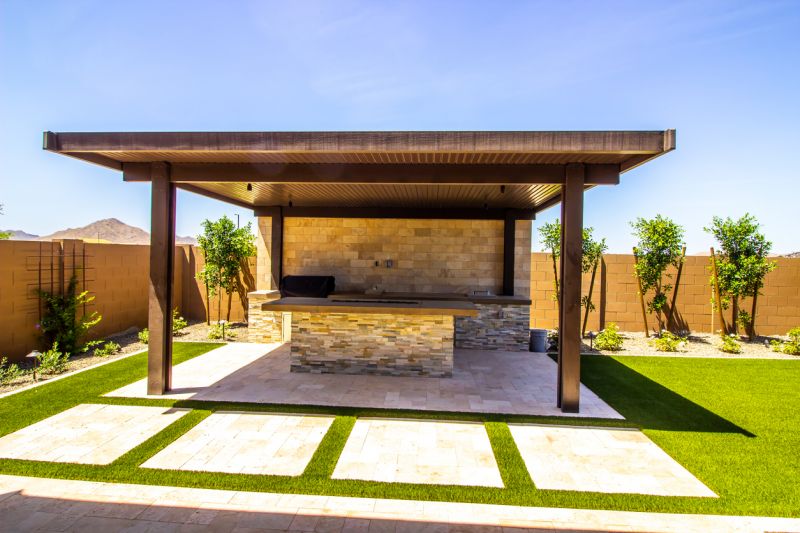
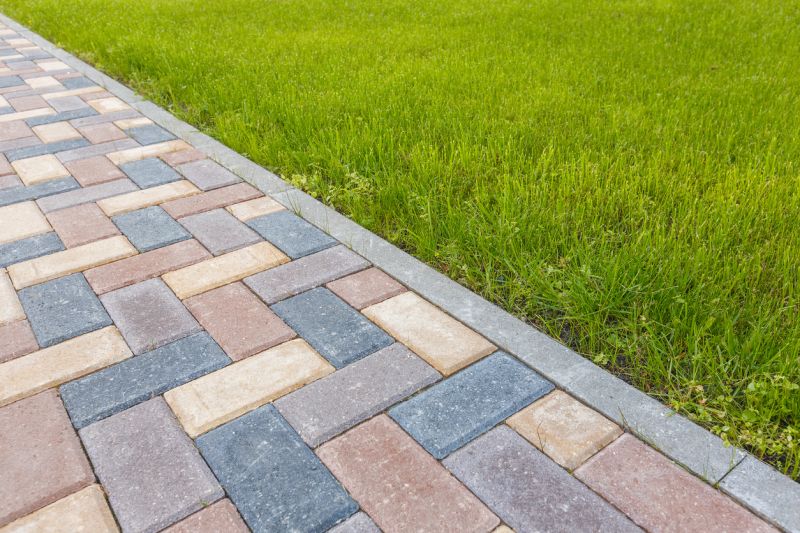
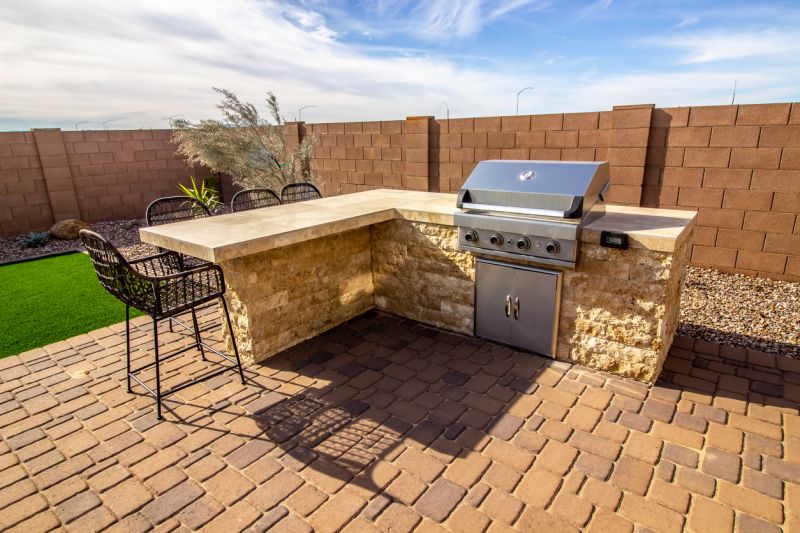
Pavers joint repair is an important maintenance task to keep your outdoor space looking its best. Over time, the joints between the pavers can become damaged or worn, leading to weed growth, water pooling, and an overall unattractive appearance. In this article, we will guide you through the steps to repair the joints between your pavers.
Materials Needed
- Paver joint sand
- Broom
- Leaf blower (optional)
- Water
- Trowel
- Jointing compound
- Push broom
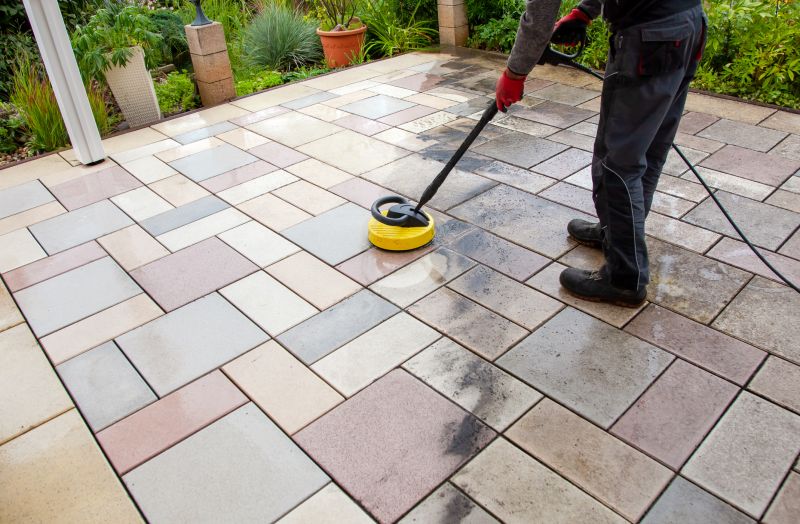
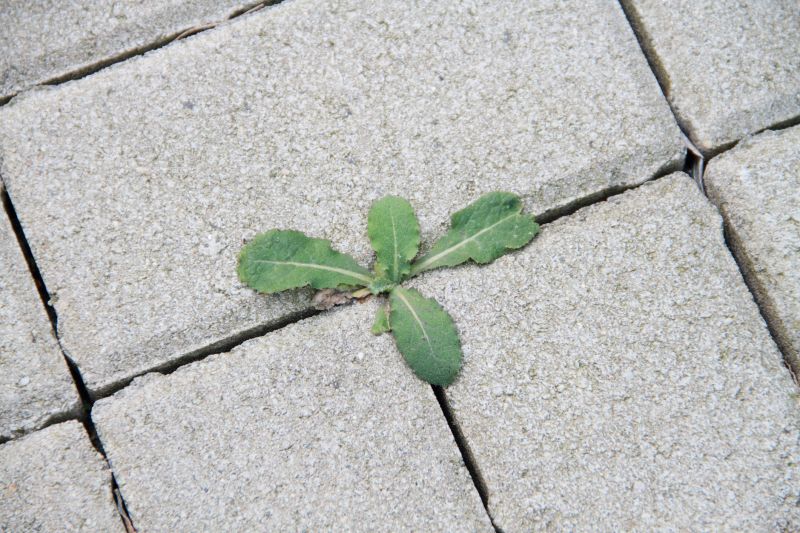
Step 1: Remove Weeds and Debris
Start by removing any weeds or debris from the joints between the pavers. Use a broom or leaf blower to clear away loose dirt, leaves, and other materials. This will ensure a clean surface for the repair process.
Step 2: Wet the Pavers
Before applying the jointing compound, wet the pavers with water. This will help the compound adhere better and ensure a stronger bond.
Step 3: Apply Jointing Compound
Using a trowel, apply the jointing compound to the joints between the pavers. Make sure to fill the joints completely, ensuring that the compound is evenly distributed.
Step 4: Compact the Jointing Compound
Once the jointing compound is applied, use a push broom to sweep it into the joints. This will help compact the compound and ensure a tight fit. Make sure to sweep diagonally to fully fill the joints.
Step 5: Remove Excess Compound
After compacting the jointing compound, use a trowel or broom to remove any excess material from the surface of the pavers. This will create a clean and polished look.
Step 6: Allow the Compound to Set
Let the jointing compound dry and set according to the manufacturer's instructions. This may take a few hours or even a full day depending on the product used.
Step 7: Final Touches
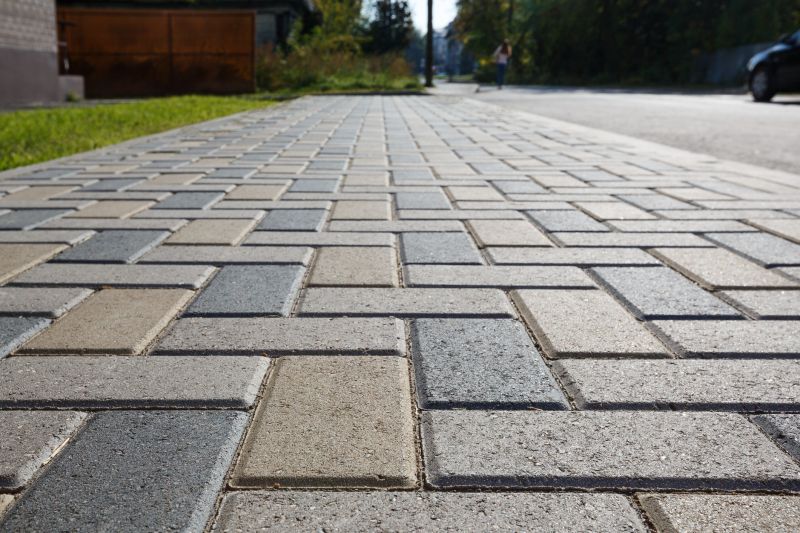
Once the jointing compound is fully set, inspect the repaired joints. If any gaps or low spots are visible, apply additional compound and repeat the compacting process. Finally, use a broom to sweep away any remaining debris and enjoy your newly repaired paver joints!
Conclusion
Pavers joint repair is a simple yet effective way to maintain the beauty and functionality of your outdoor space. By following these steps, you can ensure that the joints between your pavers remain strong, weed-free, and visually appealing for years to come.