Chipped Pavers Repair | How To
How to Repair Chipped Pavers
Materials Needed:
- Chisel
- Hammer
- Paver adhesive
- Sand
- Water
- Trowel
- Wire brush
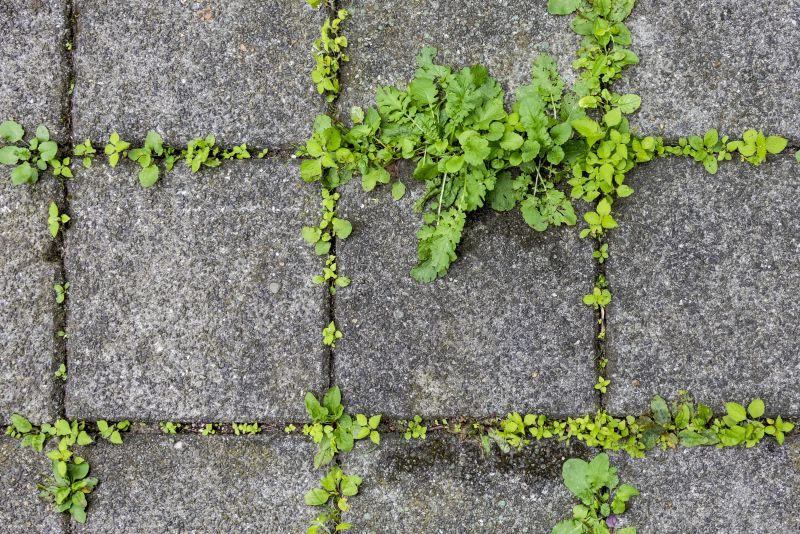
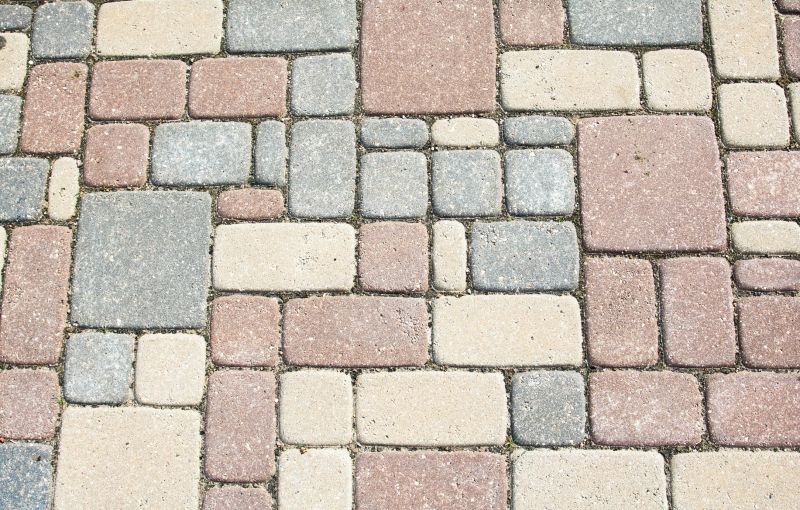
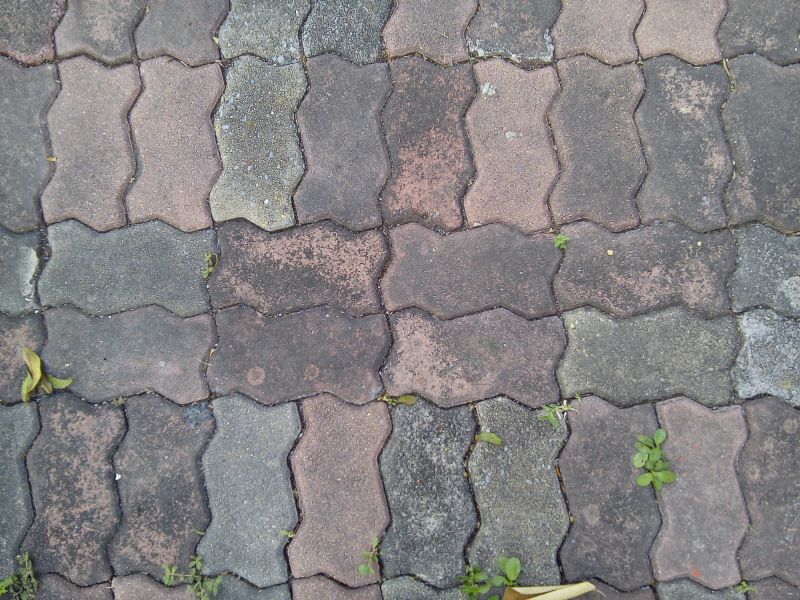
Step 1: Assess the Damage
Inspect the chipped pavers and determine the extent of the damage. If the chip is minor, you may be able to repair it yourself. However, if the damage is extensive, it may be best to consult a professional.
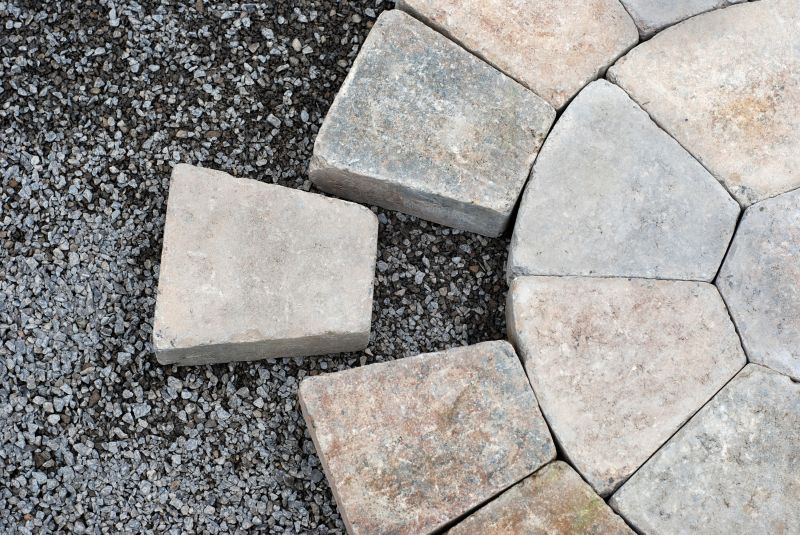
Step 2: Remove the Chipped Paver
Use a chisel and hammer to carefully remove the chipped paver from the paved surface. Be cautious not to damage the surrounding pavers.
Step 3: Clean the Area
Use a wire brush to remove any debris or loose material from the area where the chipped paver was removed. This will ensure proper adhesion of the new paver.
Step 4: Prepare the Replacement Paver
If you have a spare paver that matches the existing ones, clean it thoroughly and make sure it is dry before proceeding.
Step 5: Apply Paver Adhesive
Apply a layer of paver adhesive to the area where the chipped paver was removed. Follow the manufacturer's instructions for the specific adhesive you are using.
Step 6: Place the Replacement Paver
Carefully place the replacement paver into the adhesive, making sure it is level with the surrounding pavers. Press down firmly to ensure proper adhesion.
Step 7: Fill the Joints
Fill the joints around the replacement paver with sand. Use a trowel to pack the sand tightly and ensure a seamless finish.
Step 8: Clean the Surface
Use a broom or brush to sweep away any excess sand from the surface of the repaired area.
Step 9: Allow Time to Cure
Follow the instructions provided by the paver adhesive manufacturer for the recommended curing time. This will ensure that the repair is fully set and secure.
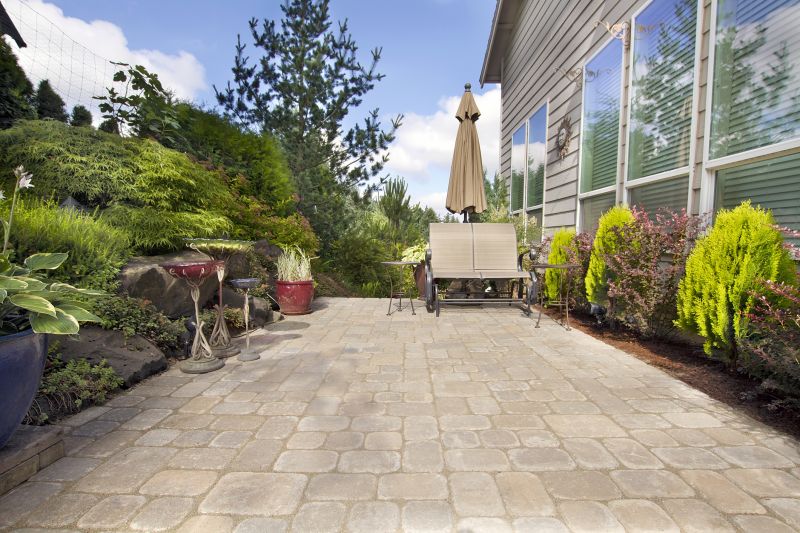
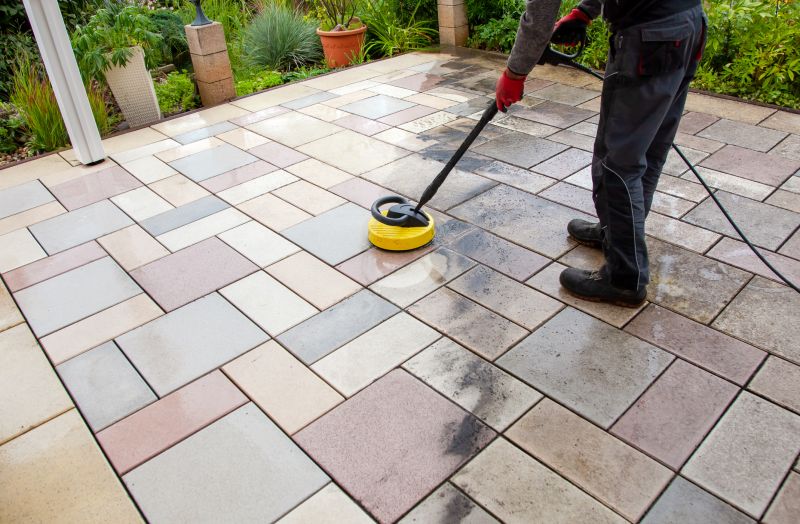
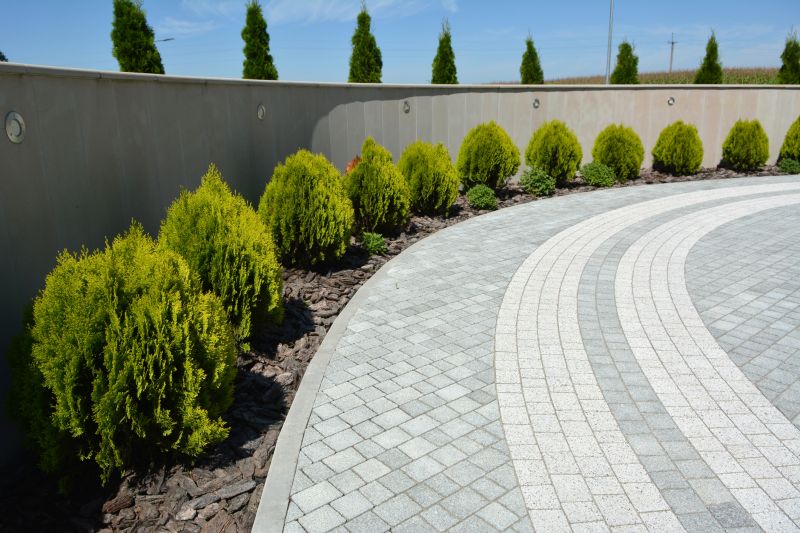
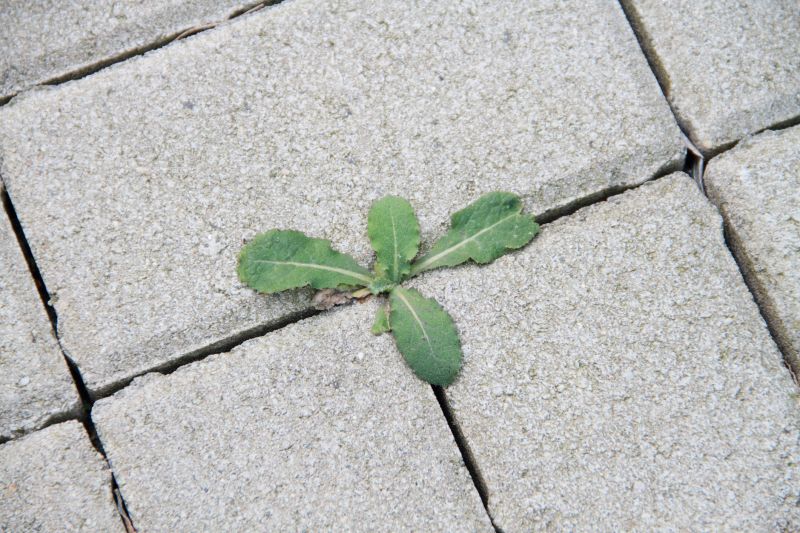
Step 10: Regular Maintenance
To prevent future damage, regularly inspect and maintain your pavers. Sweep away debris, clean stains, and address any issues promptly to prolong the lifespan of your paved surface.
Following these steps will help you successfully repair chipped pavers and restore the beauty and functionality of your paved area.