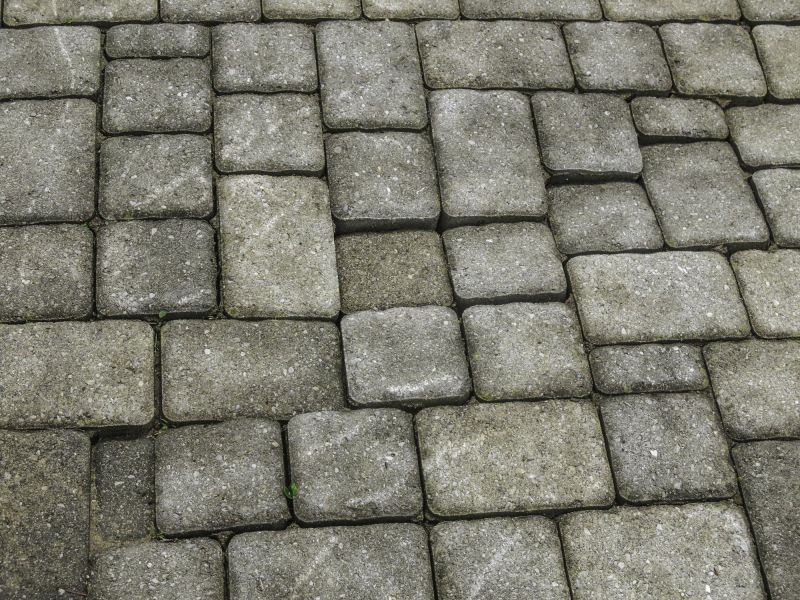
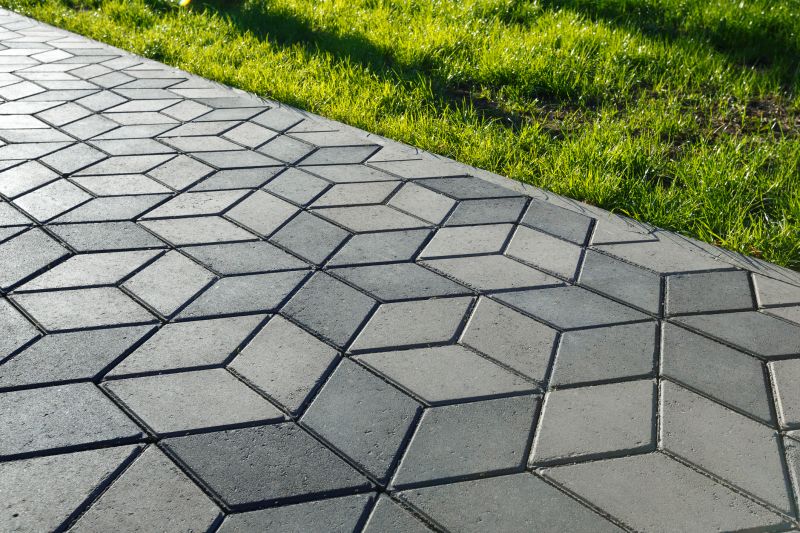
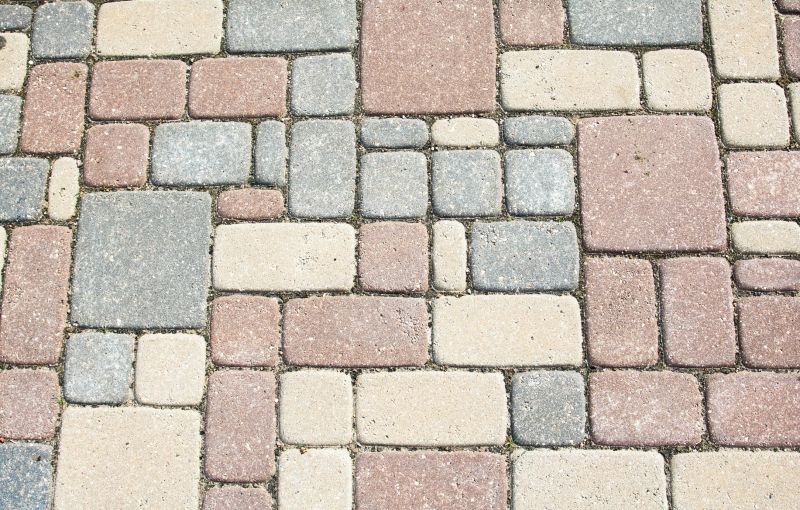
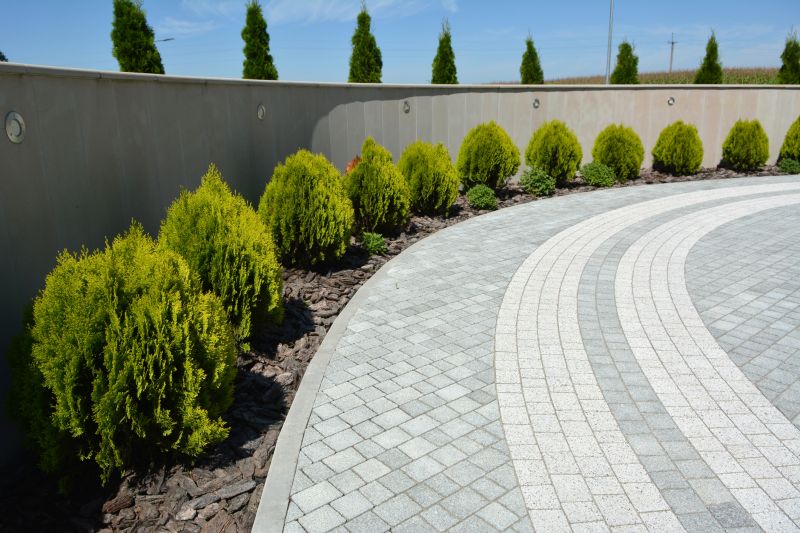
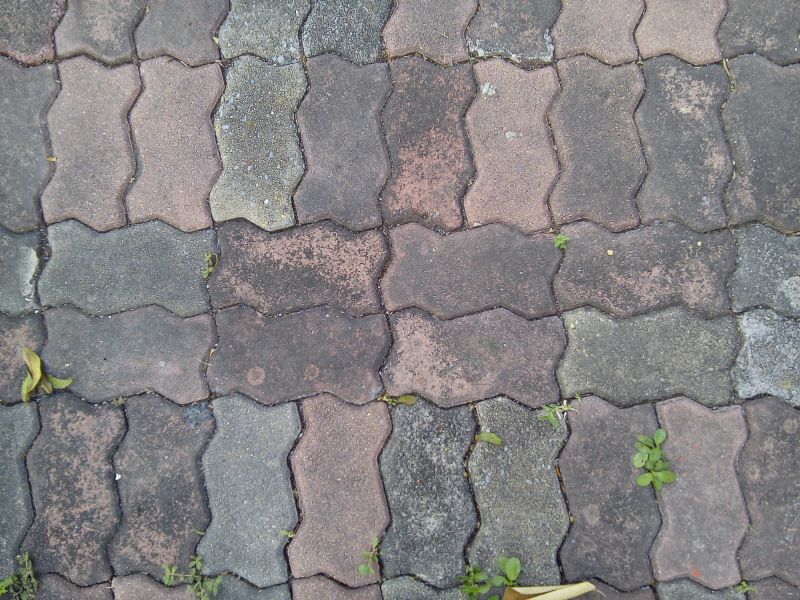
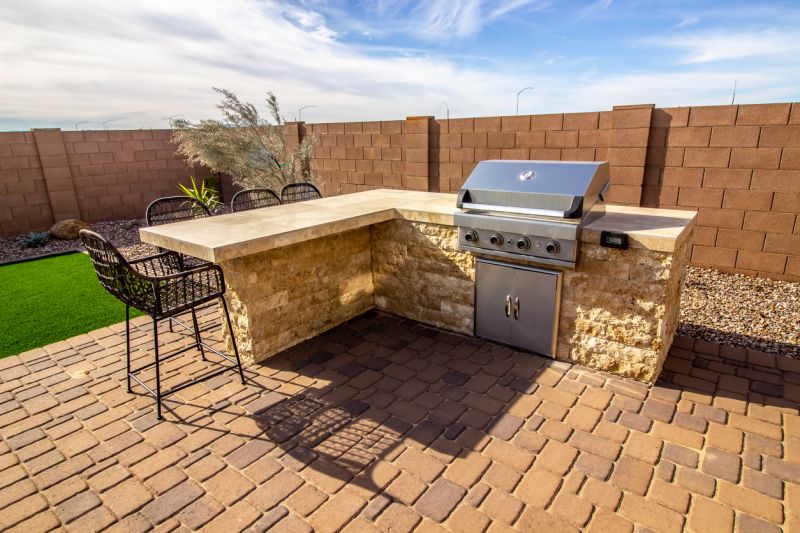
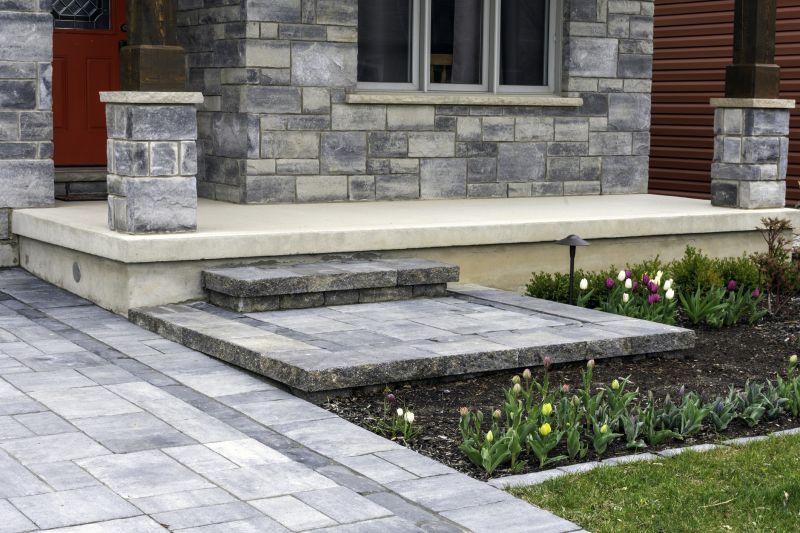
How to Replace Joint Sand for Pavers
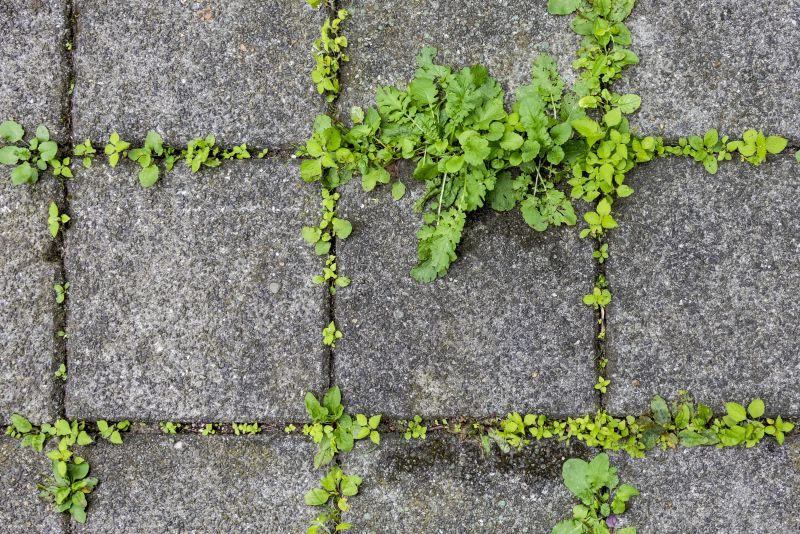
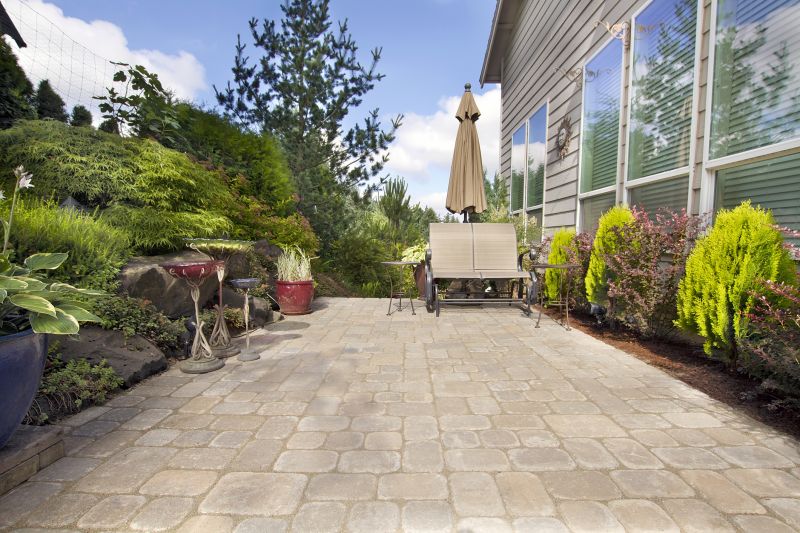
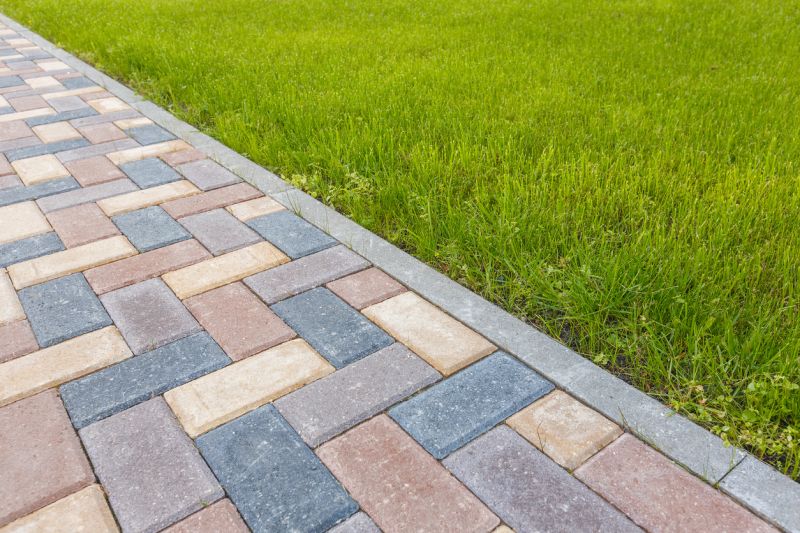
Pavers are a popular choice for creating beautiful outdoor spaces. Over time, the joint sand between the pavers can deteriorate or wash away, causing the pavers to become loose and unstable. In this step-by-step guide, we will walk you through the process of replacing the joint sand for pavers, ensuring a sturdy and long-lasting surface.
Materials You Will Need:
- Paver joint sand
- Push broom
- Leaf blower or garden hose
- Plate compactor
- Polymeric sand (optional)
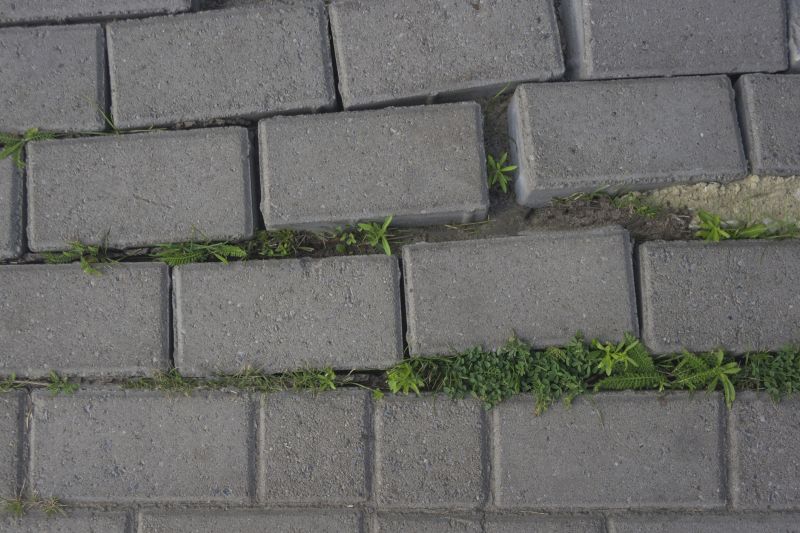
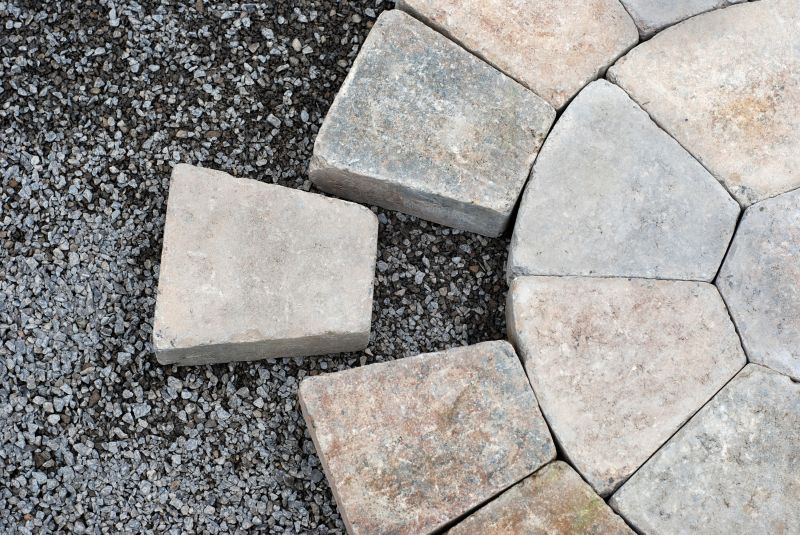
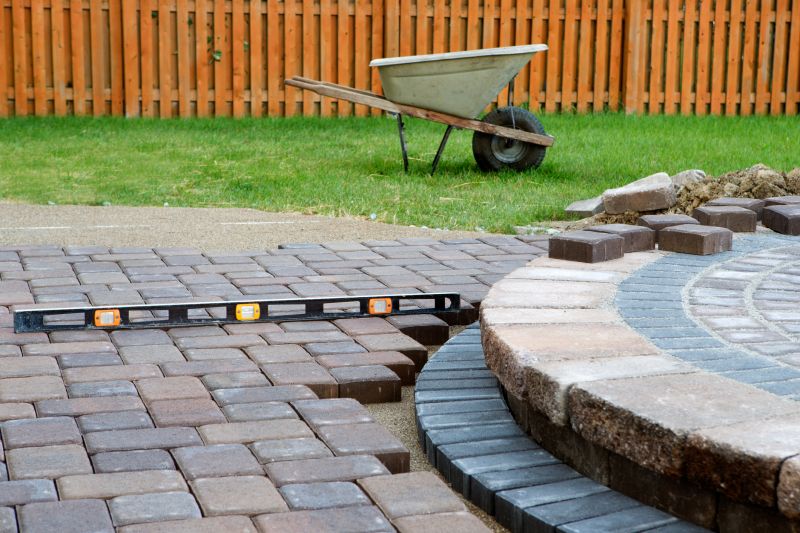
Step 1: Remove Old Joint Sand
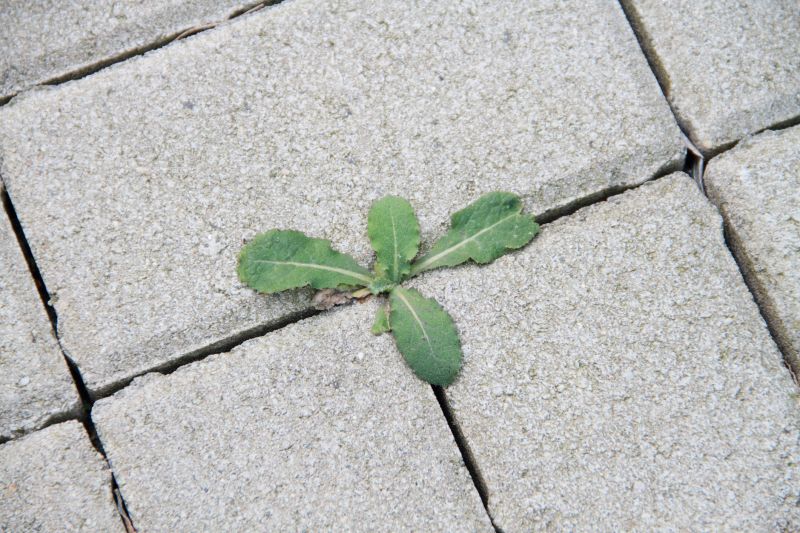
Start by using a push broom to sweep away any debris or loose sand from the surface of the pavers. Once the surface is clear, you can use a leaf blower or a garden hose to remove any remaining sand from the joints between the pavers.
Step 2: Compact the Base
Before adding new joint sand, it's important to ensure a stable base. Use a plate compactor to compact the paver base, making sure it is level and firm.
Step 3: Apply New Joint Sand
Once the base is prepared, it's time to apply the new joint sand. Pour the sand onto the paver surface, making sure it fills the joints completely. Use a push broom to sweep the sand into the joints, ensuring an even distribution.
Step 4: Compact the Sand
To further stabilize the joint sand, use the plate compactor to gently compact the sand. This will help to lock it in place and prevent future erosion.
Step 5: Optional: Use Polymeric Sand
If you want to enhance the durability and weed resistance of the joint sand, you can opt to use polymeric sand. Follow the manufacturer's instructions to apply the polymeric sand and activate it with water.
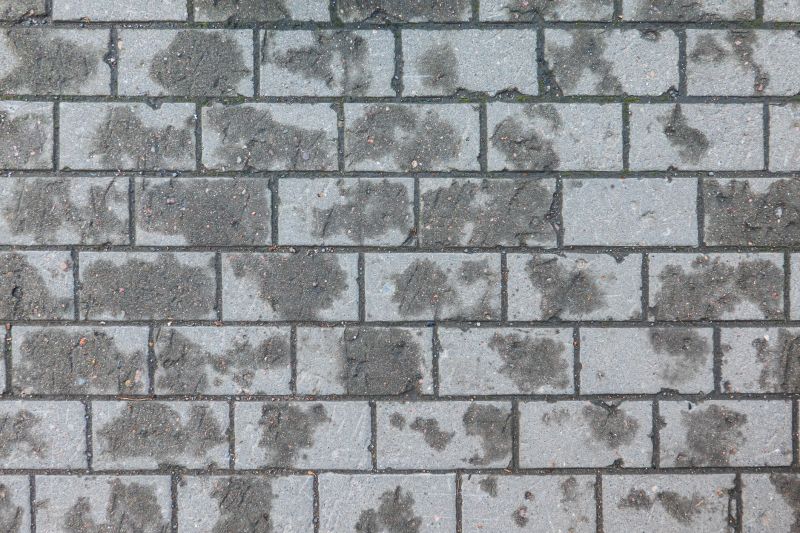
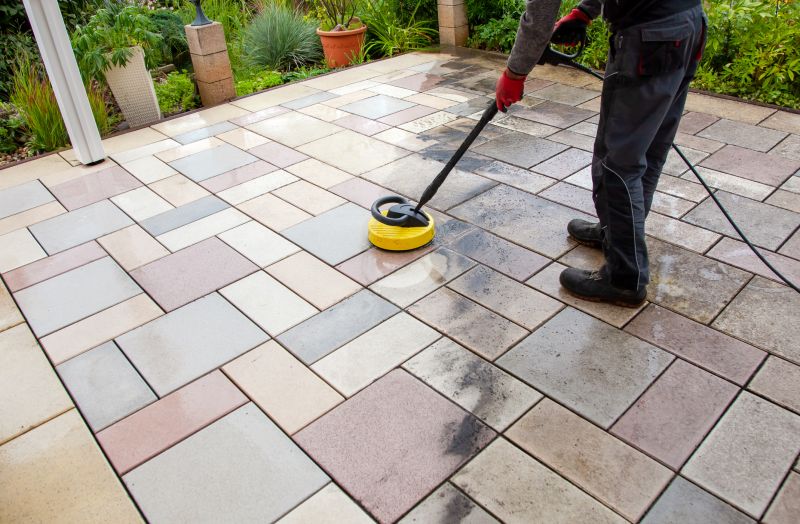
Step 6: Clean Up
Finally, use a leaf blower or a garden hose to clean off any excess sand from the surface of the pavers. This will give your newly replaced joint sand a clean and finished look.
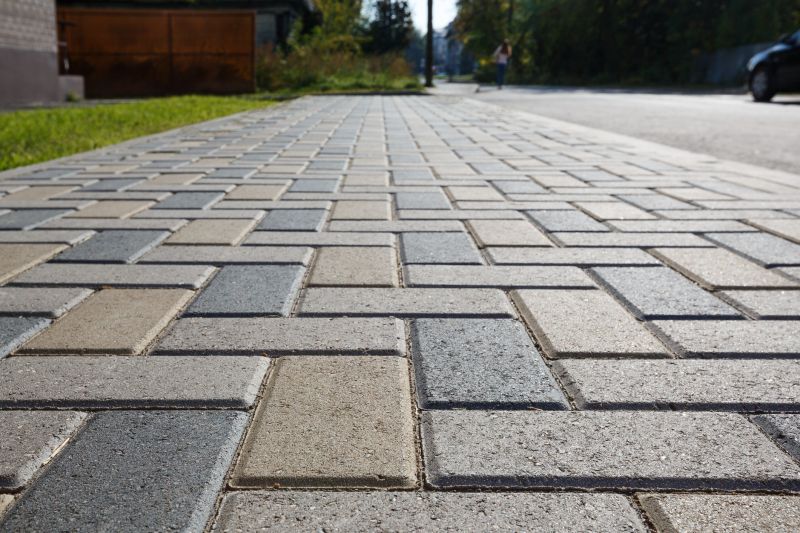
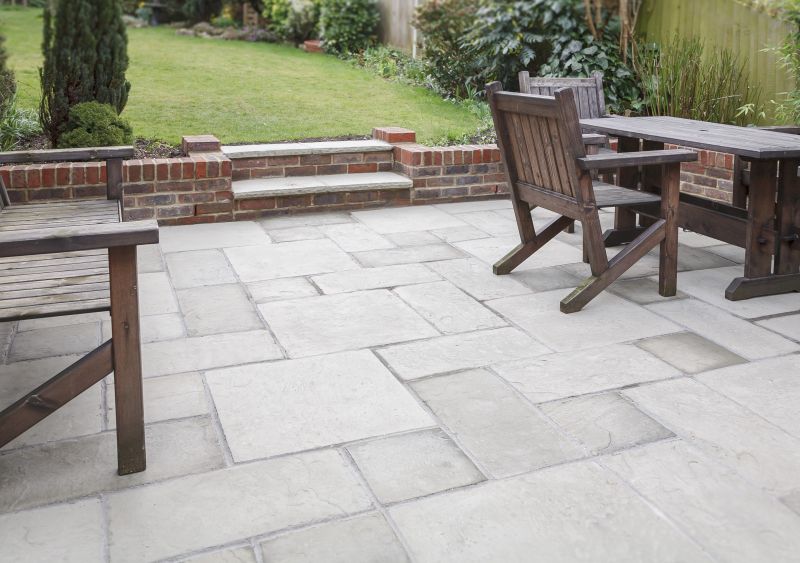
By following these simple steps, you can easily replace the joint sand for your pavers, ensuring a stable and visually appealing outdoor space. Regular maintenance and periodic sand replacement will help to prolong the life of your pavers and keep them looking their best.