How to Reseal Pavers
Materials Needed:
- Paver sealer
- Paint roller or sprayer
- Paint tray
- Paint brush (optional)
- Pressure washer
- Scrub brush
- Clean water
- Mild detergent
- Protective gloves
- Protective eyewear
- Protective clothing
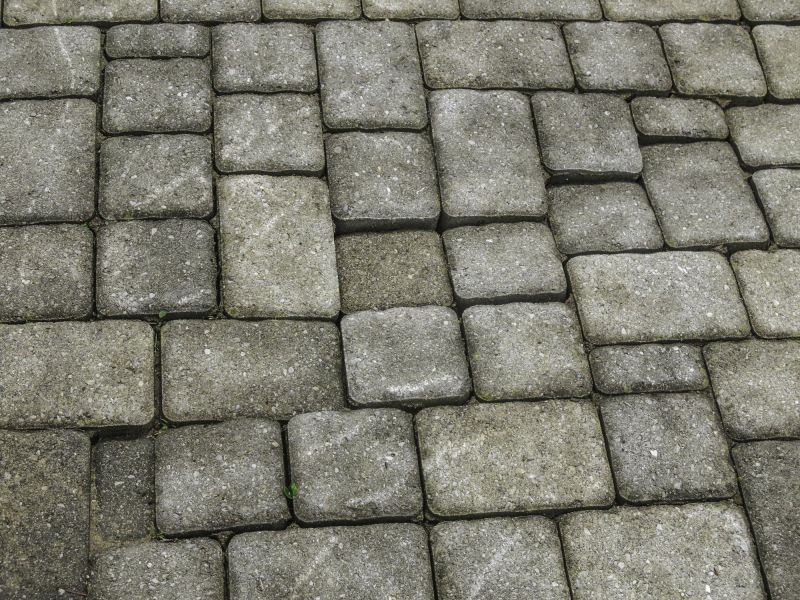
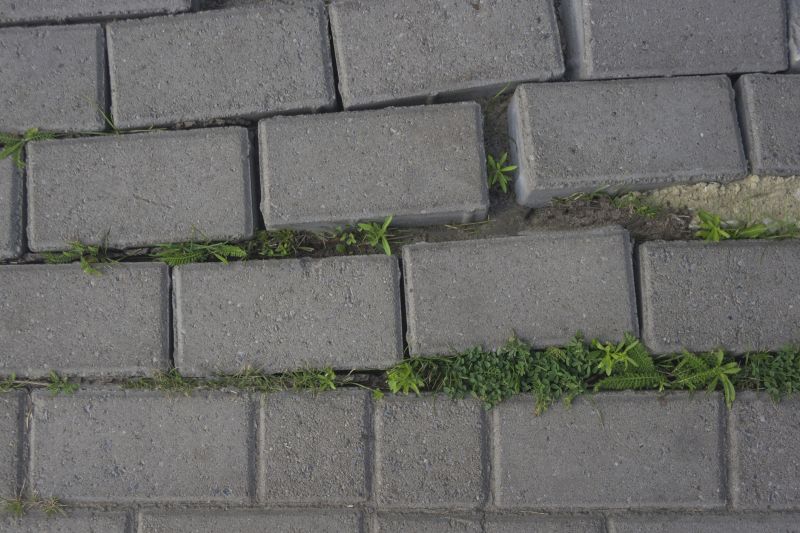
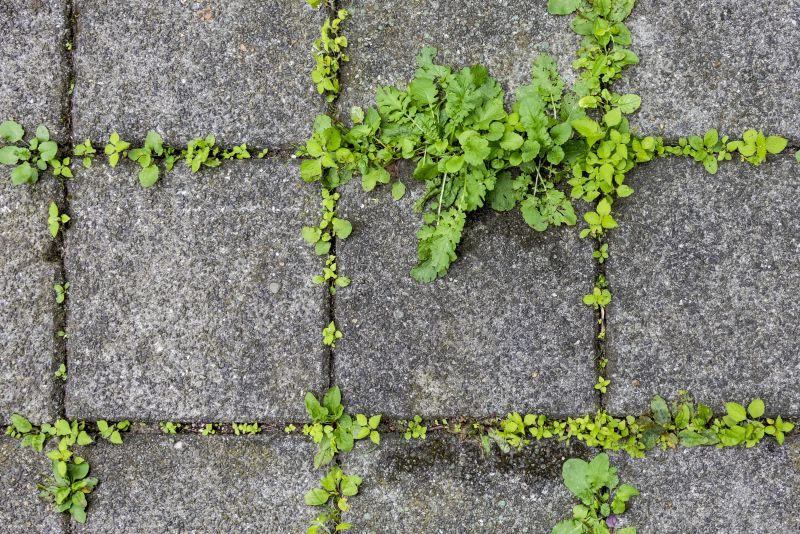
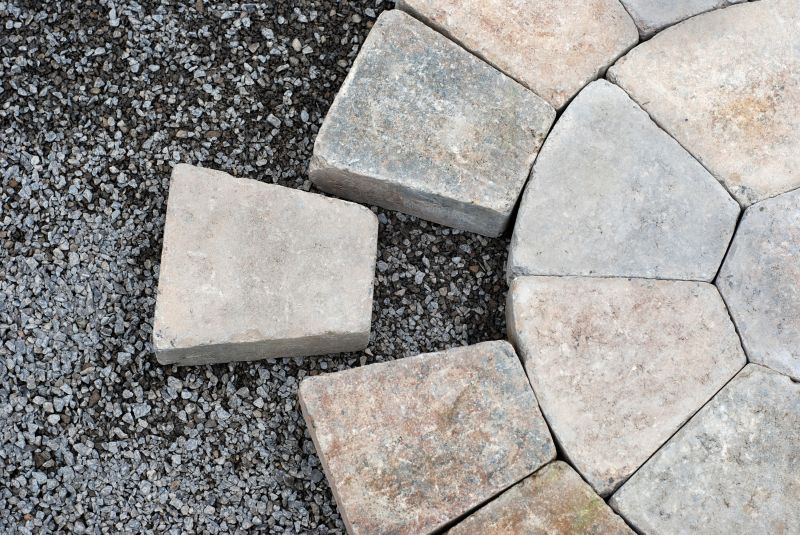
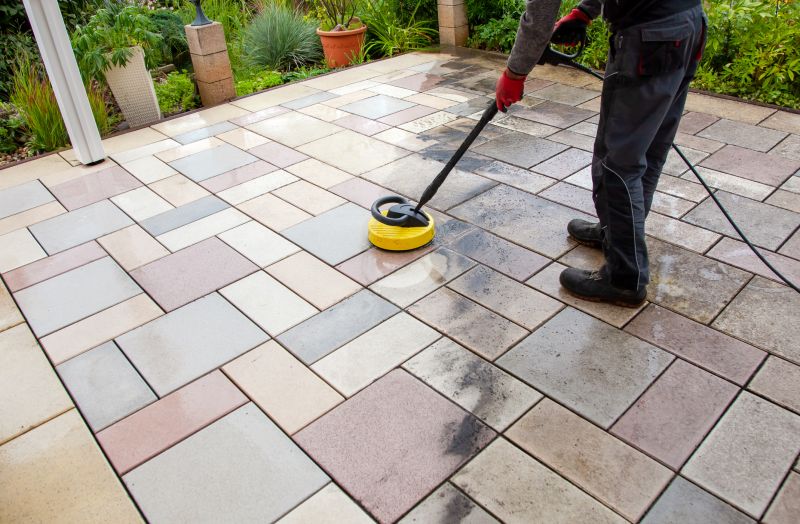
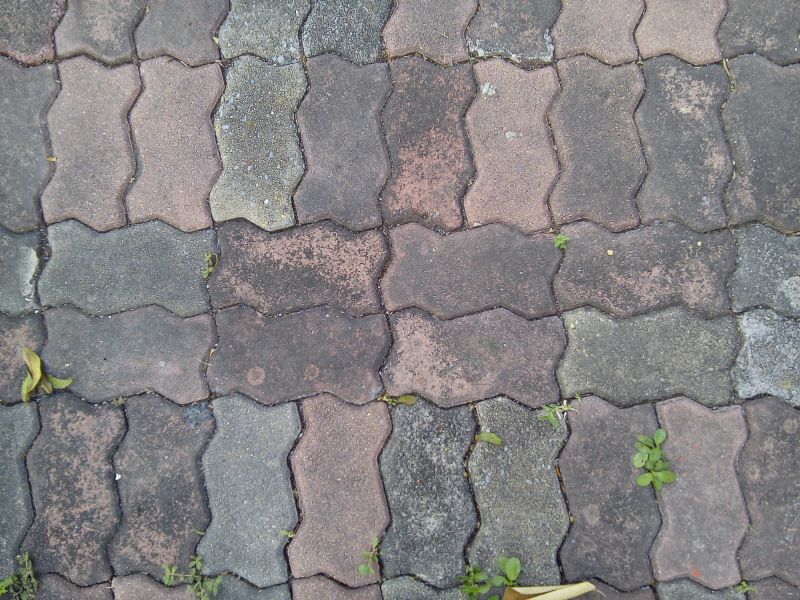
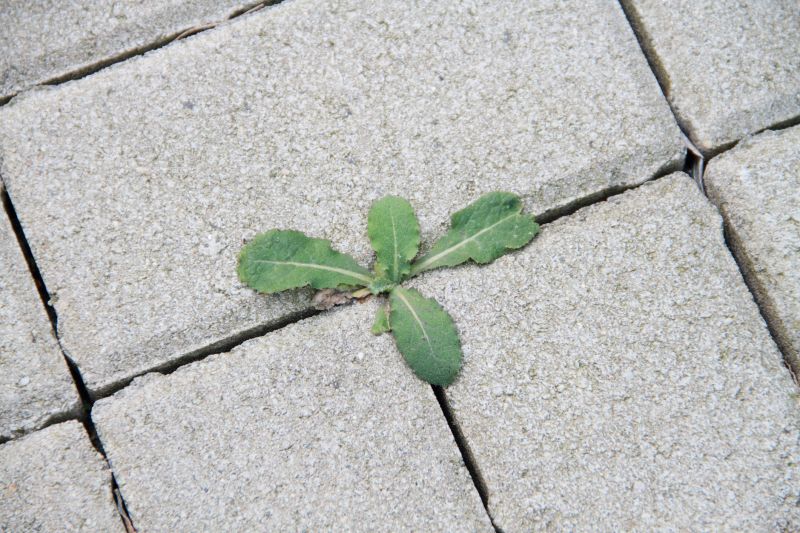
Step 1: Clean the Pavers
Start by using a pressure washer to remove any dirt, debris, and old sealer from the pavers. Adjust the pressure washer to a suitable setting to avoid damaging the pavers. If necessary, use a scrub brush and mild detergent to remove stubborn stains.
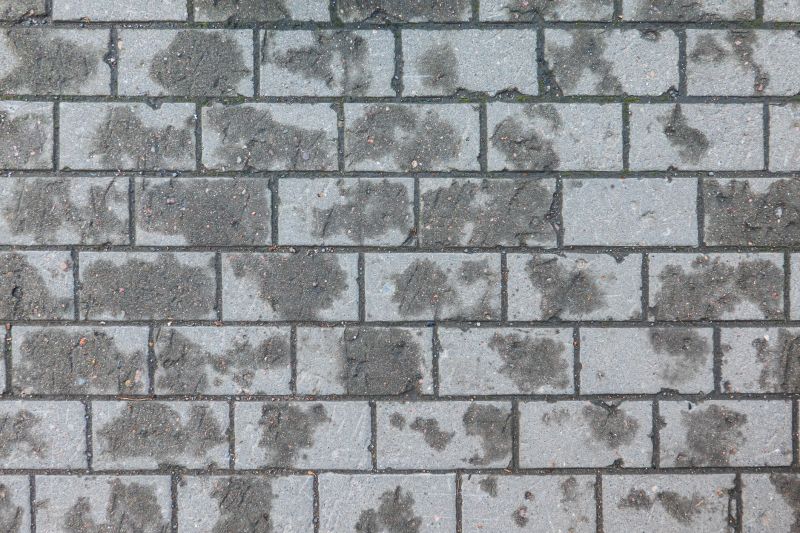
Step 2: Allow Pavers to Dry
After cleaning, allow the pavers to dry completely. This may take a few hours or even a full day, depending on the weather conditions.
Step 3: Prepare the Sealer
Read the instructions on the paver sealer container carefully and follow the recommended mixing instructions. Pour the sealer into a paint tray.
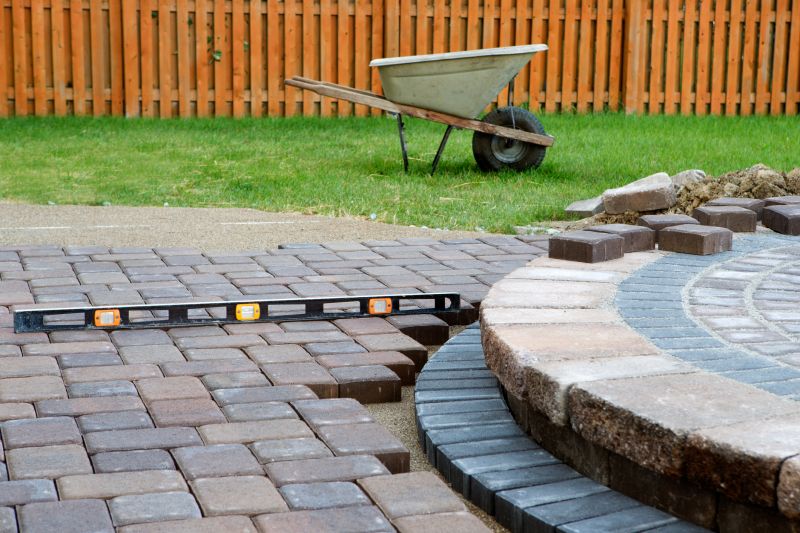
Step 4: Apply the Sealer
Using a paint roller or sprayer, apply an even coat of sealer to the pavers. Start from one end and work your way across the entire area, ensuring complete coverage. If needed, use a paint brush to reach any hard-to-reach areas or edges.
Step 5: Allow Sealer to Dry
Allow the sealer to dry according to the manufacturer's instructions. This typically takes a few hours, but it's best to wait at least 24 hours before walking or driving on the sealed pavers.
Step 6: Apply Additional Coats (optional)
If desired, apply additional coats of sealer following the same process as Step 4. This can provide extra protection and enhance the appearance of the pavers.
Step 7: Clean Up
After completing the sealing process, clean up any tools or equipment used. Dispose of any leftover sealer or materials properly according to local regulations.
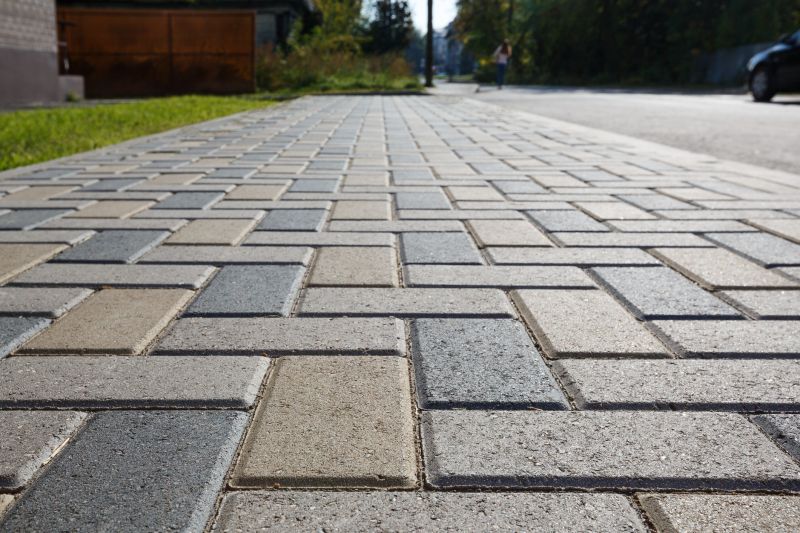
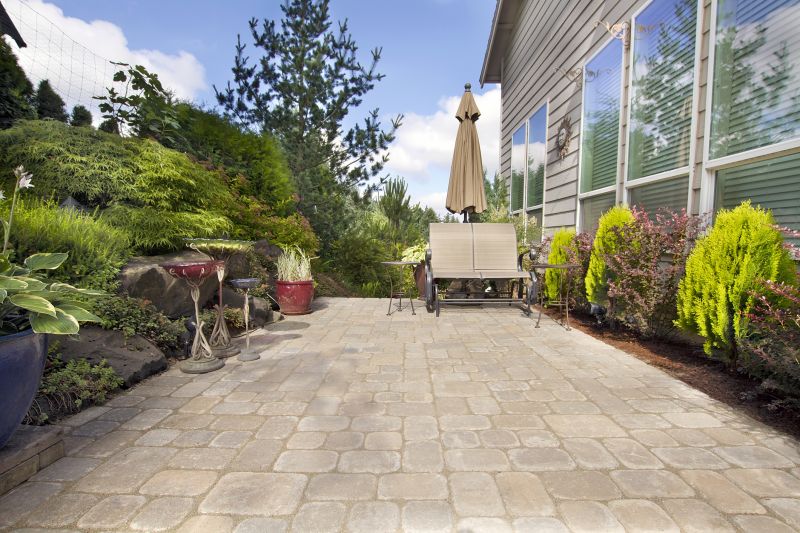
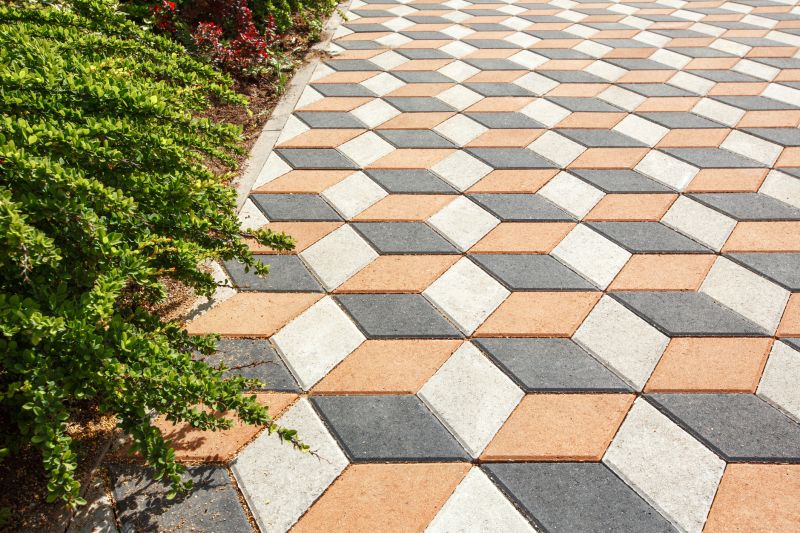
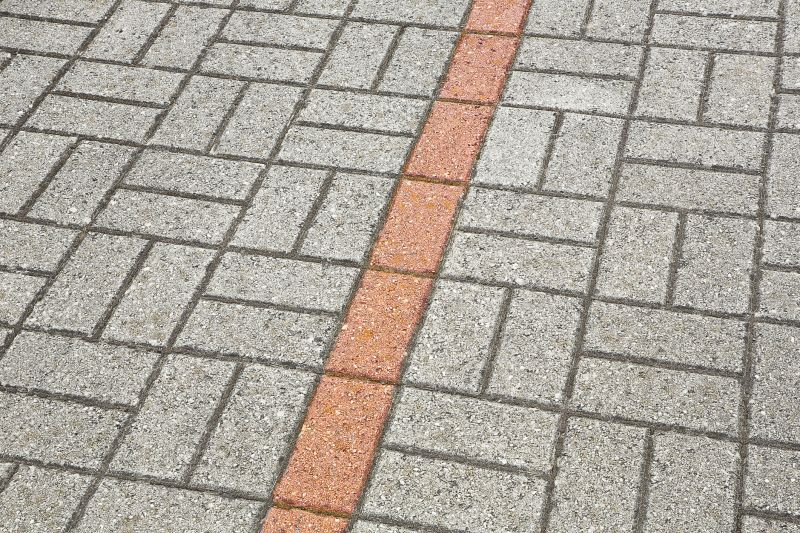
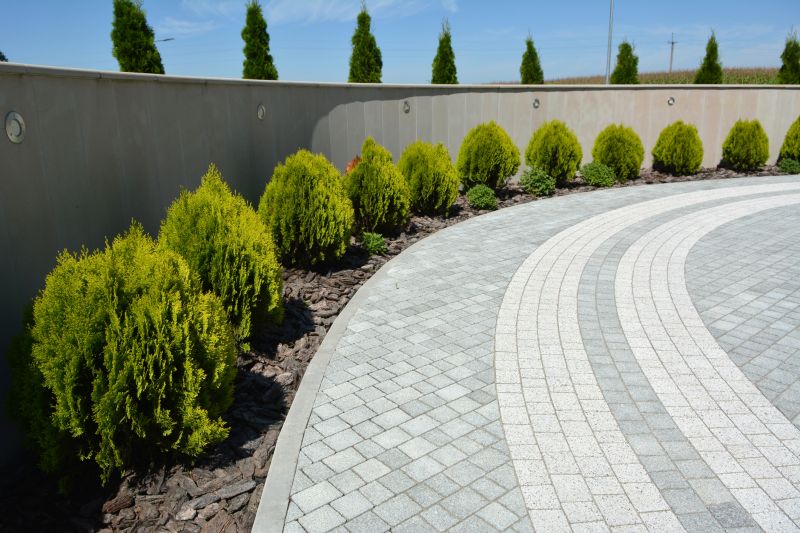
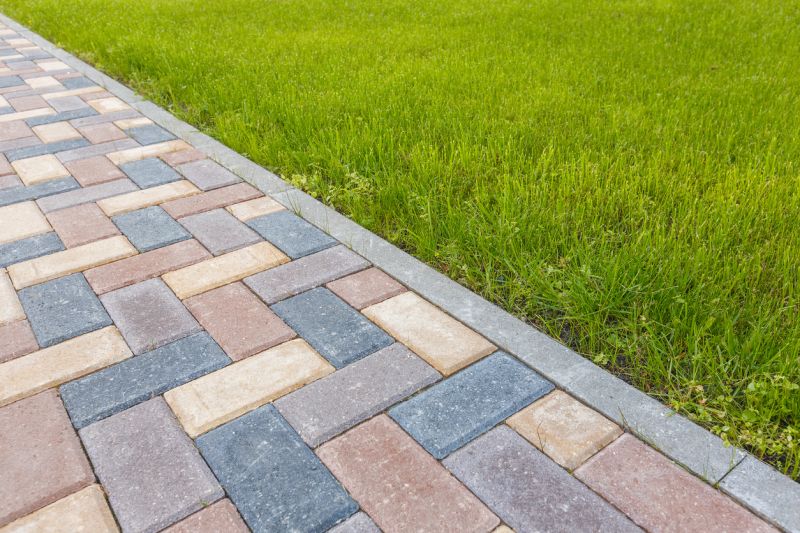
Step 8: Enjoy Your Resealed Pavers
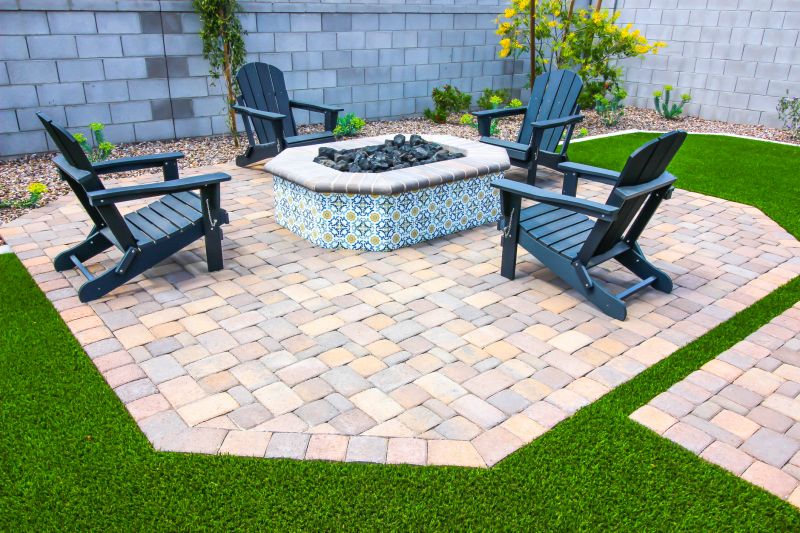
Once the sealer is fully dry, your pavers are ready to be enjoyed. The sealer helps protect the pavers from stains, weather damage, and fading, ensuring they look great for years to come.
Remember to reseal your pavers regularly, as recommended by the sealer manufacturer, to maintain their appearance and durability.