Introduction
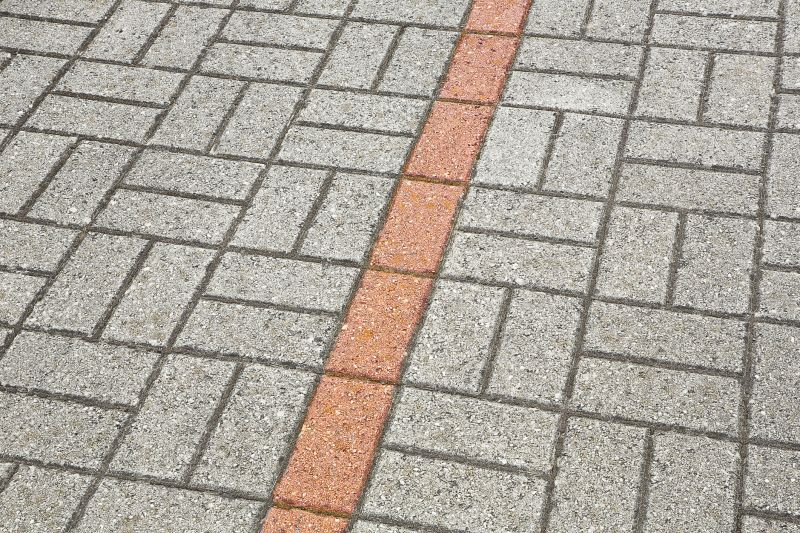
Pavers crack repair is an important maintenance task to ensure the longevity and appearance of your outdoor paver surfaces. In this article, we will guide you through the step-by-step process of repairing cracked pavers.
Materials Needed
- Paver joint sand
- Paver sealer
- Chisel
- Hammer
- Paver adhesive
- Putty knife
- Wire brush
- Protective gloves
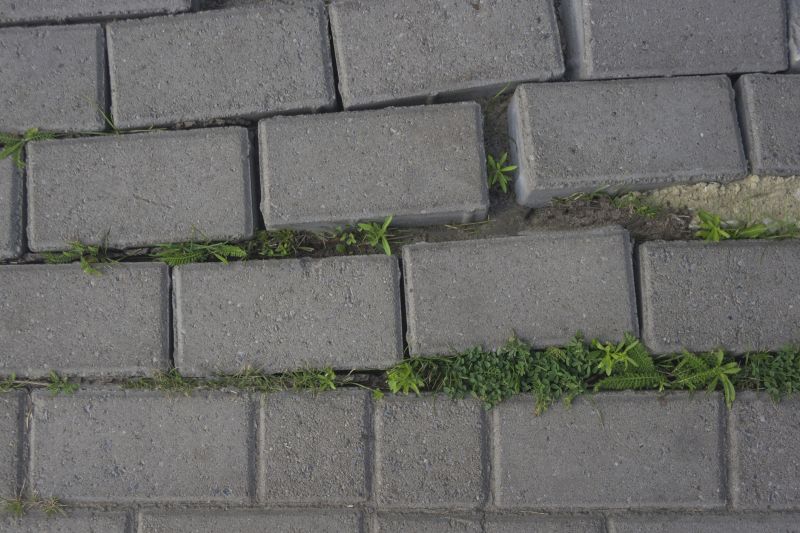
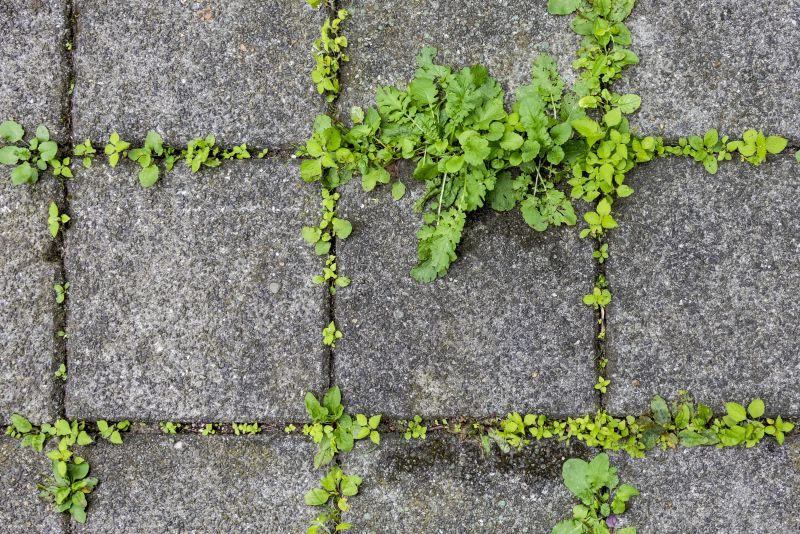
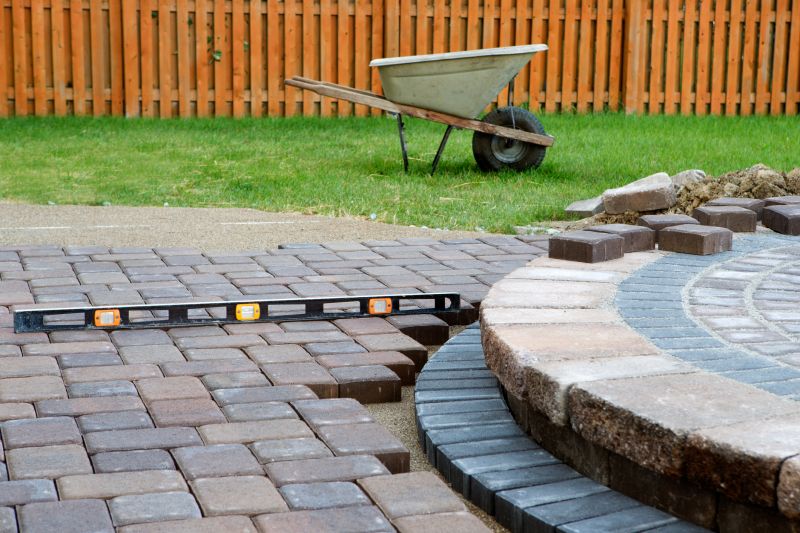
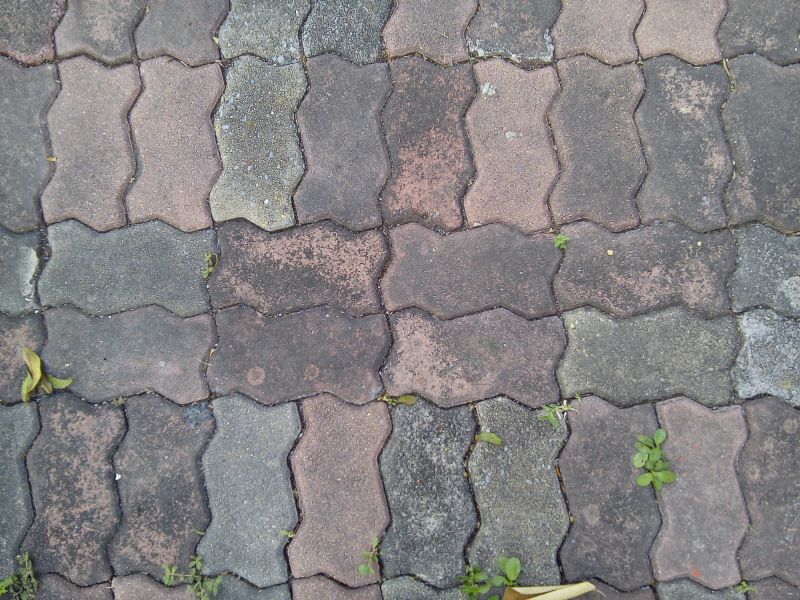
Step 1: Assess the Damage
Examine the cracked pavers to determine the extent of the damage. If the cracks are minor, you may only need to repair the joint sand. However, if the cracks are larger or the pavers are loose, you may need to replace them.
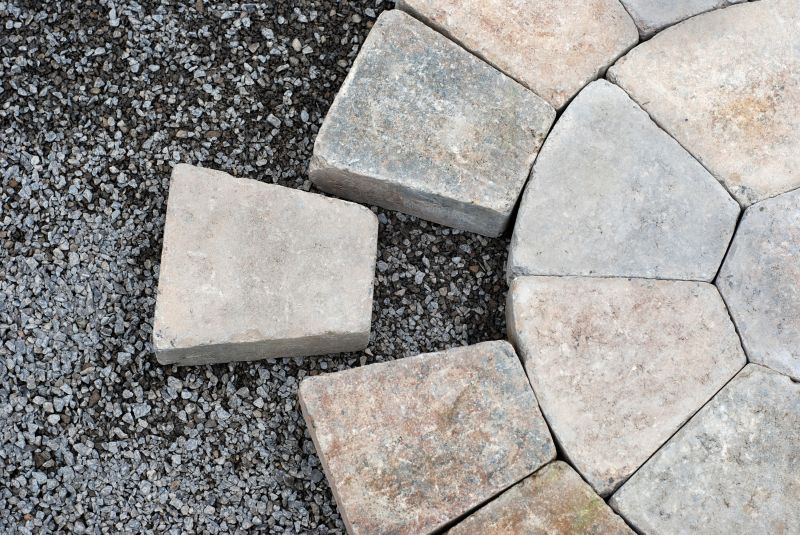
Step 2: Remove the Damaged Pavers
Use a chisel and hammer to carefully remove the cracked pavers. Be cautious not to damage the surrounding pavers during this process.
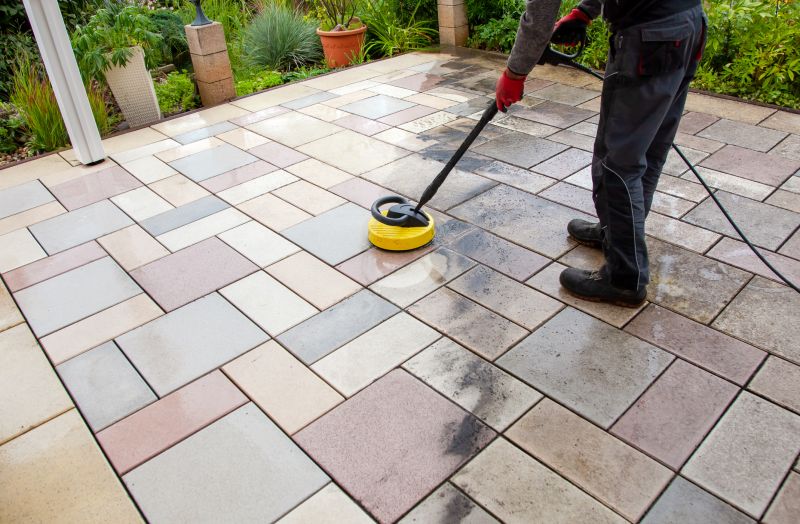
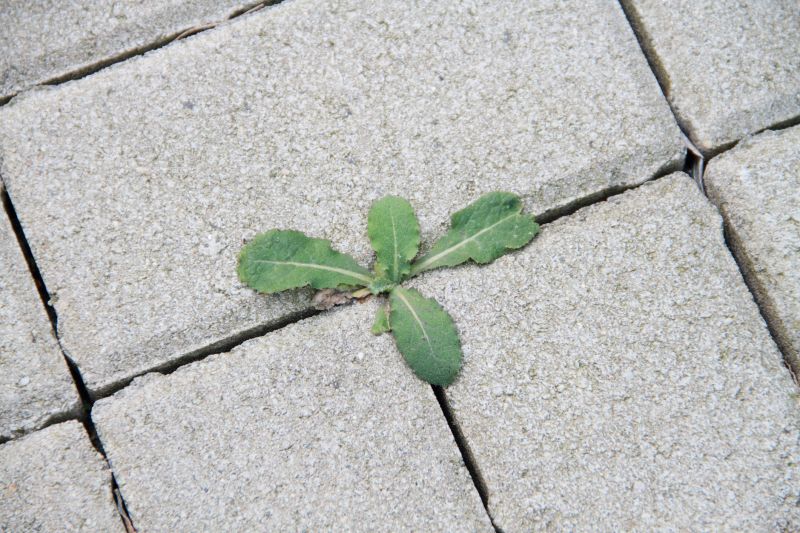
Step 3: Clean the Area
Use a wire brush to clean the area where the cracked pavers were removed. Remove any debris or loose material to ensure a clean surface for the new pavers or joint sand.
Step 4: Replace the Pavers
If you need to replace the cracked pavers, apply a layer of paver adhesive to the bottom of the new paver and carefully place it in the empty space. Use a putty knife to remove any excess adhesive.
Step 5: Repair the Joint Sand
If the cracks are minor, simply brush paver joint sand into the cracks and sweep off any excess. This will help stabilize the pavers and prevent further cracking.
Step 6: Apply Paver Sealer
To enhance the appearance and protect the repaired area, apply a coat of paver sealer according to the manufacturer's instructions. This will help prevent future damage and keep your pavers looking great.
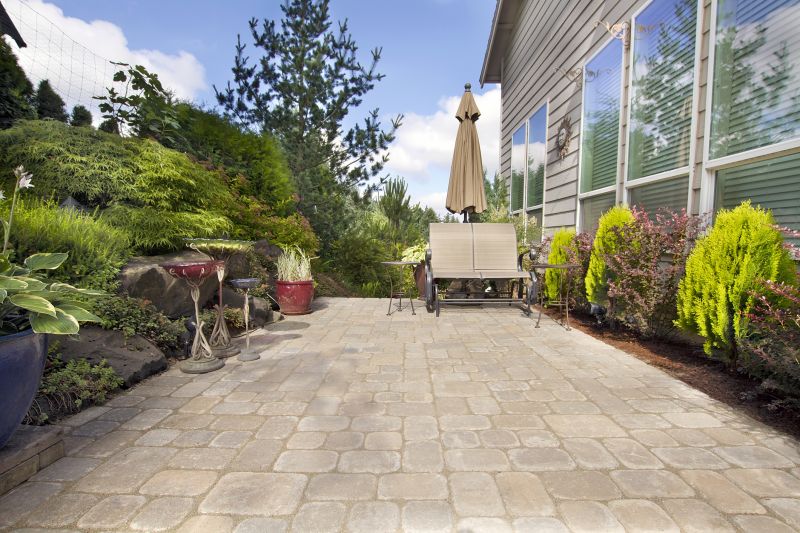
Conclusion
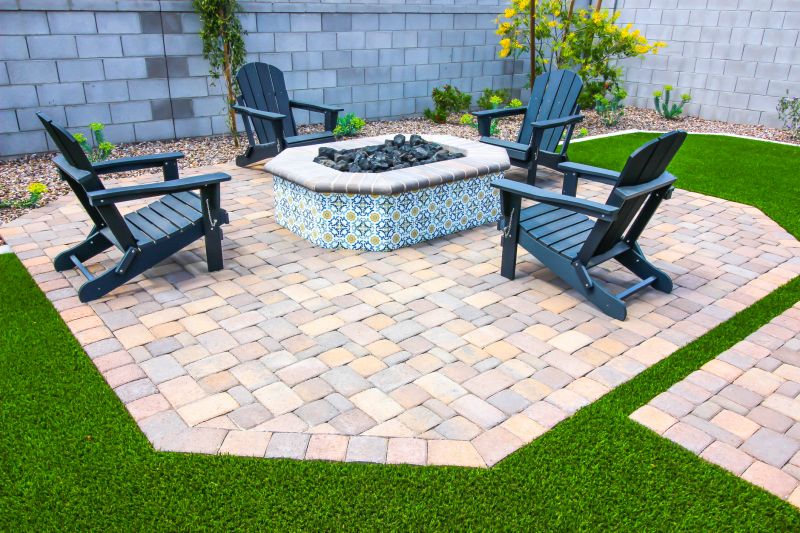
By following these steps, you can successfully repair cracked pavers and maintain the beauty of your outdoor spaces. Regular maintenance and timely repairs will help prolong the life of your pavers and keep them in top condition.