Pavers Replacement | How To
How to Replace Pavers
Step 1: Gather the Necessary Tools and Materials
Before starting the paver replacement process, make sure you have the following tools and materials:
- Protective gloves
- Safety goggles
- Chisel
- Hammer
- Pry bar
- Replacement pavers
- Jointing sand
- Masonry saw (if needed)
- Paver sealer (optional)
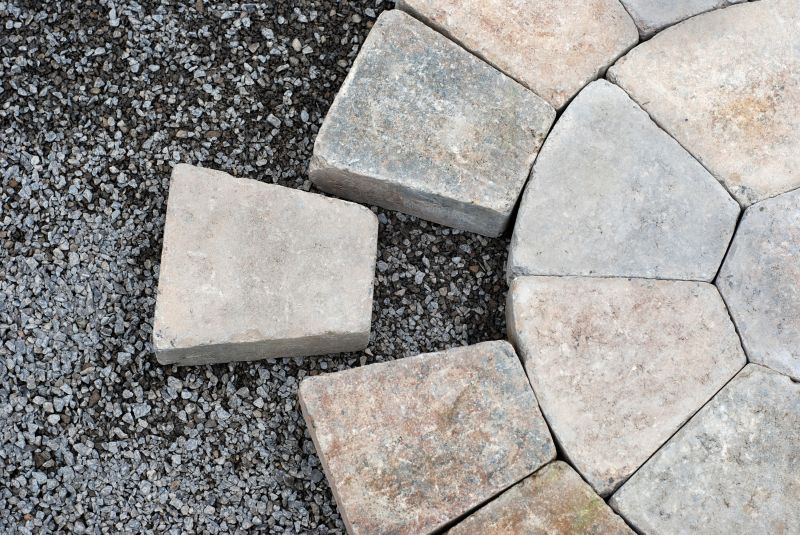
Step 2: Remove the Damaged Pavers
Use the chisel and hammer to carefully remove the damaged pavers. Start by chiseling away the jointing sand around the pavers, then use the pry bar to lift them out. If the pavers are difficult to remove, you can use a masonry saw to cut through them.
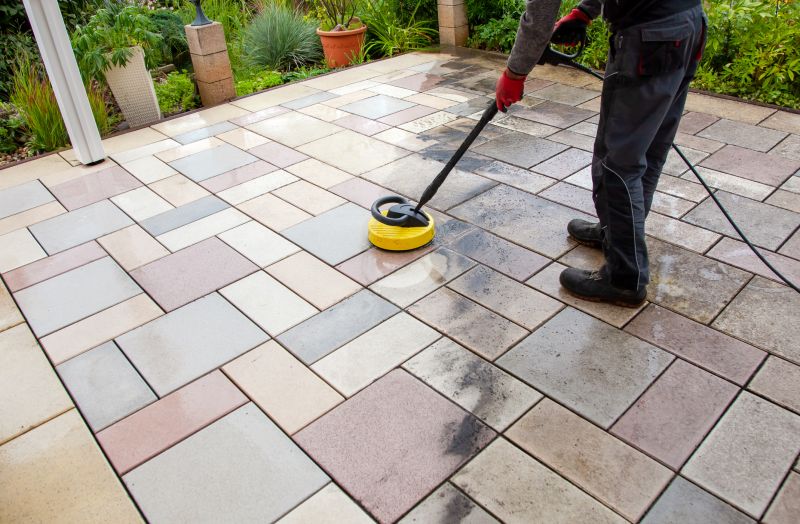
Step 3: Prepare the Area
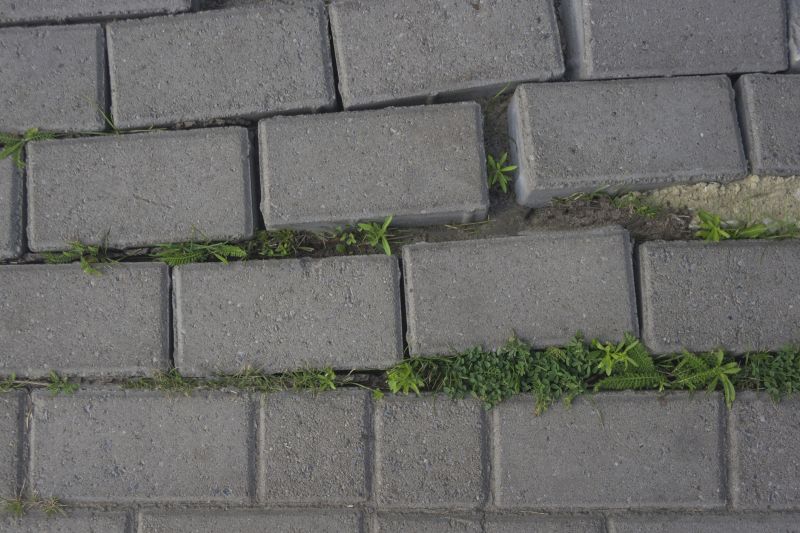
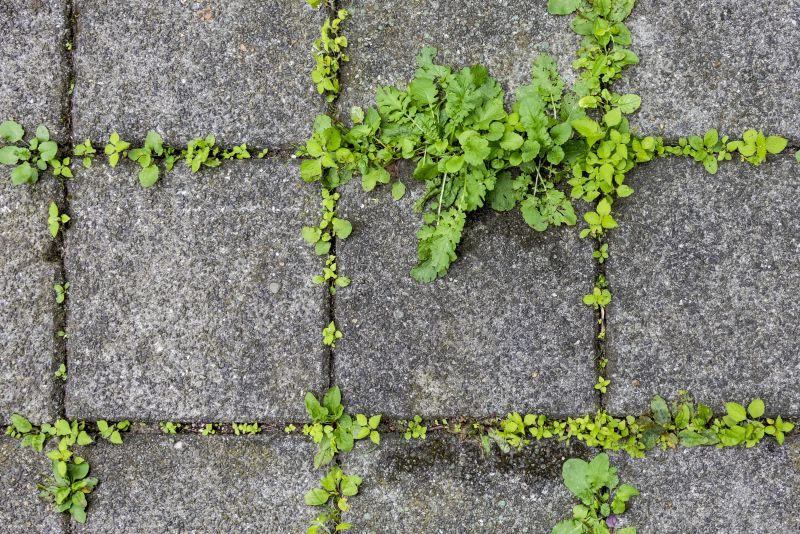
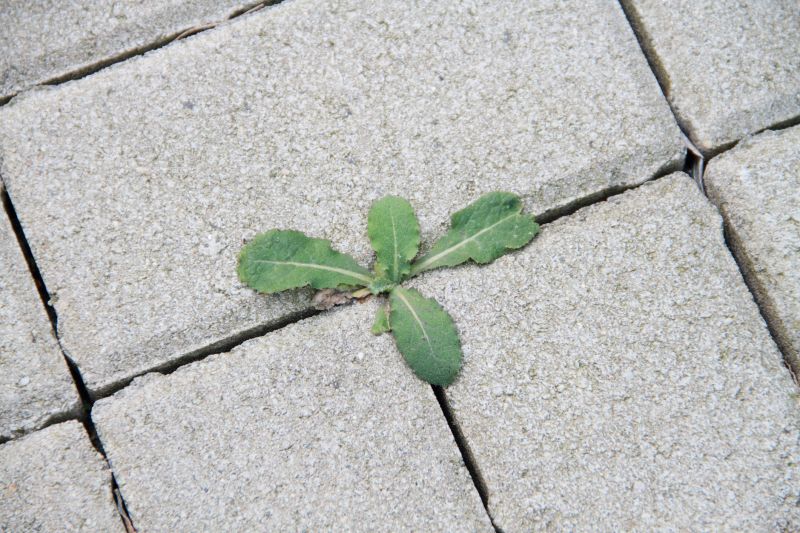
Once the damaged pavers are removed, clean the area thoroughly. Remove any debris, weeds, or old jointing sand. Ensure that the base is level and compacted.
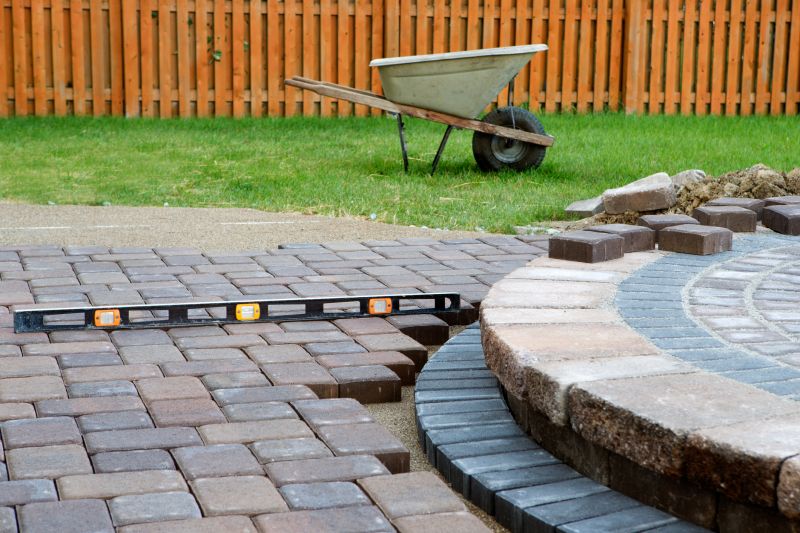
Step 4: Install the Replacement Pavers
Place the replacement pavers into the empty spaces, making sure they fit snugly. Use the hammer and rubber mallet to tap them into place. Check for levelness and adjust if necessary.
Step 5: Fill the Joints
Fill the joints between the pavers with jointing sand. Use a broom to sweep the sand into the gaps, ensuring that it is evenly distributed. Compact the sand by gently tapping it with a rubber mallet.
Step 6: Seal the Pavers (Optional)
If desired, apply a paver sealer to protect the newly replaced pavers and enhance their appearance. Follow the manufacturer's instructions for application.
Step 7: Allow Time for Settling
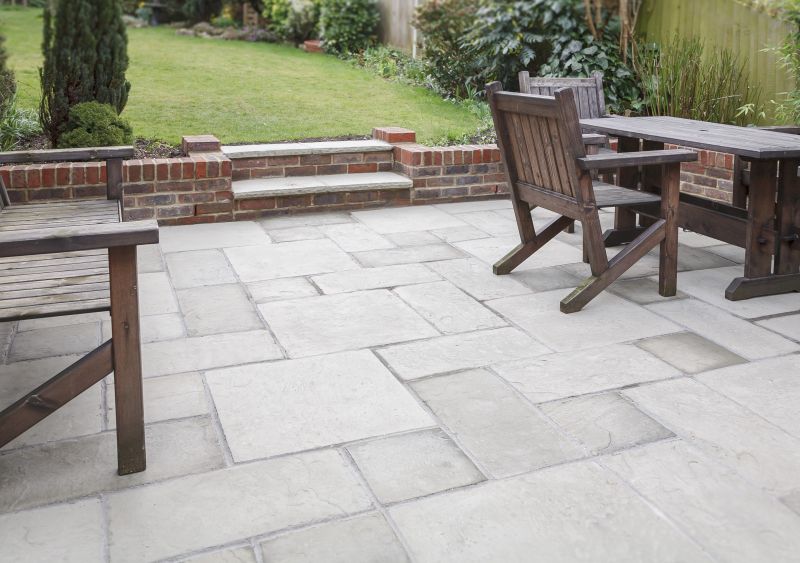
After completing the replacement process, allow some time for the pavers to settle and the jointing sand to fully set. Avoid heavy traffic or placing heavy objects on the newly replaced pavers until they are fully stabilized.
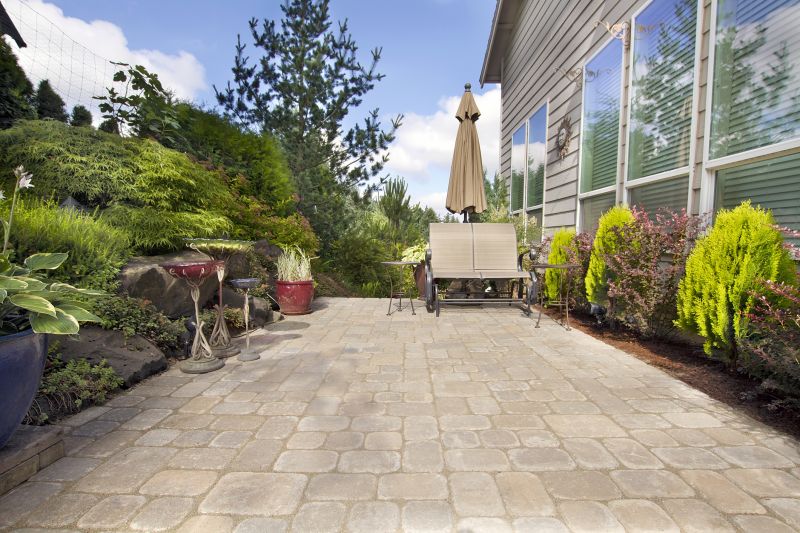
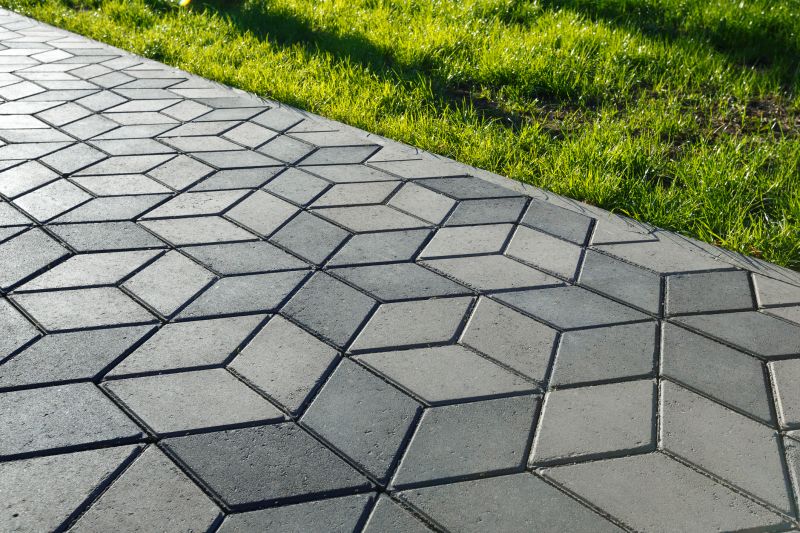
By following these steps, you can successfully replace damaged pavers and maintain the overall integrity and aesthetics of your outdoor space.