Edging Repair For Pavers | How To
How to Do Edging Repair for Pavers
Introduction
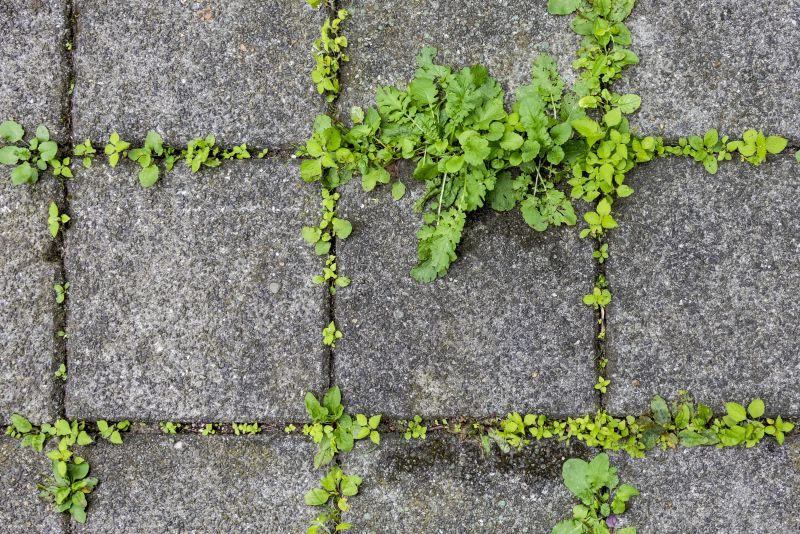
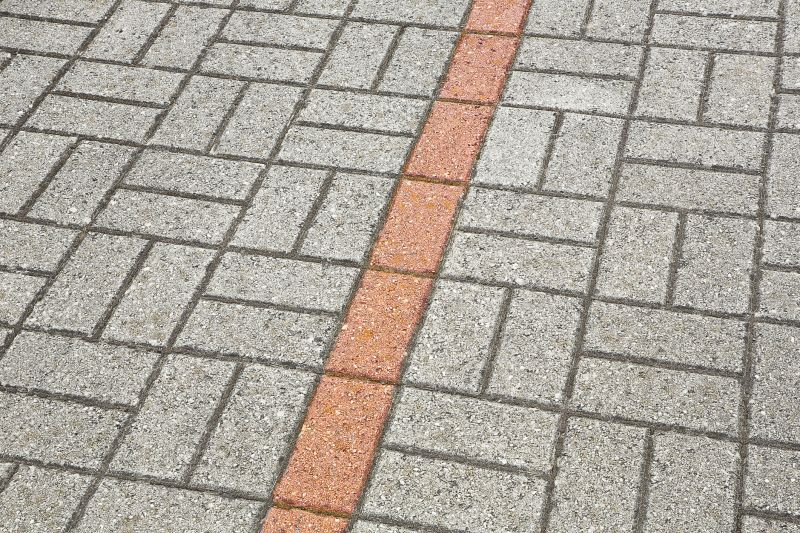
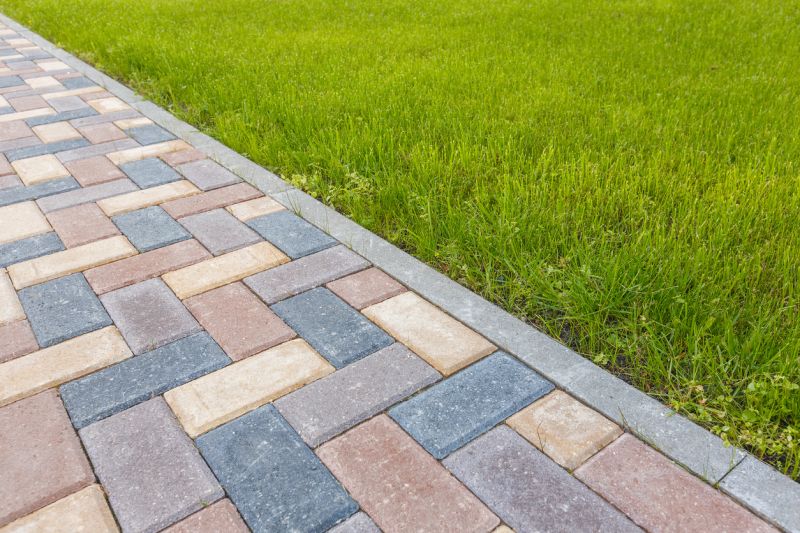
Paver edging can deteriorate over time due to various factors, such as weather conditions and heavy foot traffic. Repairing the edging is essential to maintain the integrity and aesthetics of your paver installation. In this step-by-step guide, we will walk you through the process of edging repair for pavers.
Materials You'll Need
- Pry bar
- Hammer
- Replacement paver edging
- Landscaping spikes
- Level
- Masonry adhesive
- Rubber mallet
- Utility knife
- Measuring tape
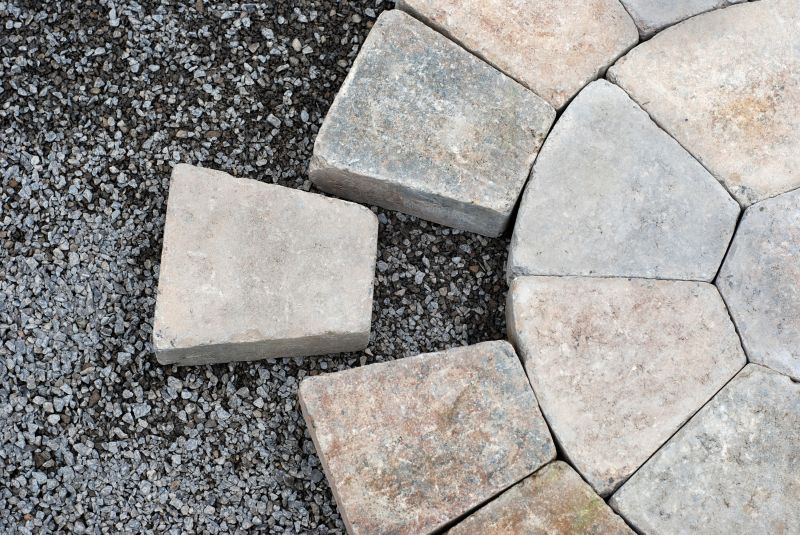
Step 1: Remove Damaged Edging
Use a pry bar and hammer to carefully remove the damaged paver edging. Start at one end and work your way along the edge, gently prying up the edging until it comes loose. Be cautious not to damage the adjacent pavers during this process.
Step 2: Measure and Cut Replacement Edging
Measure the length of the area where the damaged edging was removed. Using a utility knife, cut the replacement paver edging to match the measured length.
Step 3: Secure Replacement Edging
Apply masonry adhesive to the back of the replacement edging. Press the edging firmly against the edge of the pavers, ensuring it is level and aligned with the existing edging. Use a rubber mallet to gently tap the edging into place.
Step 4: Secure Edging with Landscaping Spikes
To provide additional stability, drive landscaping spikes through the replacement edging and into the ground at regular intervals. Make sure the spikes are flush with the edging to avoid any tripping hazards.
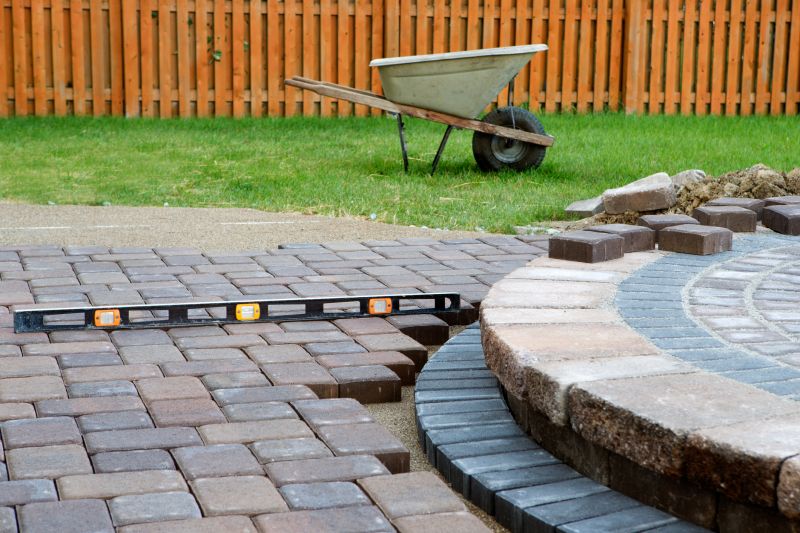
Step 5: Check for Levelness
Use a level to ensure that the repaired edging is level with the surrounding pavers. Adjust as necessary by tapping with a rubber mallet.
Step 6: Allow Adhesive to Dry
Follow the manufacturer's instructions for the masonry adhesive used. Allow sufficient time for the adhesive to dry and cure before subjecting the repaired edging to any stress or foot traffic.
Conclusion
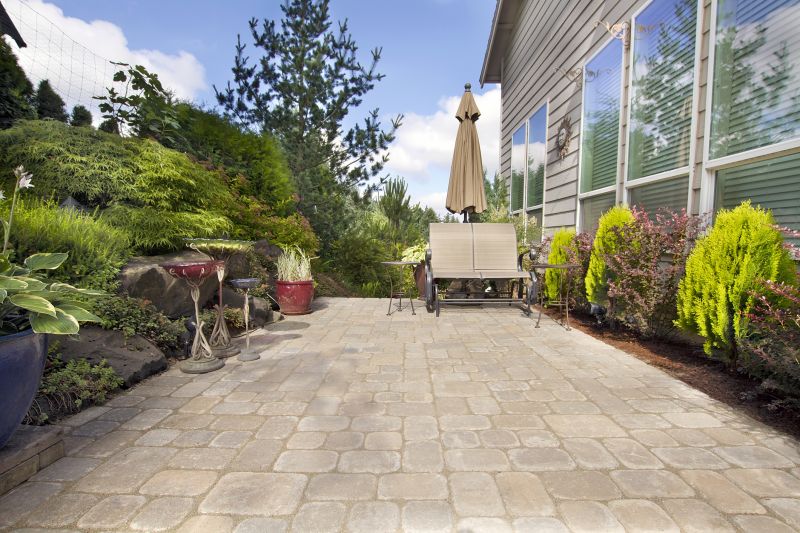
By following these step-by-step instructions, you can successfully repair the edging for your pavers. Regular maintenance and timely repairs will help prolong the lifespan and beauty of your paver installation.