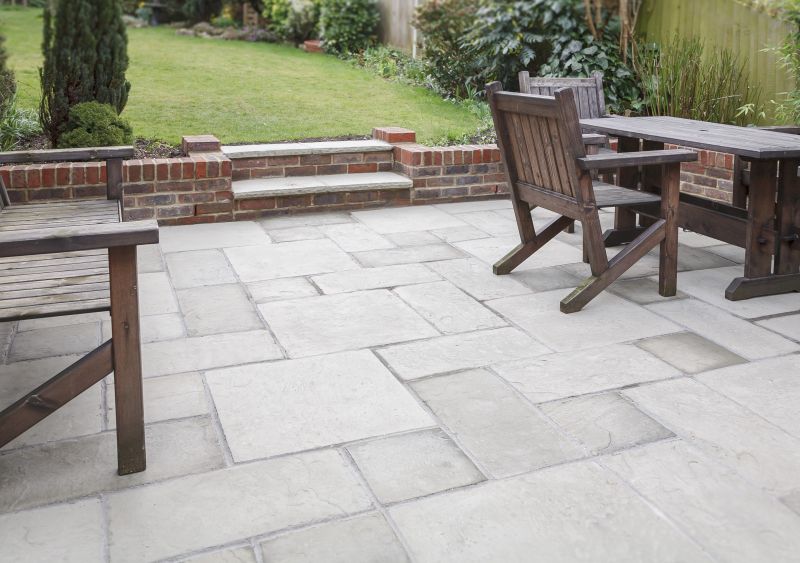
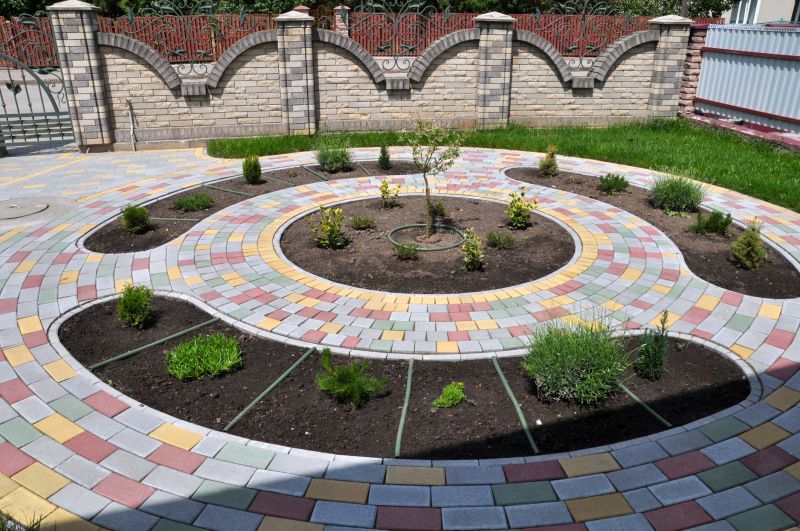
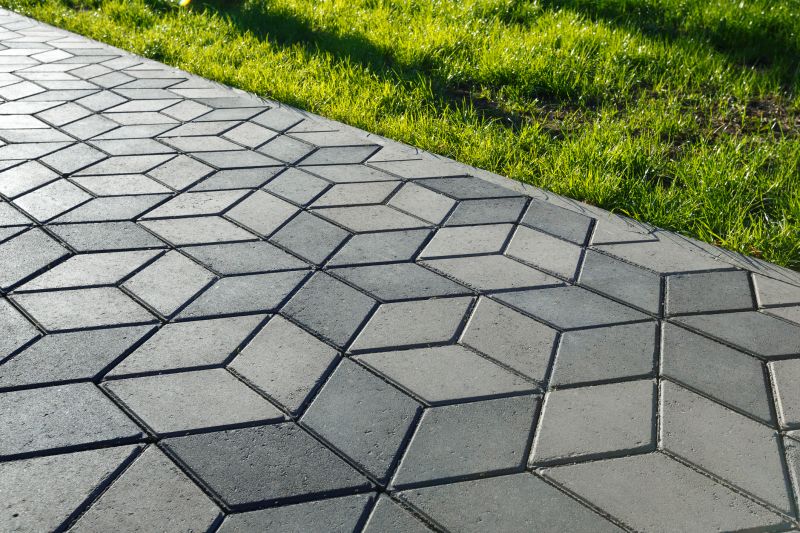
Settled Pavers Repair | How To
How to Repair Settled Pavers
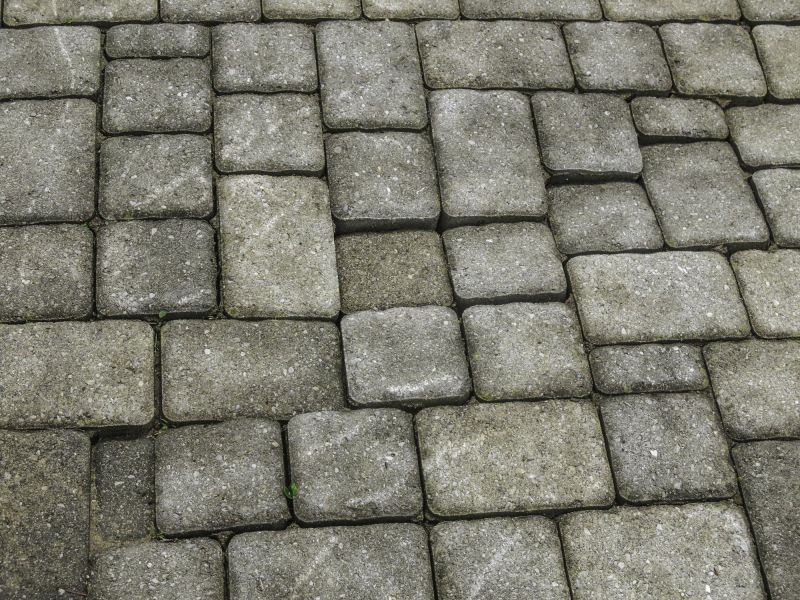
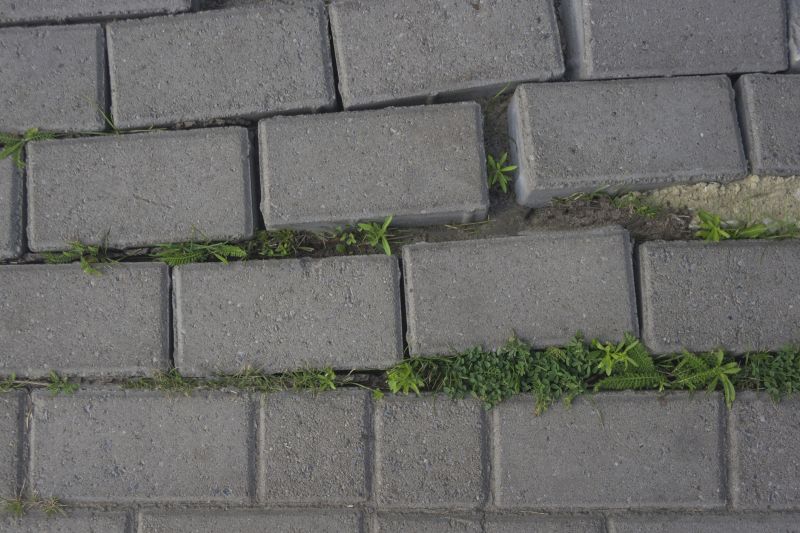
Step 1: Assess the Damage
Examine the settled pavers to determine the extent of the damage. Look for any cracks, unevenness, or gaps between the pavers.
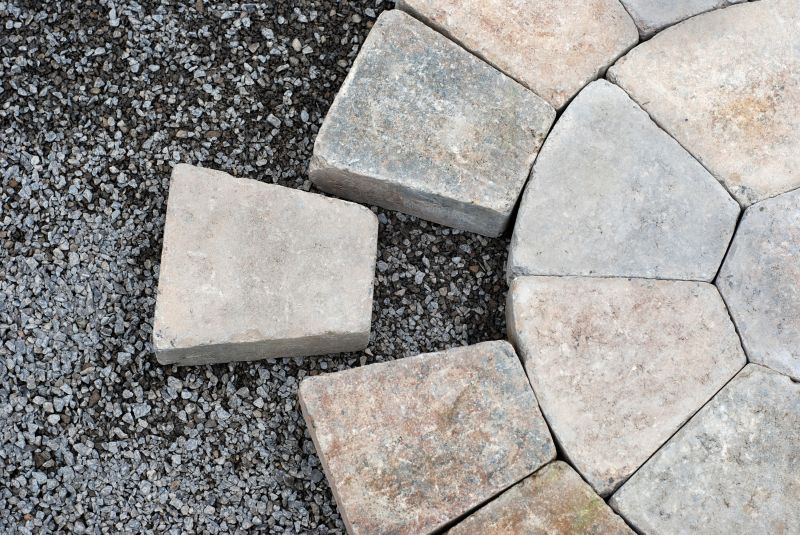
Step 2: Remove the Settled Pavers
Carefully remove the settled pavers using a pry bar or a similar tool. Start with the pavers closest to the settled area and work your way outwards.
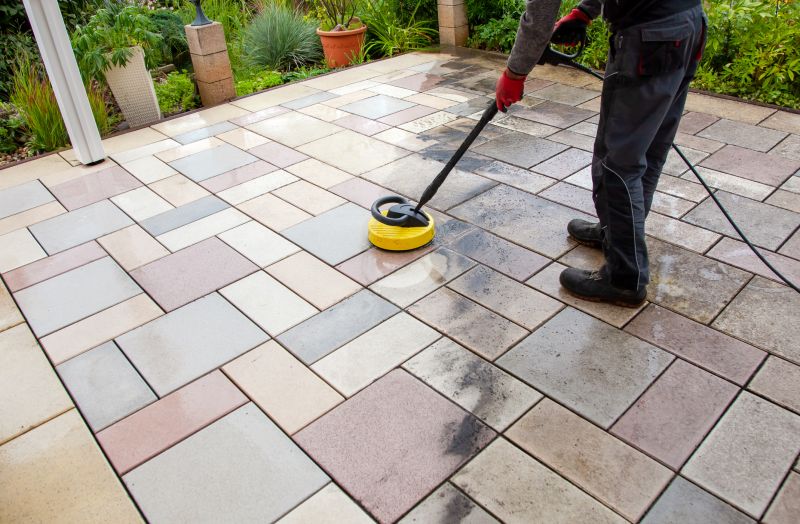
Step 3: Clean the Area
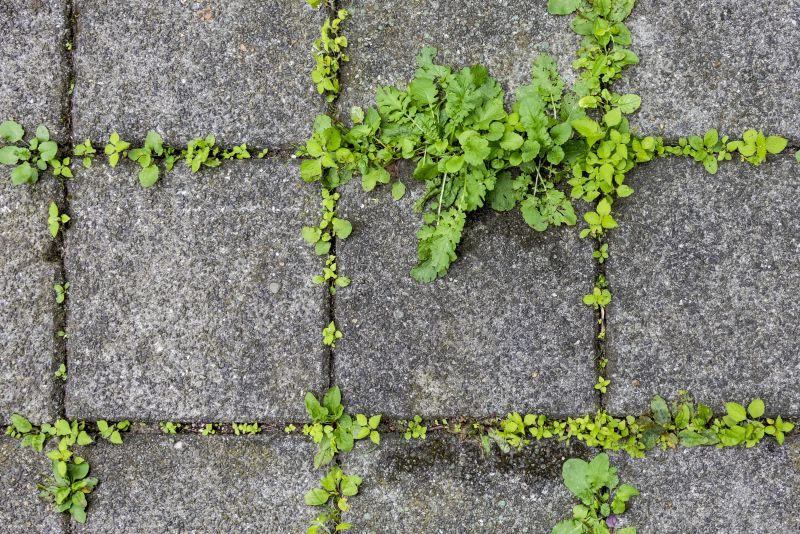
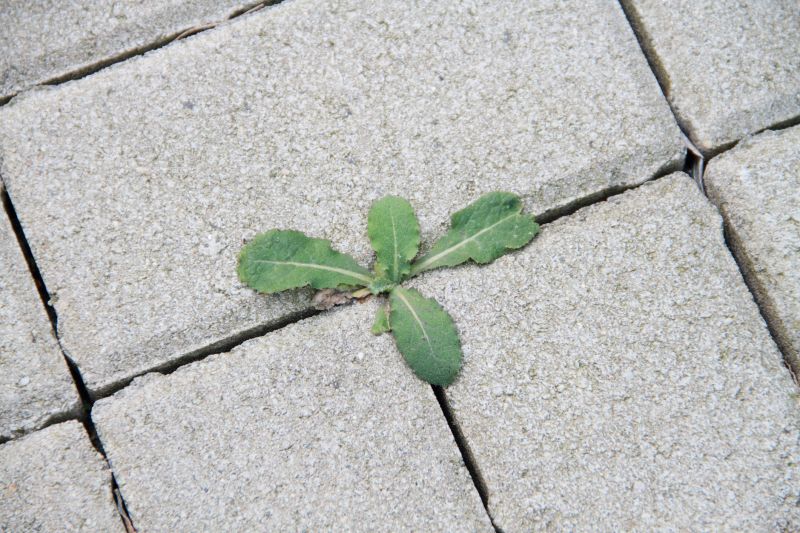
Thoroughly clean the area where the settled pavers were removed. Remove any debris, dirt, or weeds using a broom or a pressure washer.
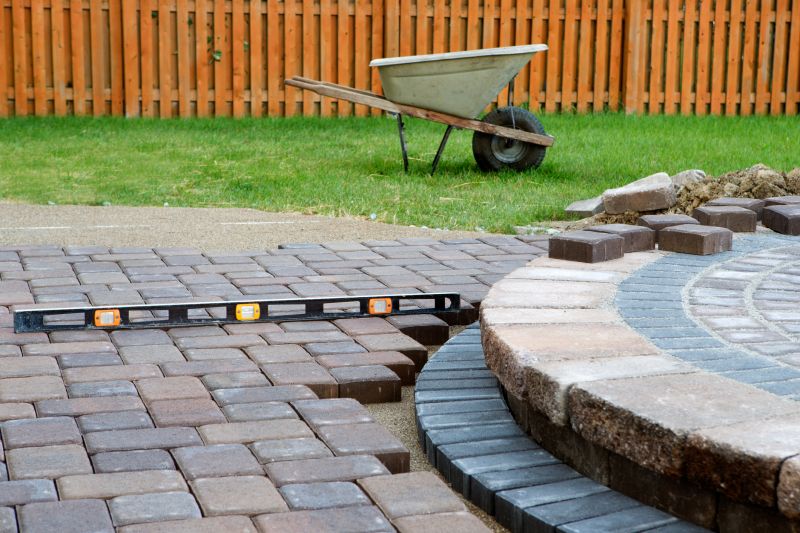
Step 4: Level the Base
If the settled pavers were caused by an uneven base, you will need to level it. Add or remove gravel or sand as needed to create a level surface.
Step 5: Install New Base Material
Place a layer of compacted gravel or sand over the leveled base. Make sure the thickness of the base material matches the surrounding area.
Step 6: Replace the Pavers
Carefully place the pavers back into position, ensuring they are aligned properly and level with the surrounding pavers. Use a rubber mallet to gently tap them into place.
Step 7: Fill the Joints
Fill the joints between the pavers with fine sand or polymeric sand. Sweep the sand into the joints, ensuring they are completely filled and compacted.
Step 8: Compact and Settle
Use a plate compactor to compact the pavers and settle them into the base material. This will help ensure a stable and durable repair.
Step 9: Seal the Pavers (Optional)
If desired, apply a paver sealer to protect the repaired area from stains, weathering, and weed growth. Follow the manufacturer's instructions for application.
Step 10: Allow for Curing
Allow the repaired area to cure for the recommended time before subjecting it to heavy traffic or other stresses. This will ensure the longevity of the repair.
Congratulations! You have successfully repaired settled pavers. Enjoy your newly restored outdoor space!