Pavers Resurfacing | How To
How to Do Pavers Resurfacing
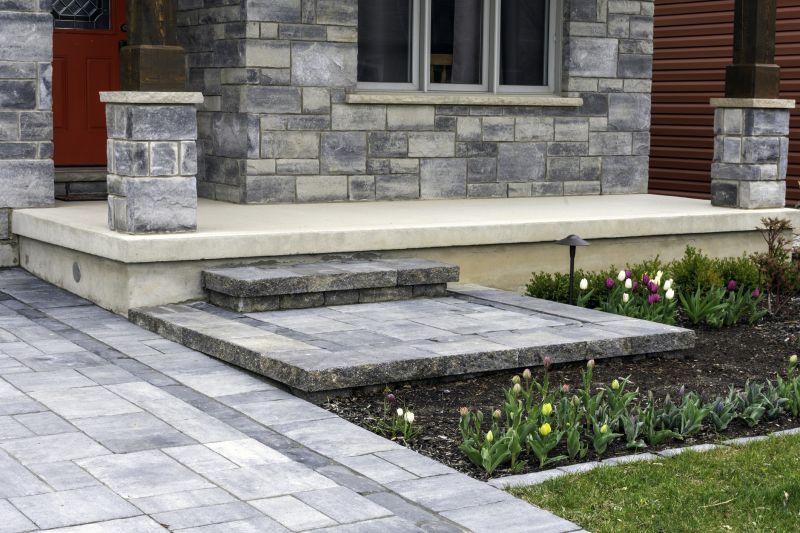
Introduction
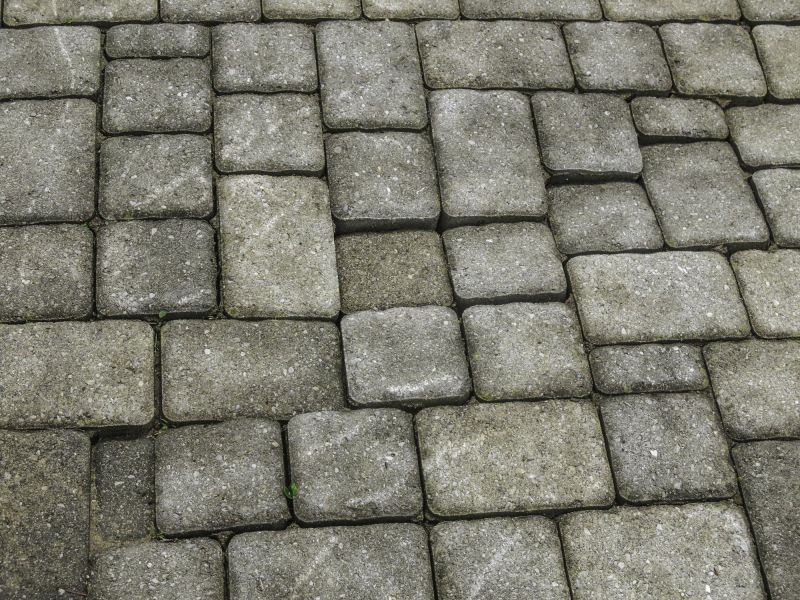
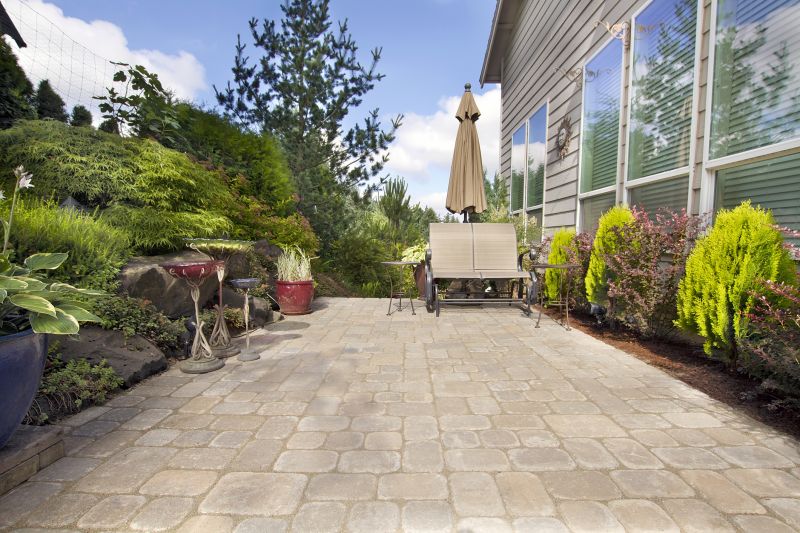
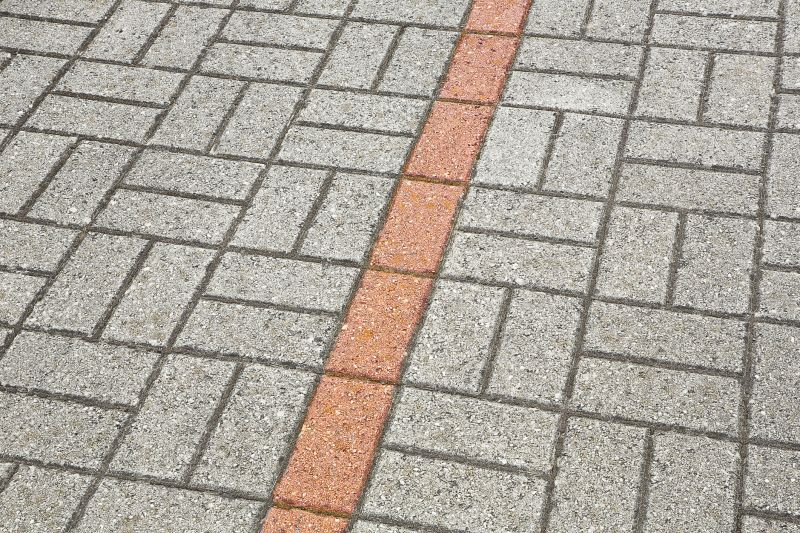
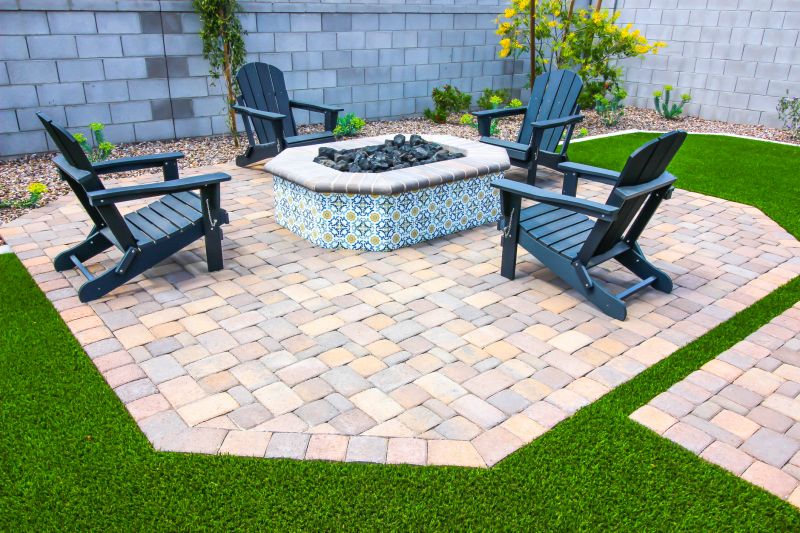
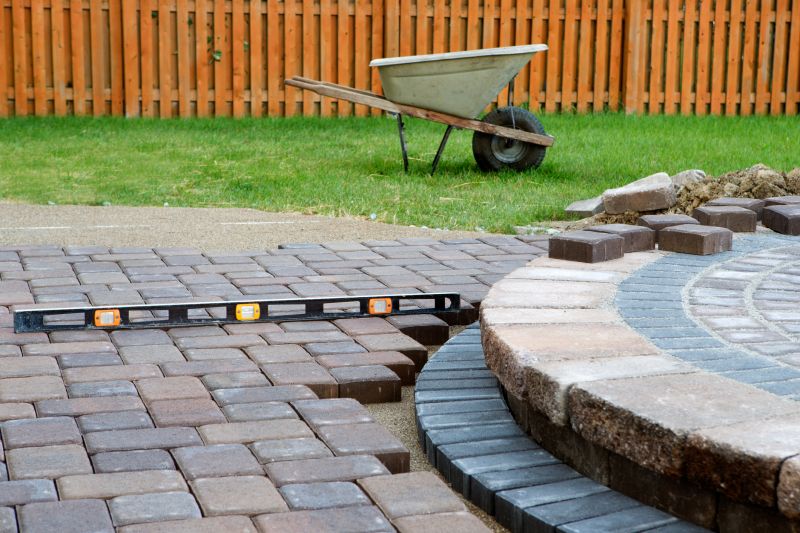
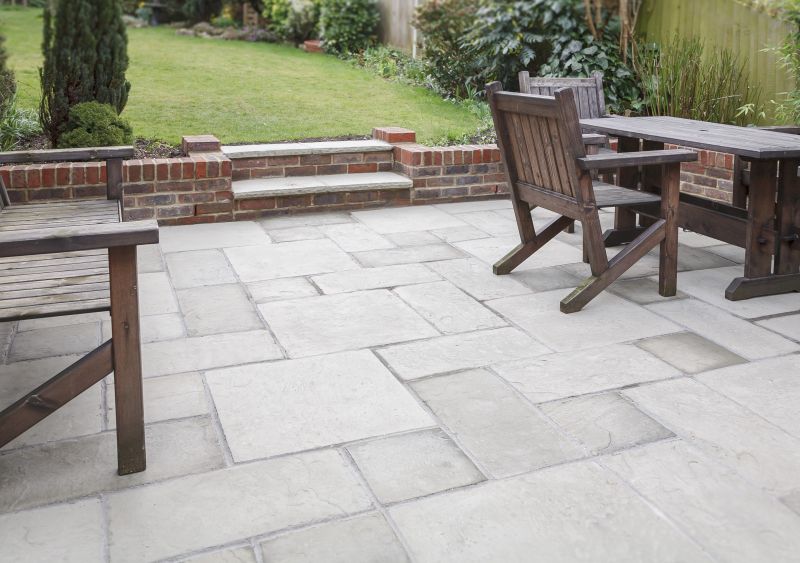
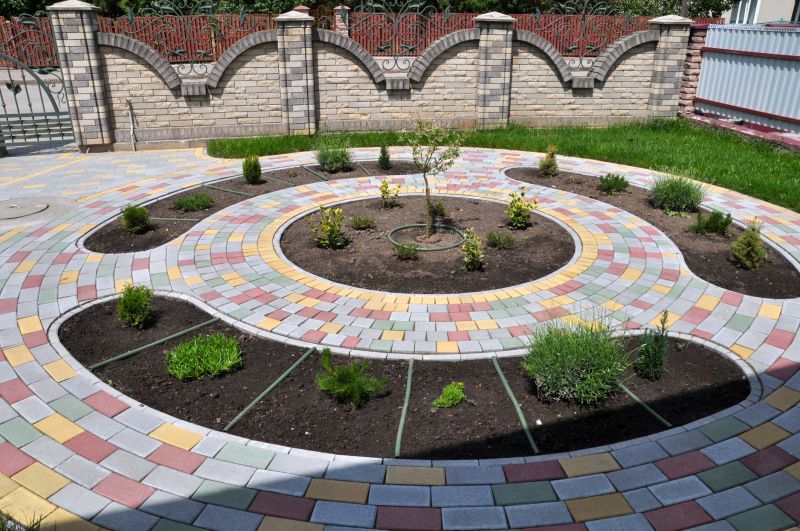
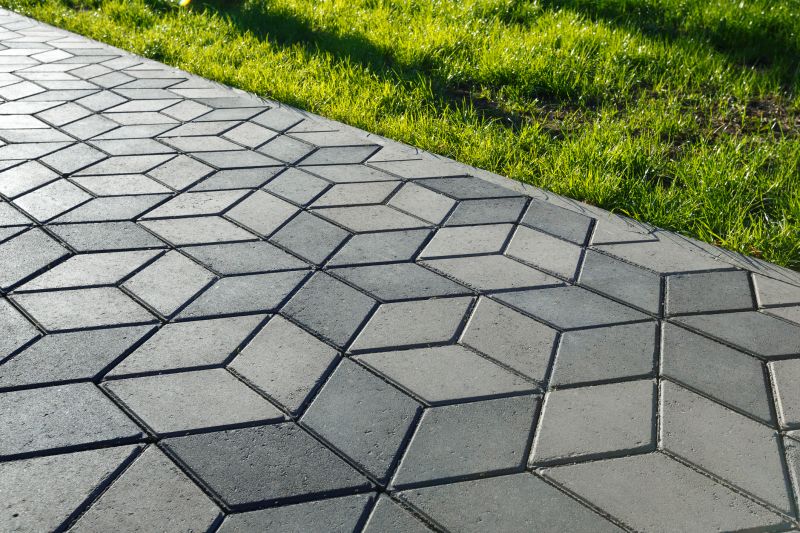
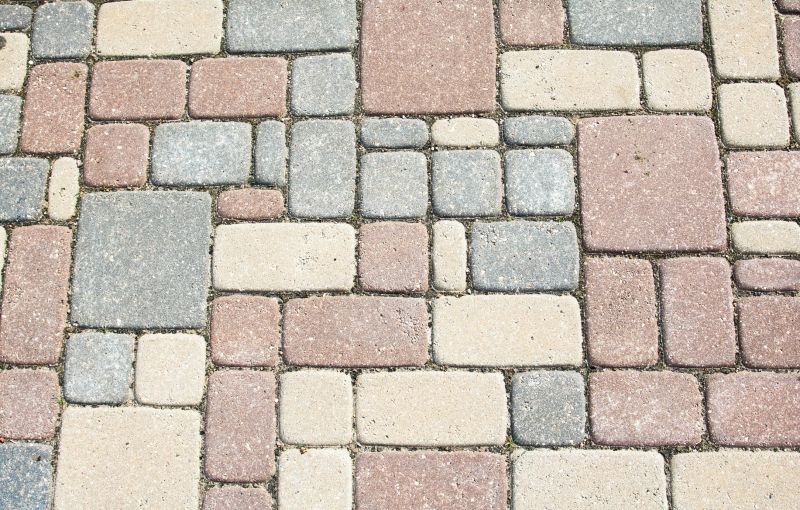
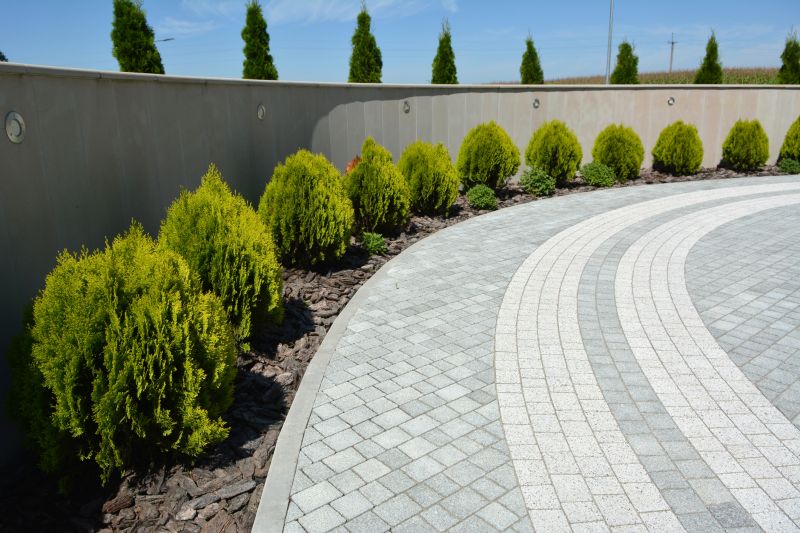
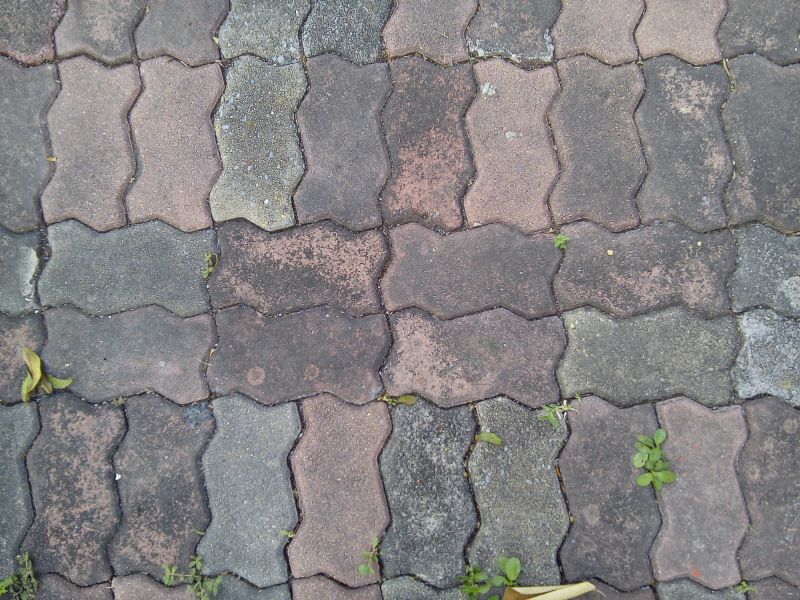
Pavers resurfacing is a great way to rejuvenate the look of your outdoor space. Whether you have a patio, walkway, or driveway, this step-by-step guide will help you achieve a fresh and polished surface. Follow these instructions to get started.
Materials You'll Need
- Paver cleaner
- Pressure washer
- Paver sealer
- Paint roller or sprayer
- Paintbrush
- Protective gloves
- Protective eyewear
- Scrub brush
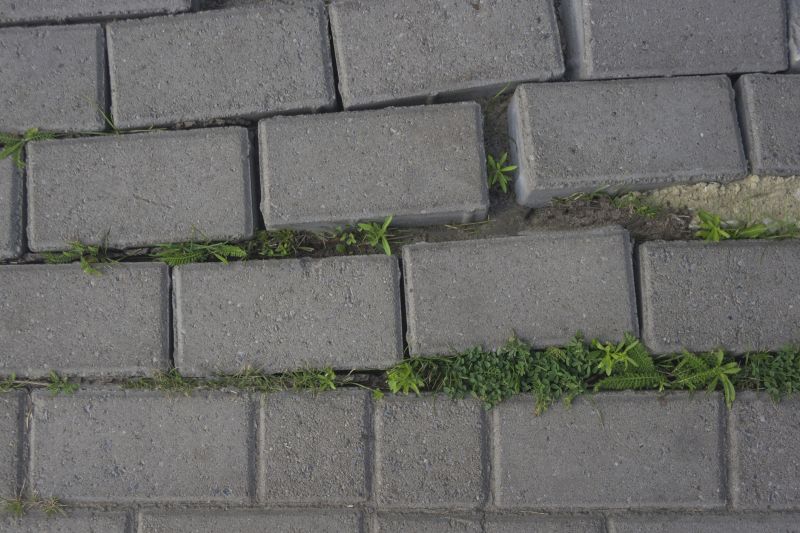
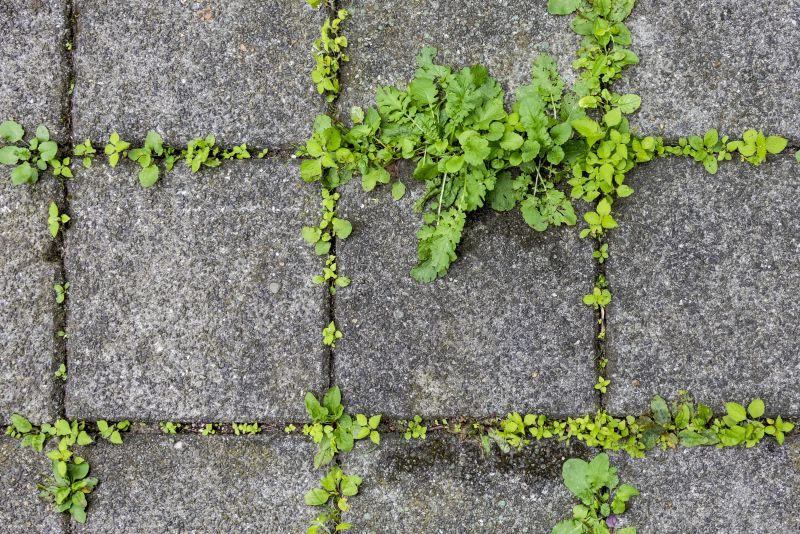
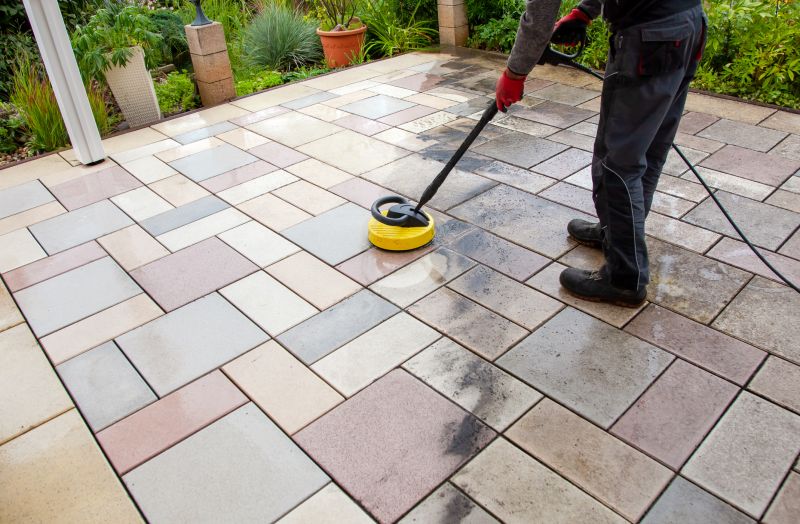
Step 1: Clean the Pavers
Start by thoroughly cleaning the pavers. Remove any debris, dirt, or stains using a paver cleaner and a scrub brush. For stubborn stains, you may need to use a pressure washer to achieve the best results. Allow the pavers to dry completely before moving on to the next step.
Step 2: Apply Paver Sealer
Once the pavers are clean and dry, it's time to apply the paver sealer. Choose a high-quality sealer that is specifically designed for pavers. Use a paint roller or sprayer to evenly apply the sealer to the surface of the pavers. Be sure to follow the manufacturer's instructions for application and drying time.
Step 3: Let the Sealer Dry
Allow the sealer to dry completely. This may take a few hours or overnight, depending on the product you are using. Avoid walking or driving on the pavers until the sealer is fully dry to prevent any damage or smudging.
Step 4: Touch Up and Finish
Inspect the pavers for any missed spots or areas that need touch-ups. Use a paintbrush to carefully apply additional sealer to these areas. Once you are satisfied with the results, allow the pavers to dry completely before using the resurfaced area.
Conclusion
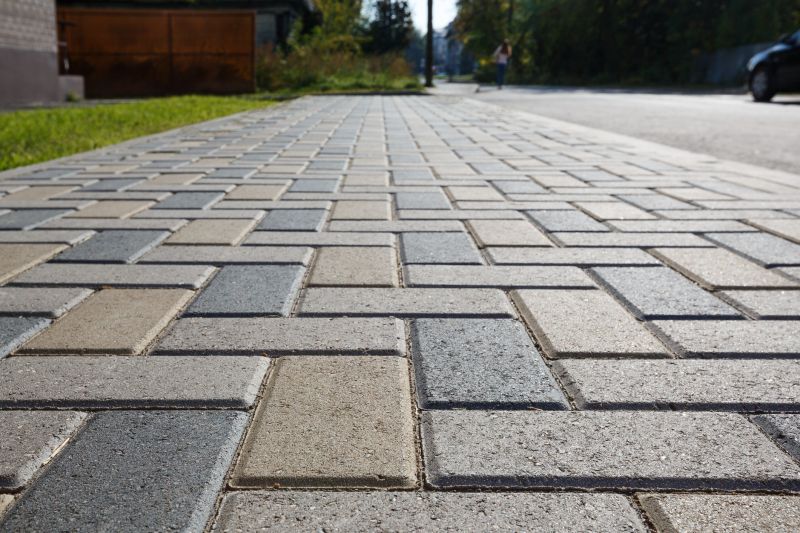
Pavers resurfacing can transform the look of your outdoor space and provide long-lasting protection. By following these simple steps, you can achieve a beautiful and durable surface that will enhance the overall appeal of your property.