How to Do Pavers Weed Control
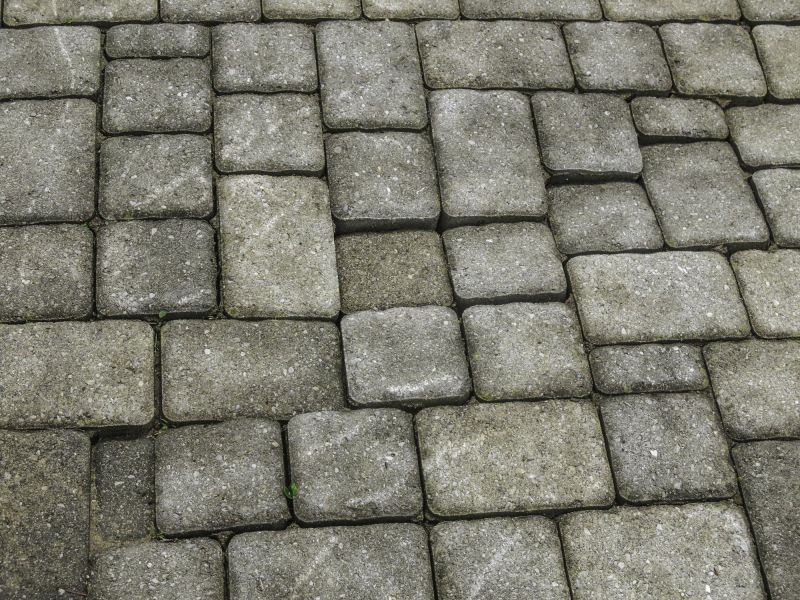
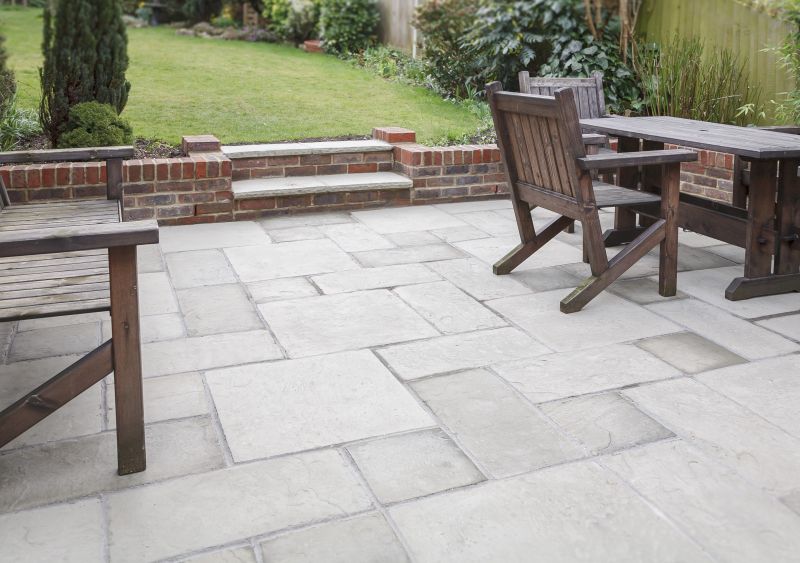
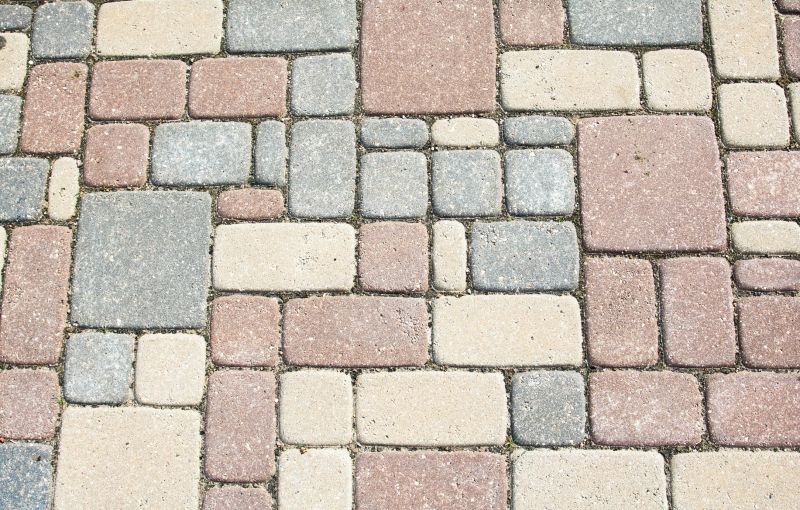
Pavers are a popular choice for creating beautiful outdoor spaces. However, weeds can quickly take over and ruin the look of your pavers. Follow these steps to effectively control weeds and keep your pavers looking pristine.
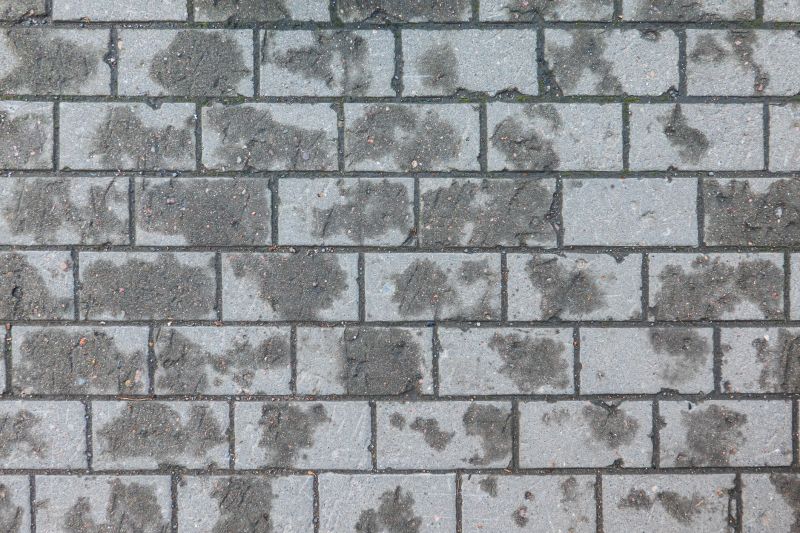
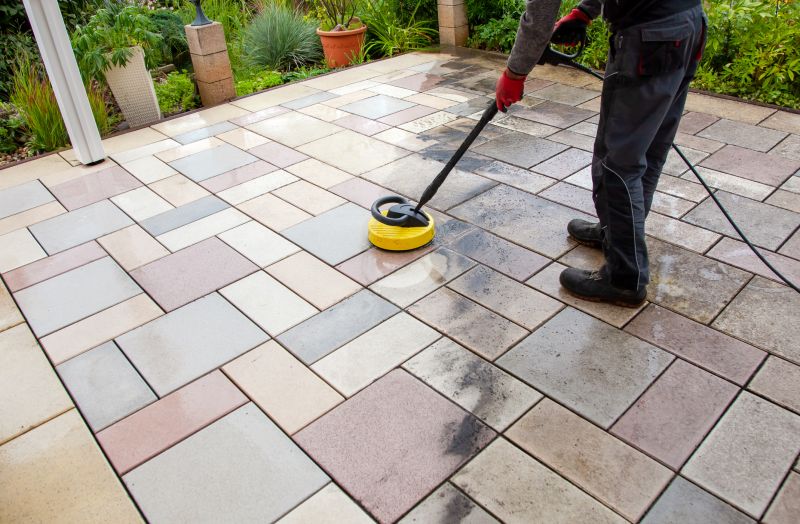
Step 1: Clear the Area
Start by removing any debris, leaves, or loose dirt from the pavers. Use a broom, leaf blower, or a garden hose to clean the surface thoroughly.
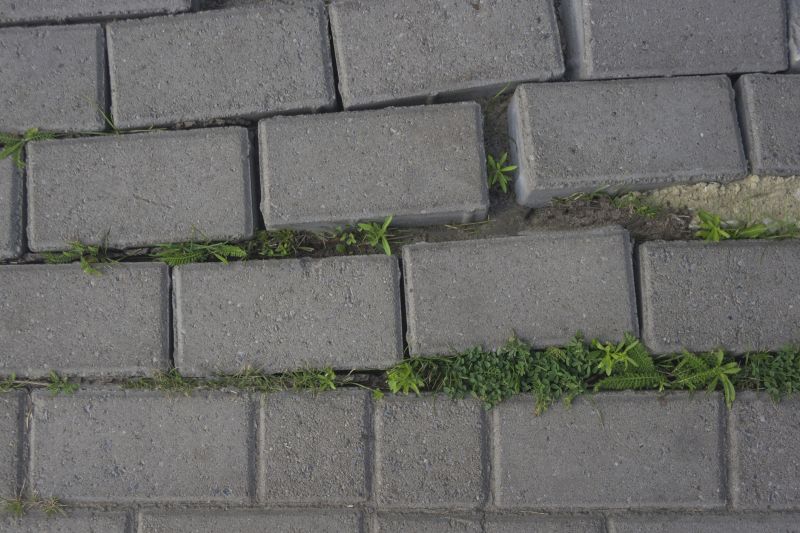
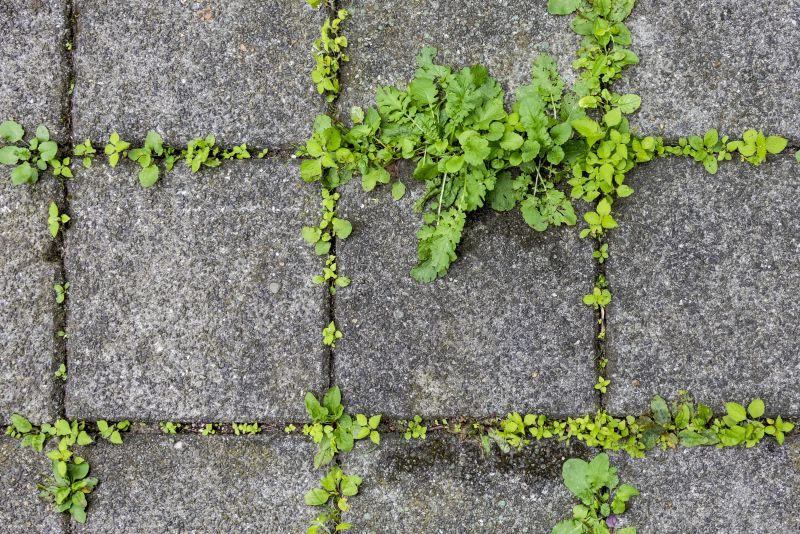
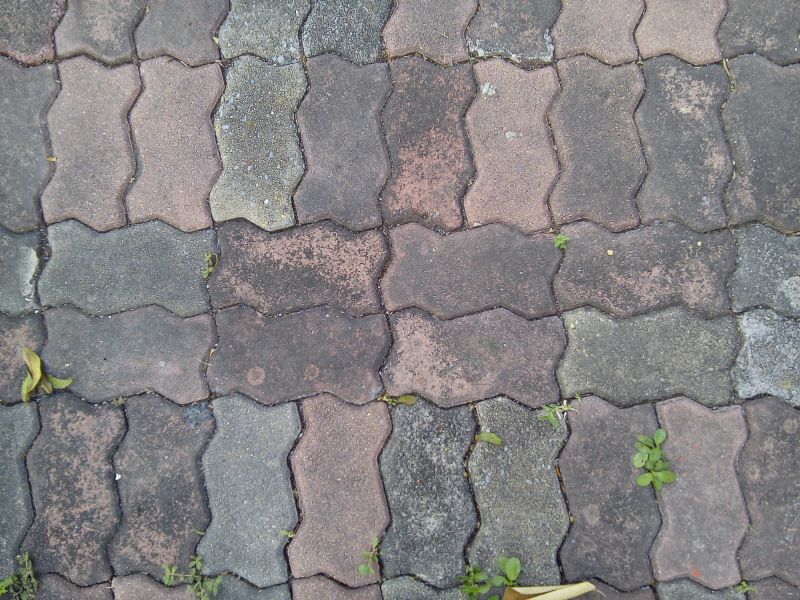
Step 2: Pull Weeds
Identify any existing weeds growing between the pavers. Use a hand weeder or a small trowel to carefully remove the weeds, ensuring you get the entire root system.
Step 3: Apply Weed Killer
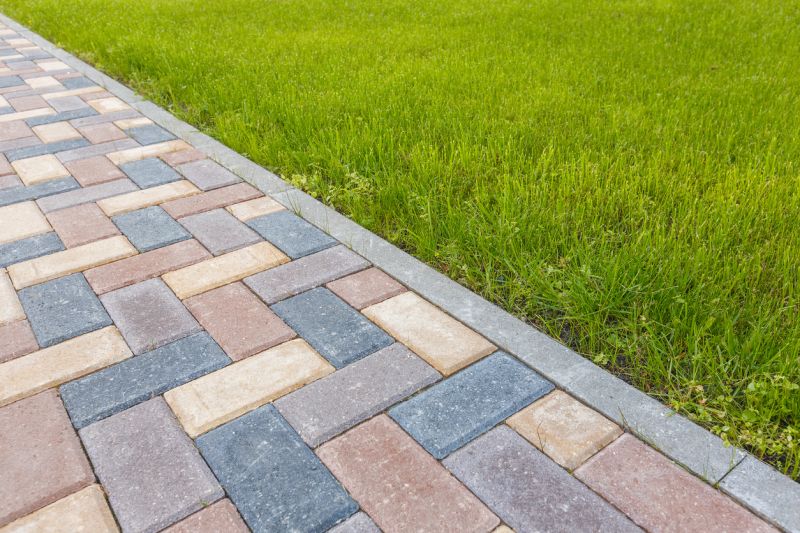
Choose a suitable weed killer that is safe for use on pavers. Follow the instructions on the product label and apply it to the weeds and the surrounding areas. Be careful not to overspray onto any nearby plants or grass.
Step 4: Use a Weed Barrier
Consider installing a weed barrier to prevent future weed growth. Cut the weed barrier to fit the area between the pavers and lay it down. Secure it in place using landscape fabric pins.
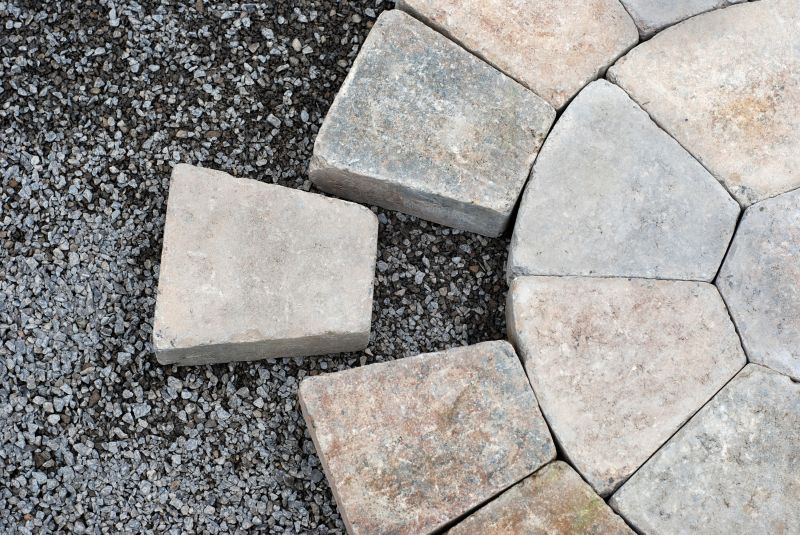
Step 5: Fill the Gaps
If there are gaps between the pavers, fill them with polymeric sand or a similar material. This will help prevent weed seeds from finding their way into the gaps and germinating.
Step 6: Regular Maintenance
To keep your pavers weed-free, it's important to perform regular maintenance. Sweep the surface regularly to remove any debris or fallen leaves. If any weeds do manage to grow, promptly remove them using the same techniques mentioned in Step 2.
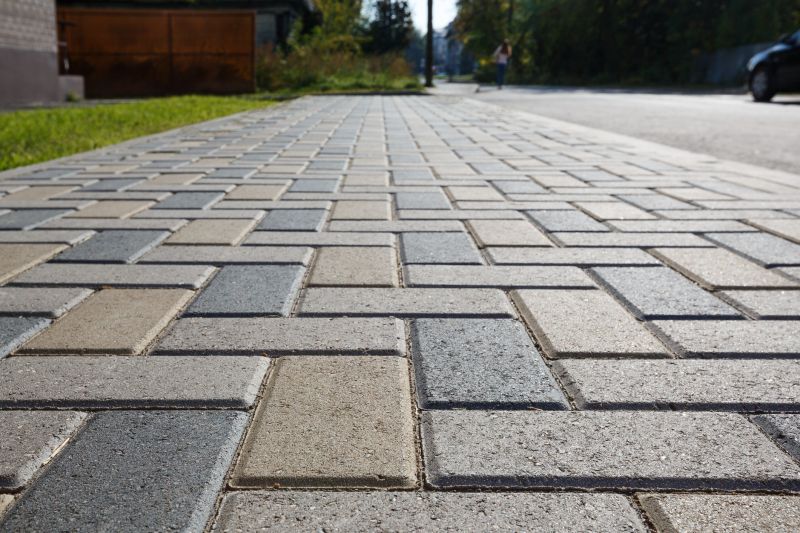
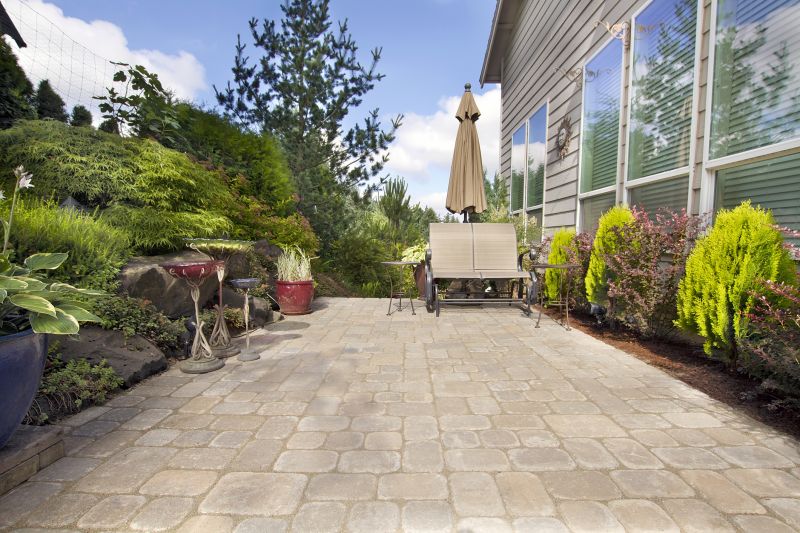
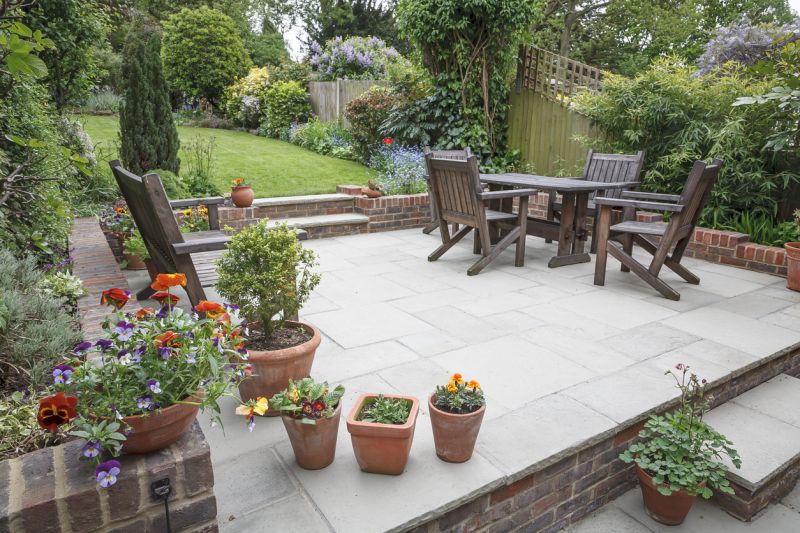
By following these steps, you can effectively control weeds and maintain the beauty of your pavers for years to come.