Damaged Edge Pavers Repair | How To
How to Repair Damaged Edge Pavers
Introduction
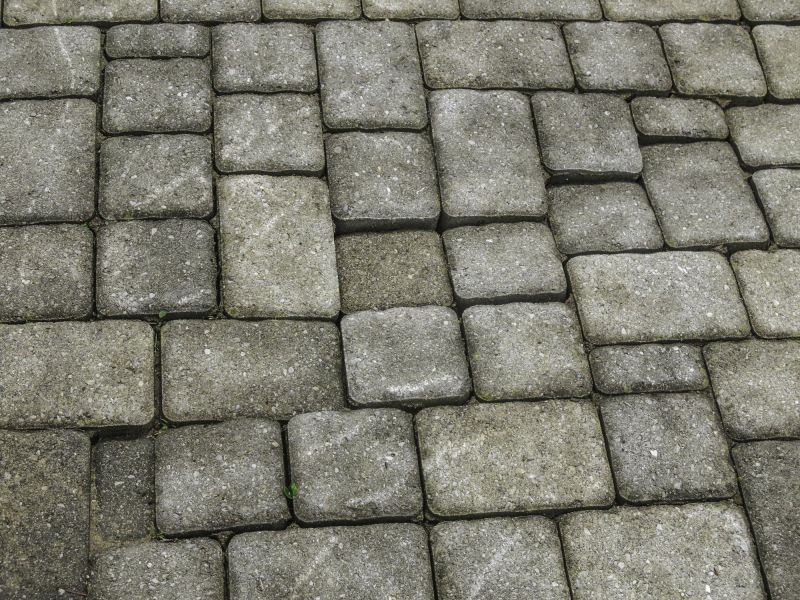
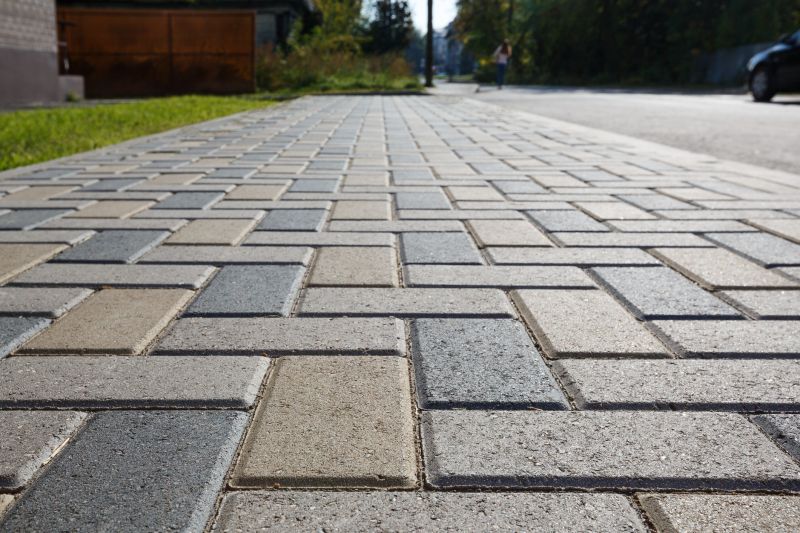
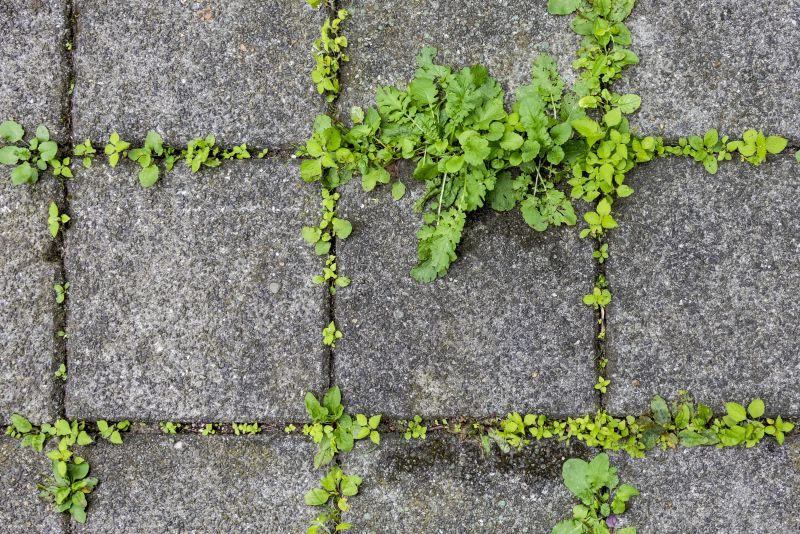
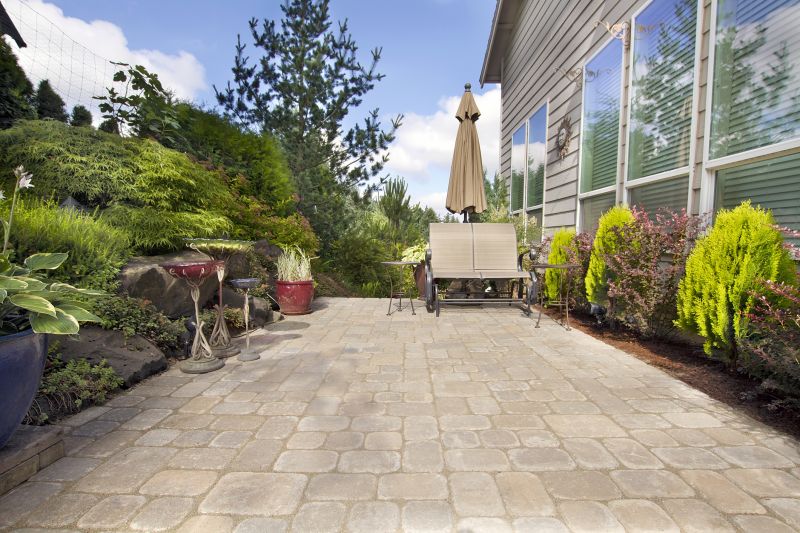
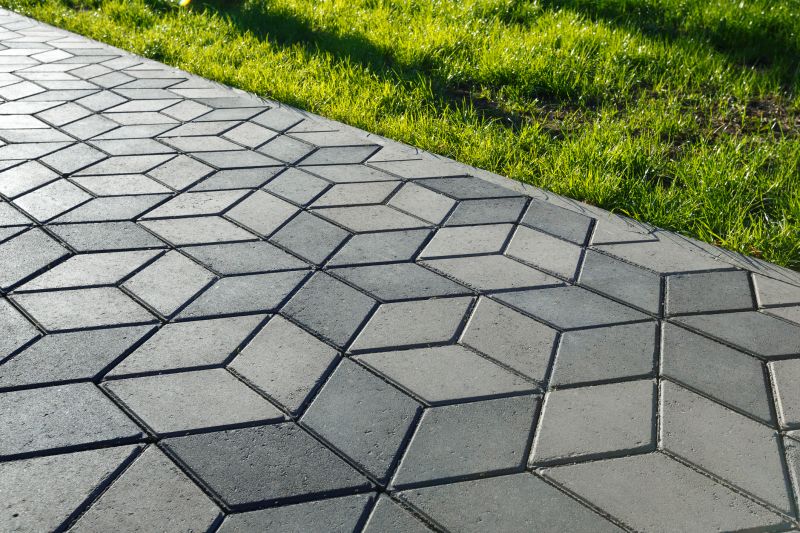
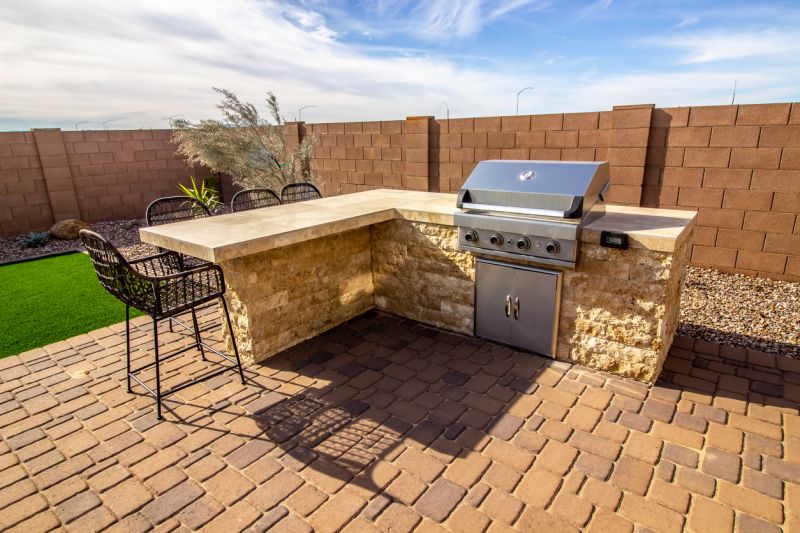
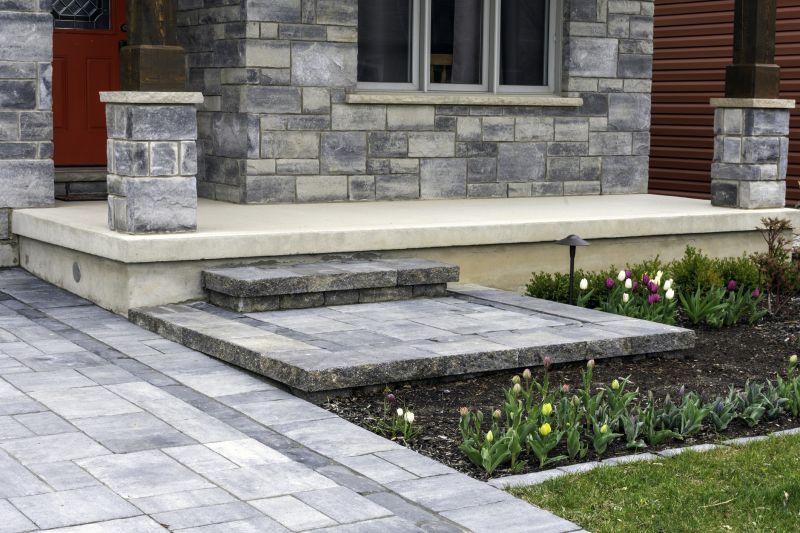
If you have damaged edge pavers in your outdoor space, it's important to repair them to maintain the overall integrity and appearance of your paved area. This step-by-step guide will walk you through the process of repairing damaged edge pavers.
Materials You'll Need
- Replacement pavers
- Masonry chisel
- Hammer
- Masonry adhesive
- Masonry sand
- Broom
- Trowel
- Level
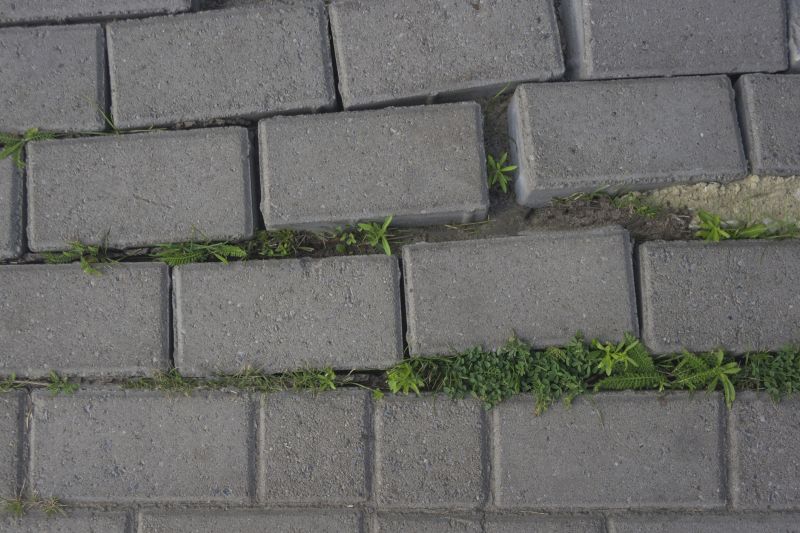
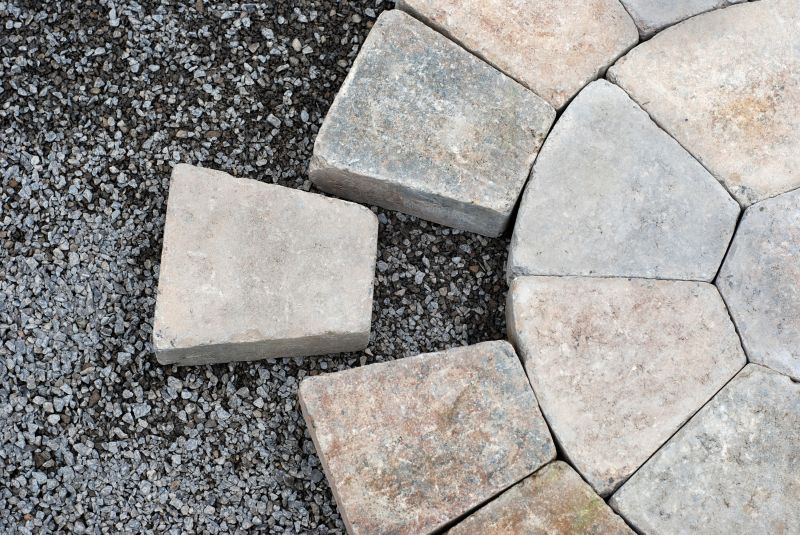
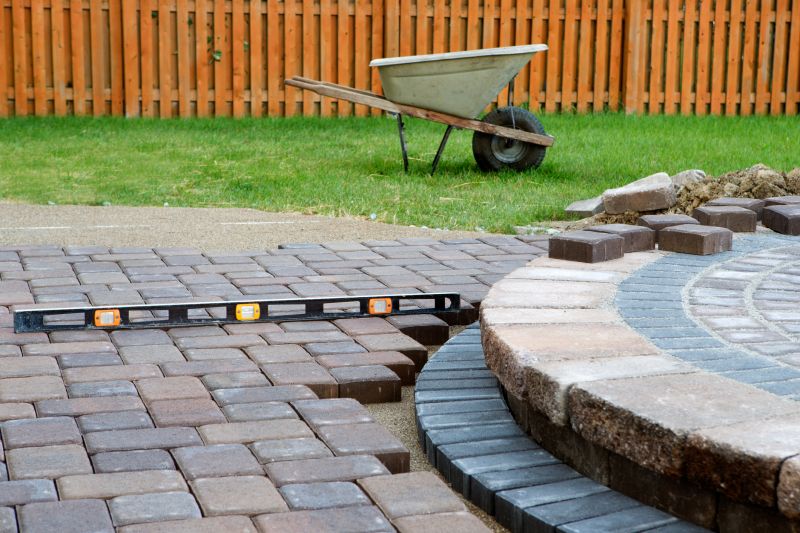
Step 1: Remove Damaged Pavers
Use a masonry chisel and a hammer to carefully remove the damaged edge pavers. Start by chiseling away any mortar or adhesive holding the pavers in place. Once the mortar is removed, gently tap the chisel under the paver to loosen it. Lift the paver out and set it aside.
Step 2: Prepare the Area
After removing the damaged pavers, clean the area of any debris or loose material. Use a broom to sweep away dirt, dust, and small stones. Ensure the surface is clean and level.
Step 3: Install Replacement Pavers
Apply a layer of masonry adhesive to the back of the replacement paver. Carefully place the paver into the vacant space, ensuring it is level with the surrounding pavers. Press down firmly to secure it in place. Repeat this process for each replacement paver needed.
Step 4: Fill the Gaps
Once all the replacement pavers are in place, fill the gaps between them with masonry sand. Use a broom to sweep the sand into the gaps, ensuring it is evenly distributed. Continue adding sand until the gaps are completely filled.
Step 5: Level the Pavers
Use a level to ensure that the repaired edge pavers are even and aligned with the rest of the paved area. Adjust the pavers as needed by tapping them gently with a rubber mallet or the handle of a trowel.
Step 6: Allow Time to Set
Allow the masonry adhesive and sand to set according to the manufacturer's instructions. This may take several hours or overnight. Avoid walking or placing heavy objects on the repaired area until it is fully set.
Conclusion
By following these steps, you can successfully repair damaged edge pavers in your outdoor space. Remember to take your time, work carefully, and allow the necessary time for the repairs to set. With proper maintenance, your paved area will continue to look great for years to come.