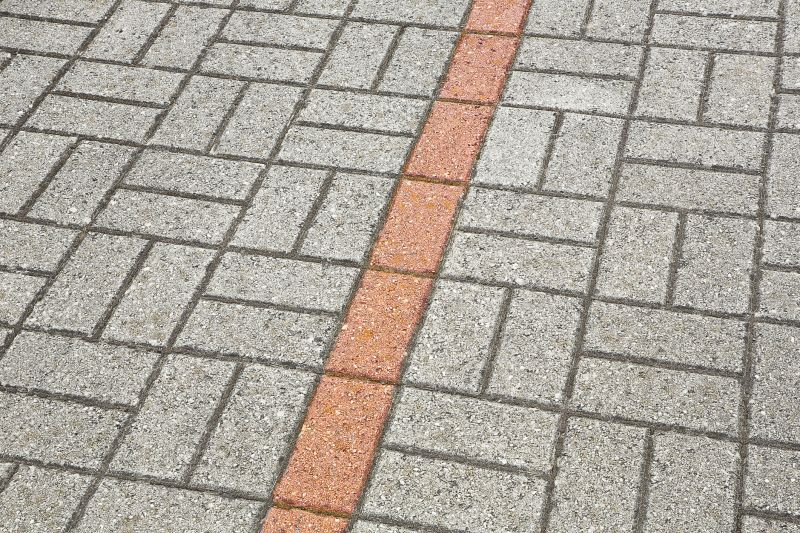
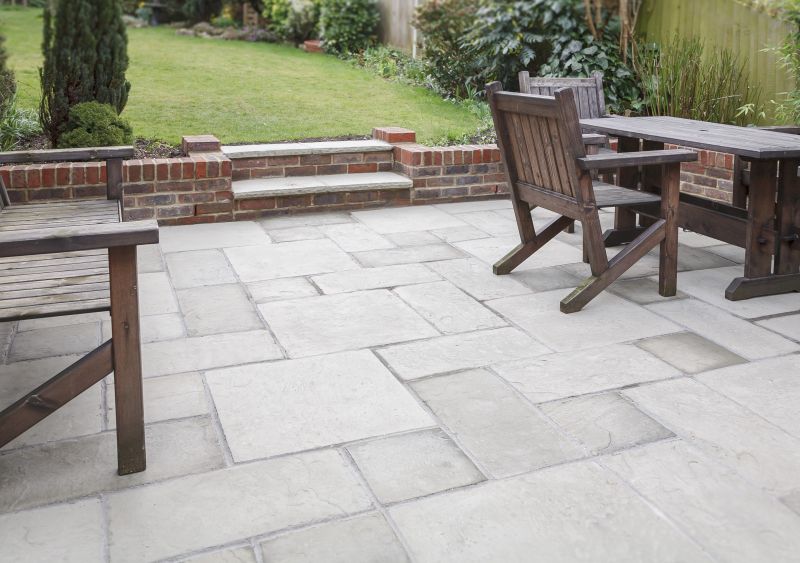
Introduction
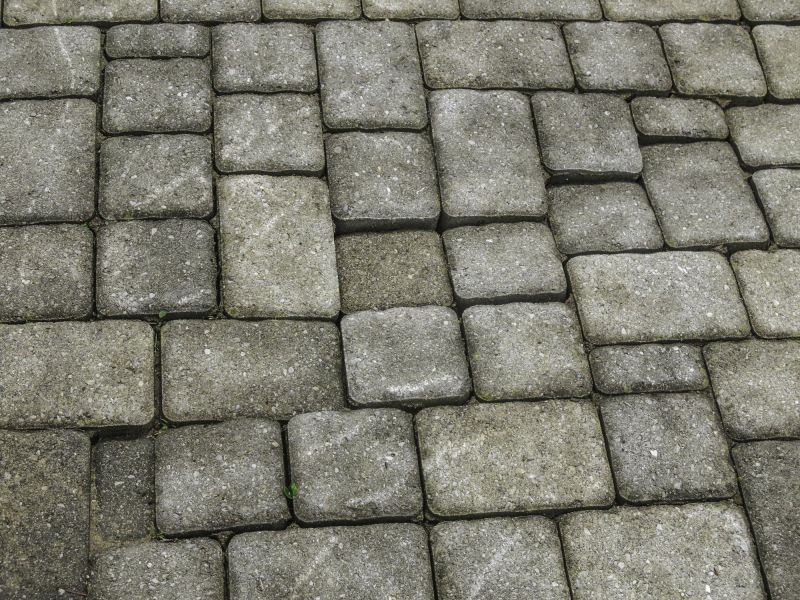
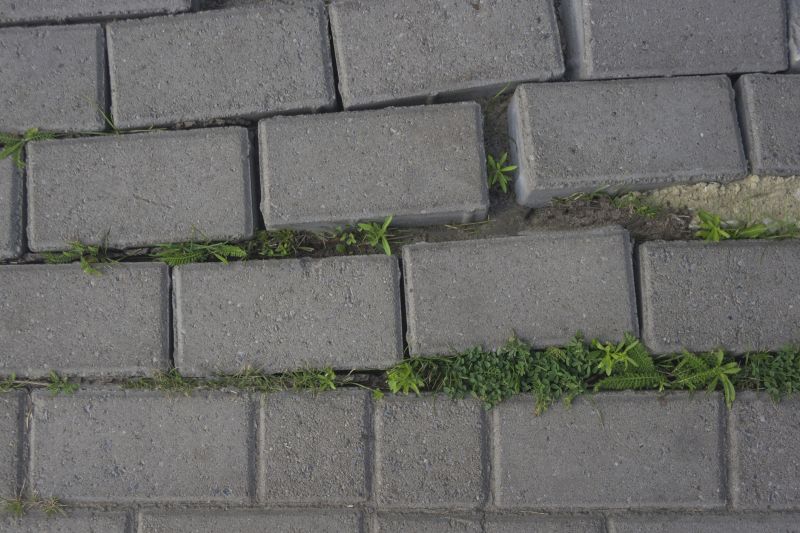
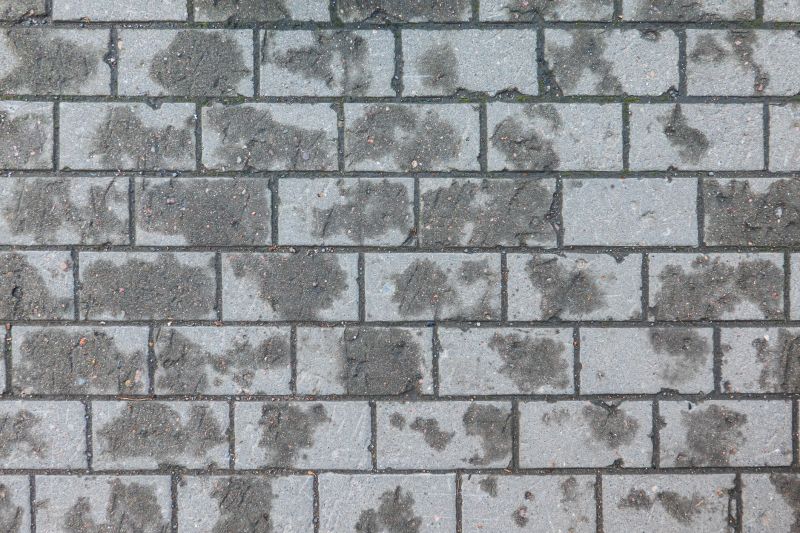
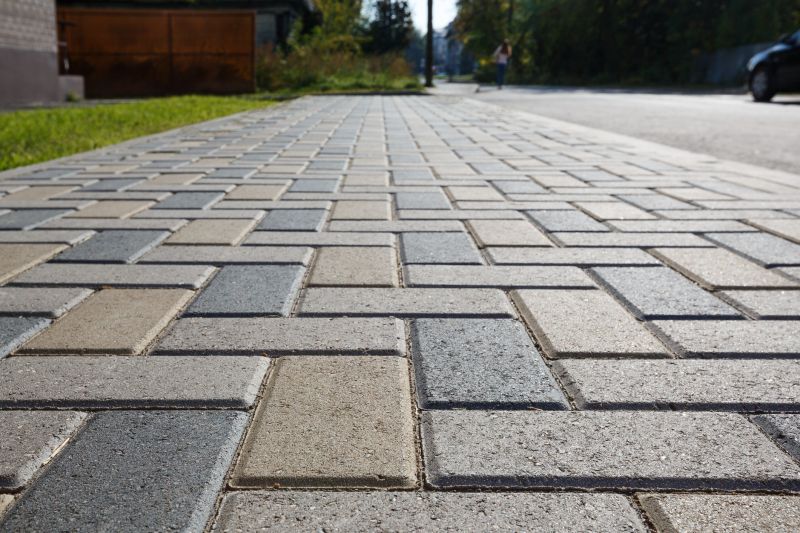
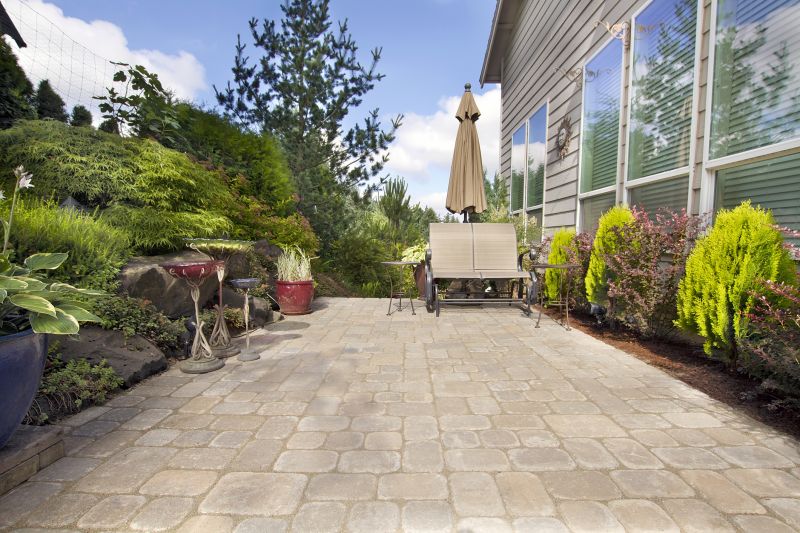
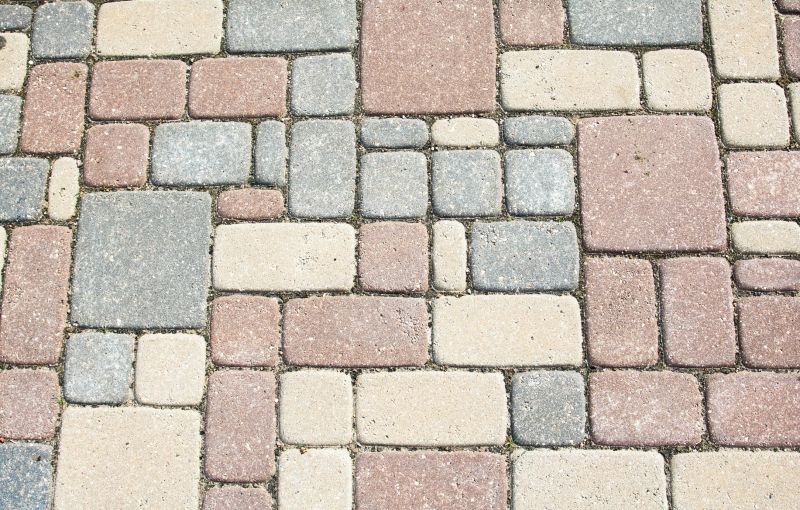
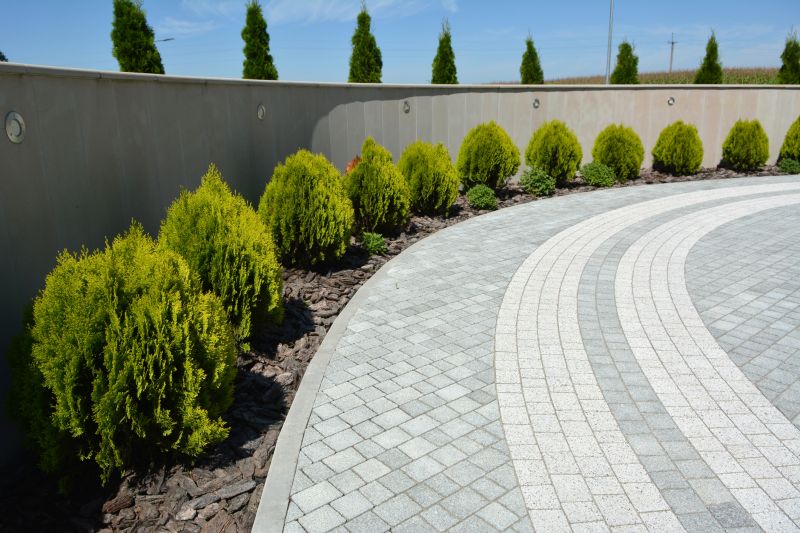
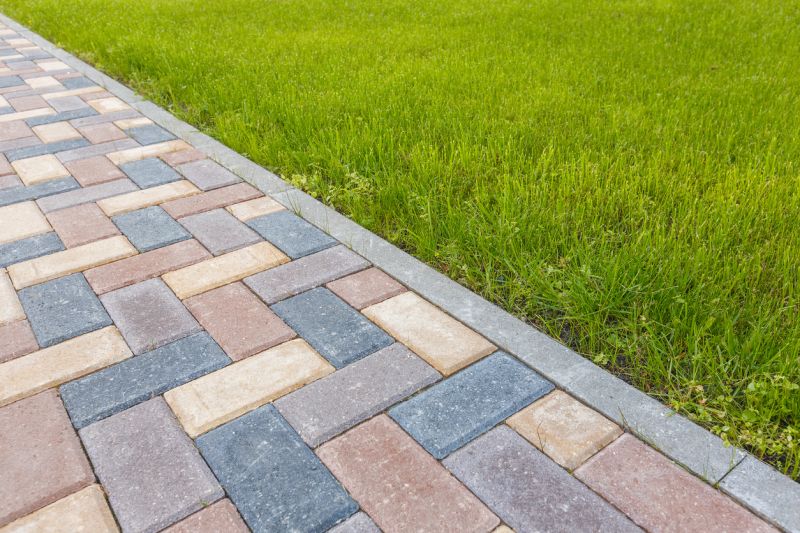
Pavers are a popular choice for outdoor flooring due to their durability and aesthetic appeal. However, over time, pavers can become damaged due to various reasons such as heavy foot traffic, weather conditions, or improper installation. In this article, we will guide you through the steps to replace damaged pavers and restore the beauty of your outdoor space.
Materials Needed
- Replacement pavers
- Masonry chisel
- Hammer
- Joint sand
- Push broom
- Rubber mallet
- Level
- Plate compactor (optional)
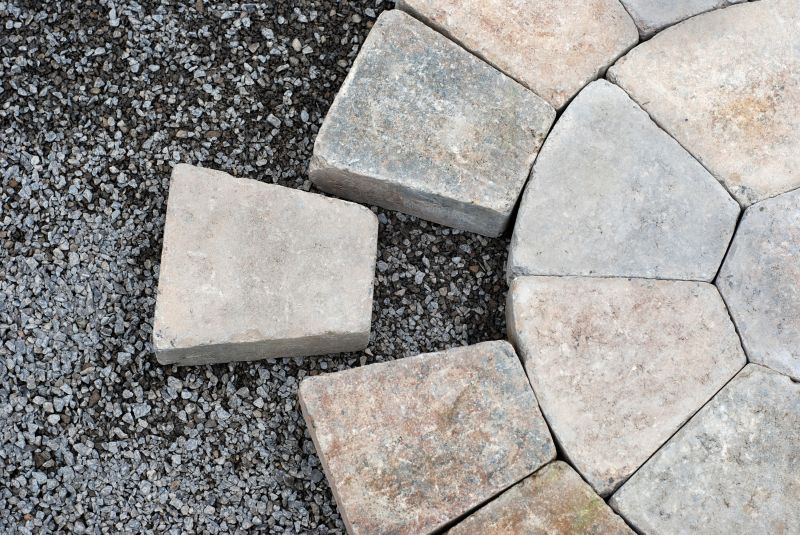
Step 1: Remove Damaged Pavers
Start by carefully removing the damaged pavers using a masonry chisel and hammer. Gently tap the chisel along the edges of the paver to loosen it, then use the hammer to carefully lift it out. Be cautious not to damage the surrounding pavers.
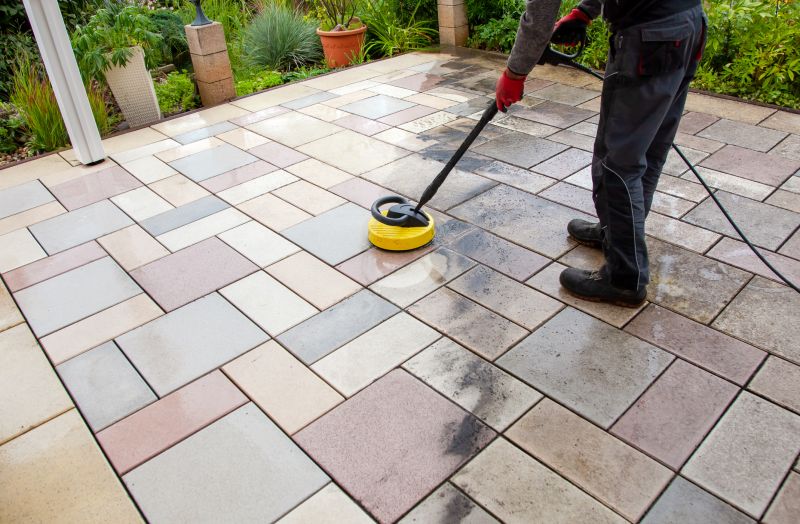
Step 2: Prepare the Area
After removing the damaged pavers, clean the area thoroughly by sweeping away any debris or loose sand. Make sure the surface is level and ready for the new pavers.
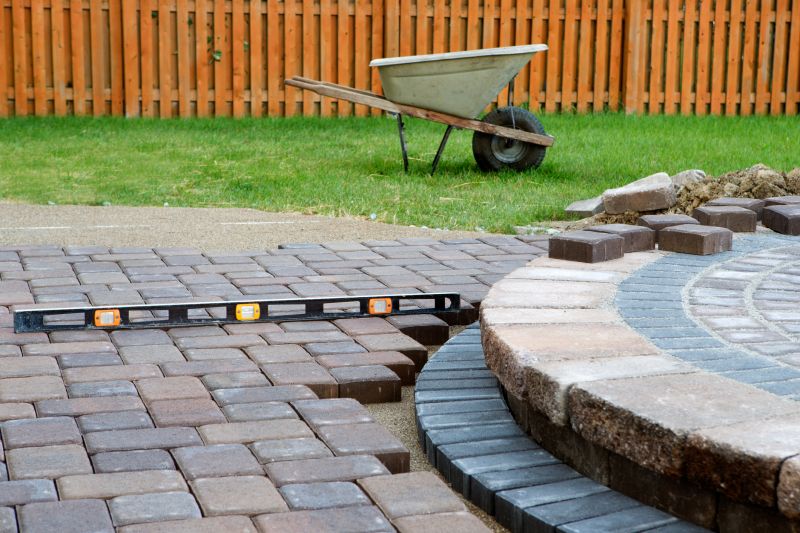
Step 3: Install Replacement Pavers
Place the replacement paver into the vacant space. Use a rubber mallet to gently tap it into place, ensuring it is level with the surrounding pavers. Continue this process until all damaged pavers are replaced.
Step 4: Fill the Joints
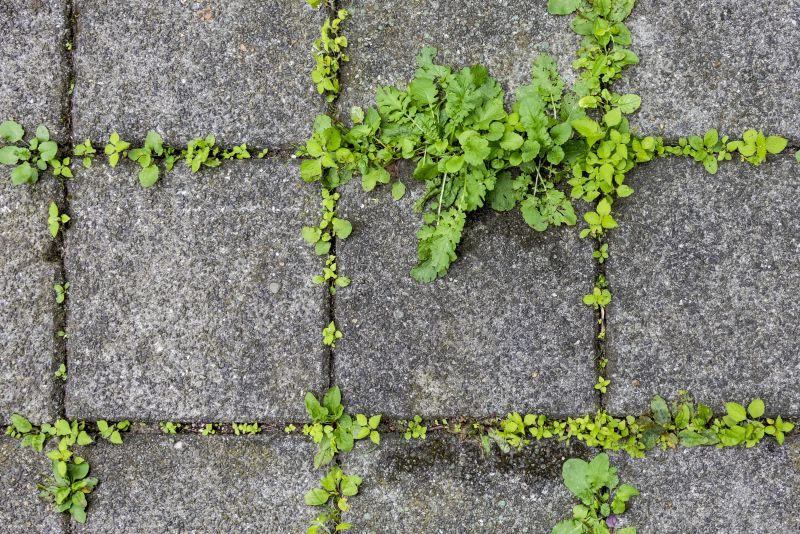
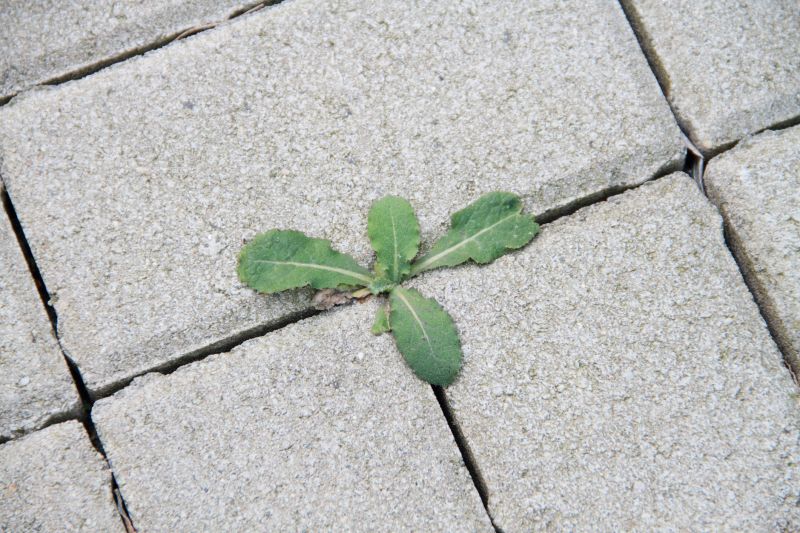
Once all the replacement pavers are in place, fill the joints with joint sand. Pour the sand over the paver surface and use a push broom to sweep it into the gaps. This will help stabilize the pavers and prevent weed growth.
Step 5: Compact the Pavers (optional)
If desired, use a plate compactor to compact the pavers. This will ensure a solid and stable surface. Follow the manufacturer's instructions for proper use of the compactor.
Conclusion
By following these steps, you can easily replace damaged pavers and restore the beauty and functionality of your outdoor space. Remember to take your time and be careful during the process to avoid any further damage. Enjoy your newly repaired paver surface!