Replacing Damaged Pavers Quotes
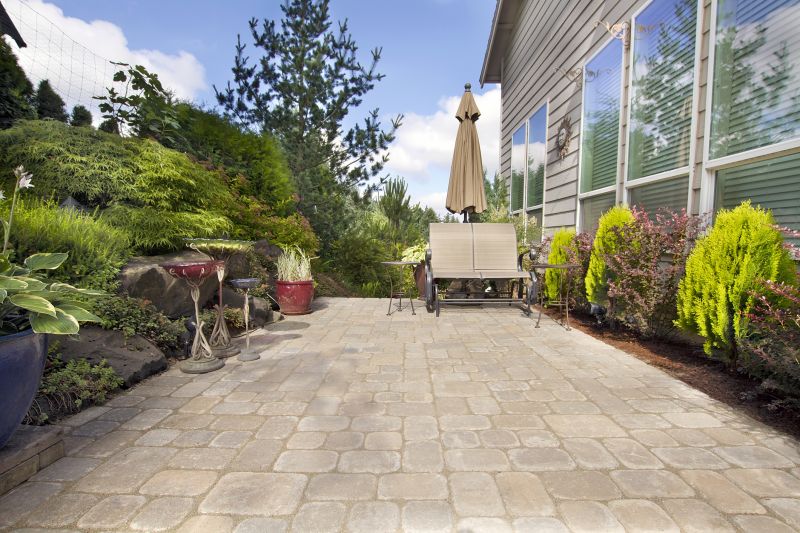
Get help with your replacing damaged pavers needs. Fill out the form above and we will connect you with local pros in your area. When it comes to maintaining the aesthetic appeal and functionality of your outdoor space, the importance of replacing damaged pavers cannot be overstated. Over time, pavers can become worn, cracked, or dislodged due to various factors such as weather conditions, heavy foot traffic, or natural wear and tear. By opting for the service of replacing damaged pavers, you can restore the beauty and integrity of your paved surfaces. This process involves removing the damaged pavers and replacing them with new ones, ensuring a seamless and visually pleasing finish. Not only does this enhance the overall appearance of your outdoor area, but it also improves safety by eliminating potential tripping hazards. Additionally, replacing damaged pavers helps to maintain the structural stability and longevity of your paved surfaces, saving you from costly repairs down the line. Whether it's a patio, driveway, or walkway, investing in the professional service of replacing damaged pavers ensures a durable and visually appealing outdoor space for years to come.
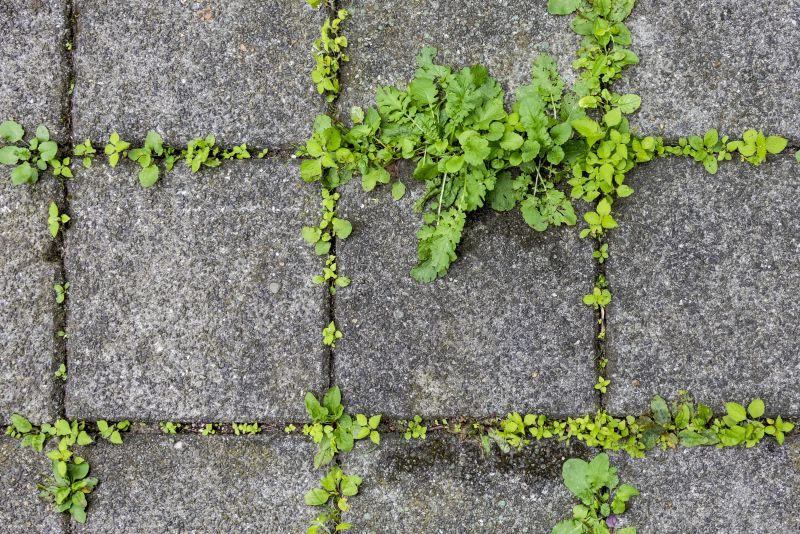
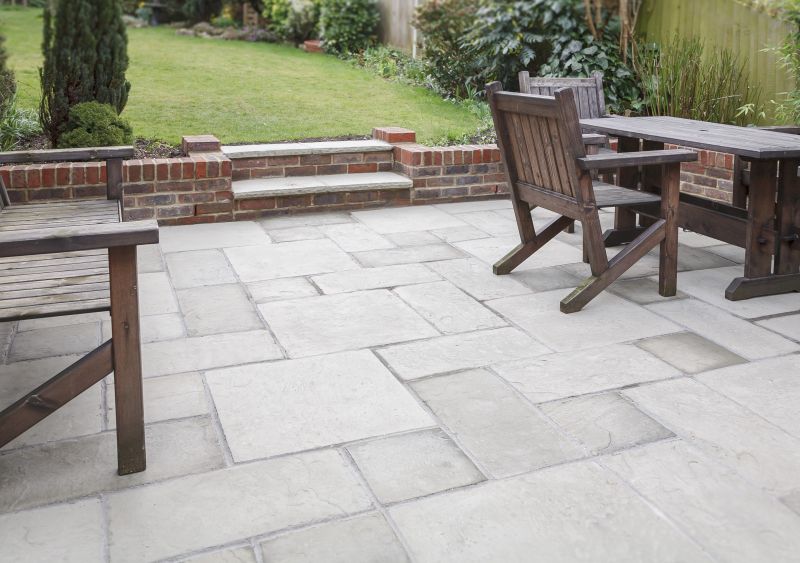
When it comes to maintaining the appearance and functionality of your outdoor space, addressing damaged pavers is crucial. Over time, pavers can become cracked, chipped, or dislodged due to various factors like weather conditions, heavy foot traffic, or improper installation. Replacing damaged pavers involves the removal of the affected pavers and replacing them with new ones to restore the overall integrity and aesthetic appeal of your paved area. Whether you have a patio, driveway, or walkway, replacing damaged pavers ensures a smooth and safe surface for your outdoor activities. By promptly addressing these issues, you can prevent further damage and maintain the longevity of your paver installation.
When it comes to maintaining the appearance and functionality of your outdoor space, addressing damaged pavers is crucial. Over time, pavers can become cracked, chipped, or dislodged due to various factors like weather conditions, heavy foot traffic, or improper installation. Replacing damaged pavers involves the removal of the affected pavers and replacing them with new ones to restore the overall integrity and aesthetic appeal of your paved area. Whether you have a patio, driveway, or walkway, replacing damaged pavers ensures a smooth and safe surface for your outdoor activities. By promptly addressing these issues, you can prevent further damage and maintain the longevity of your paver installation.